


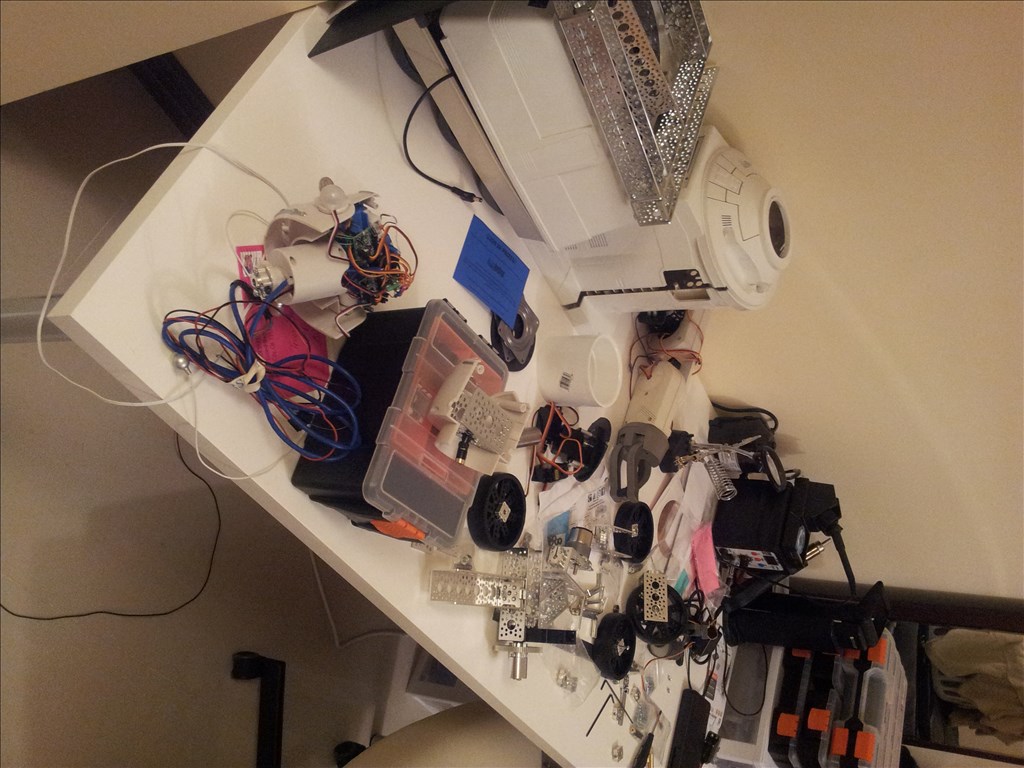
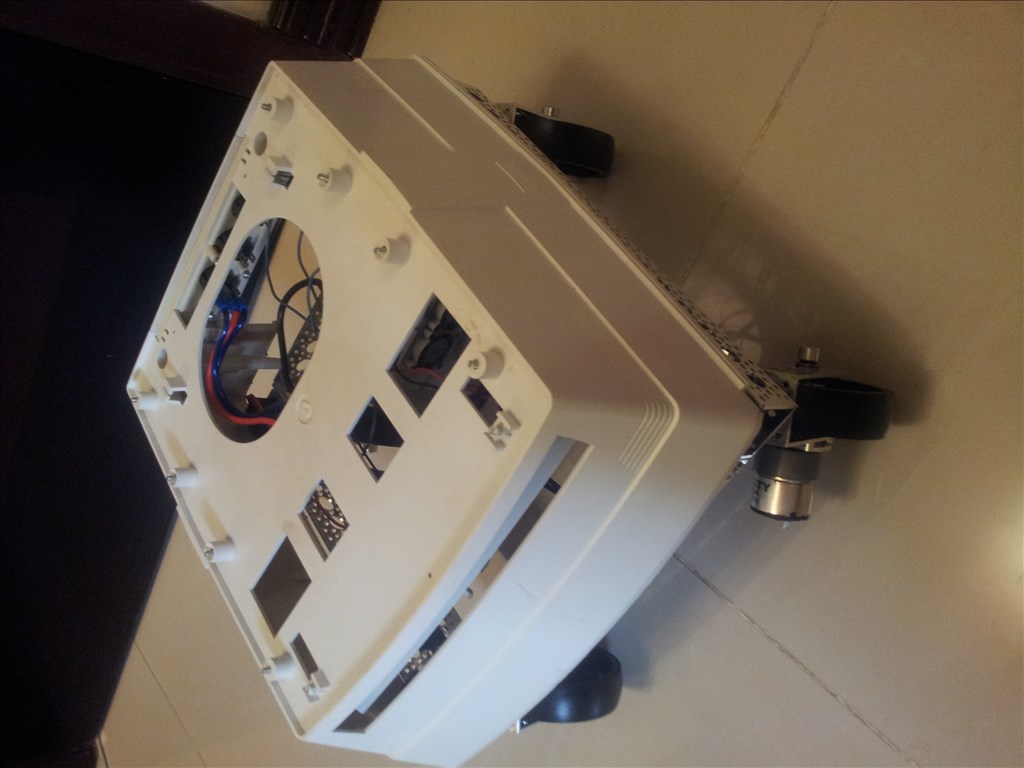
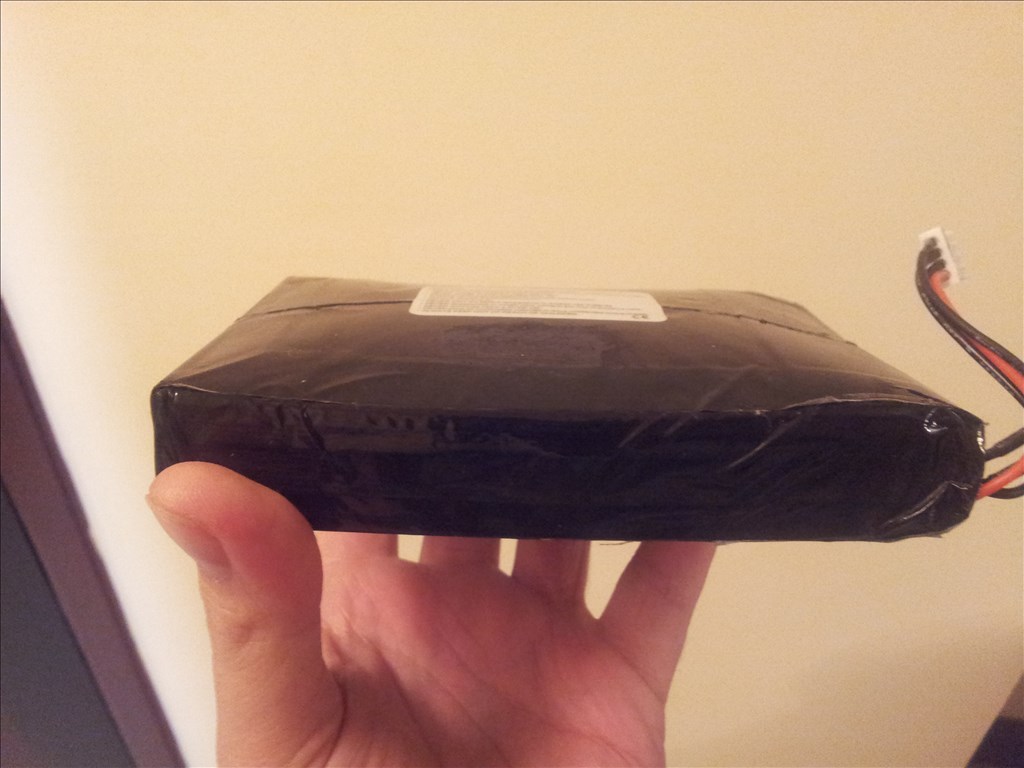
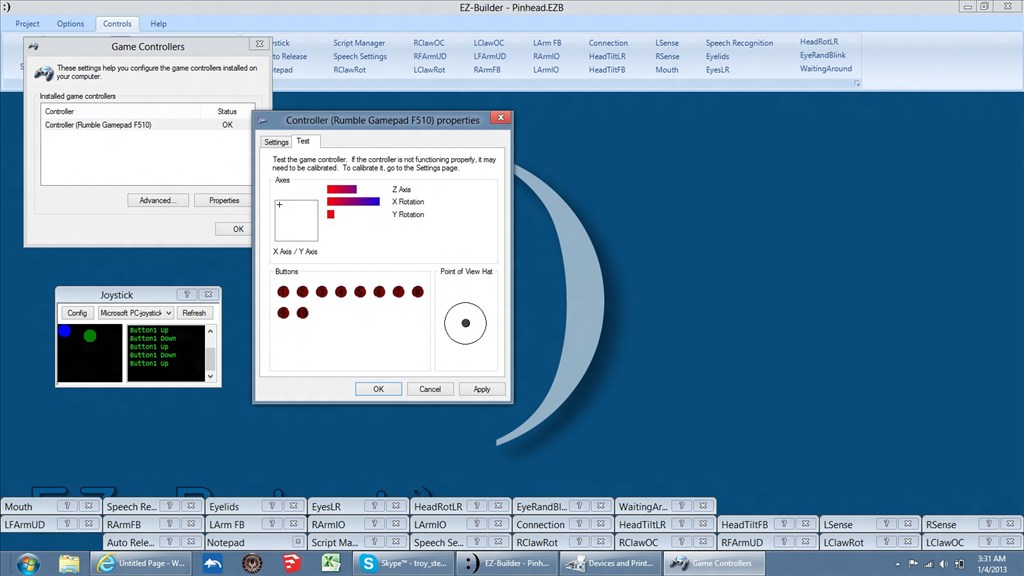
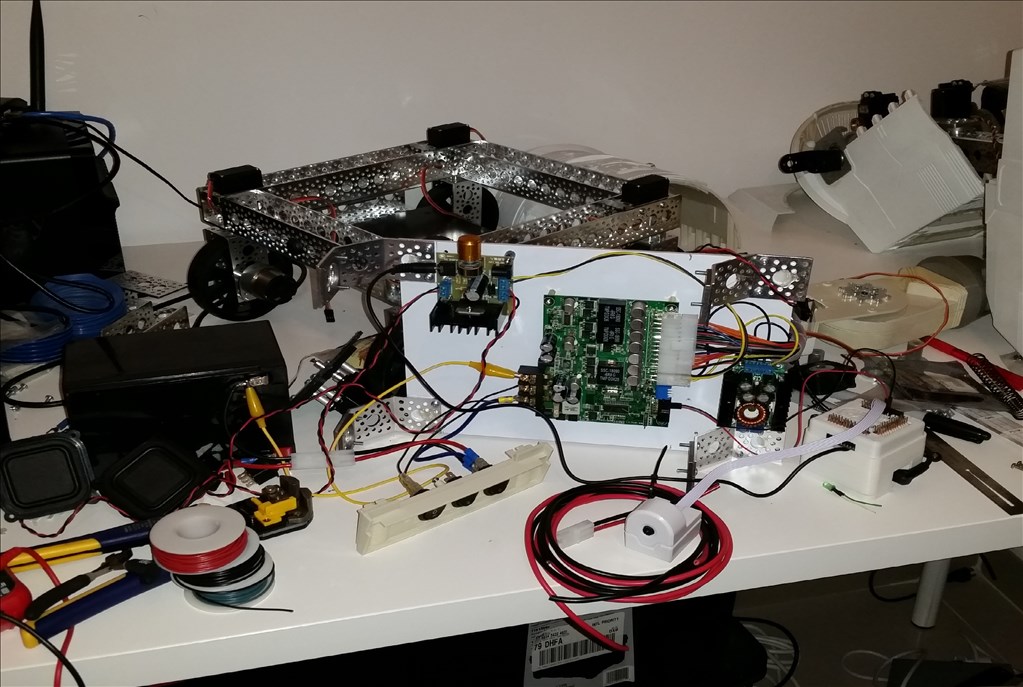
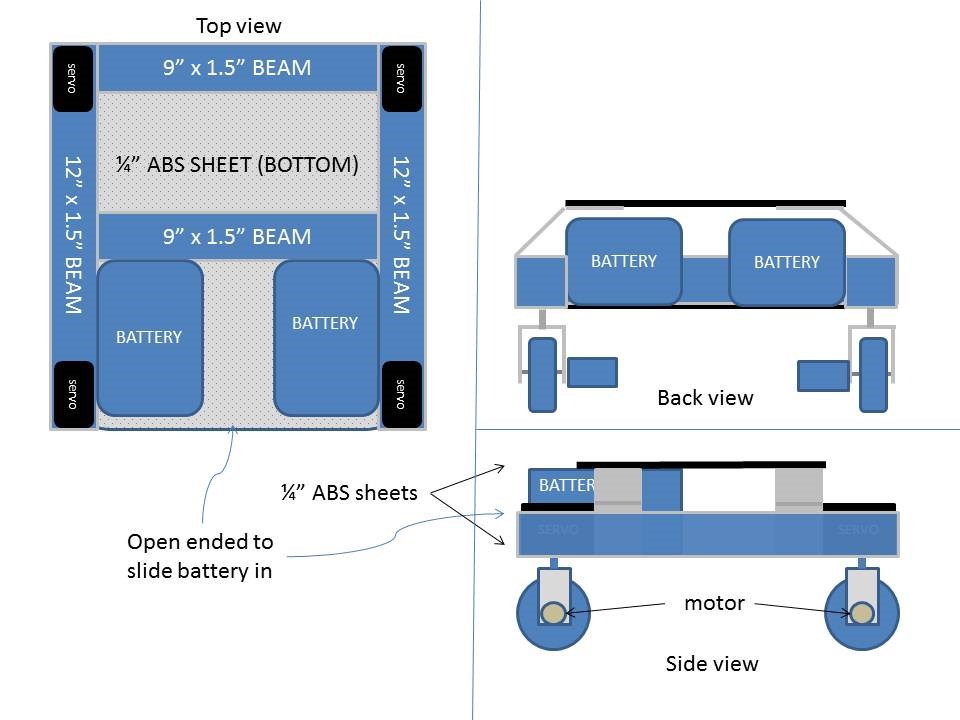
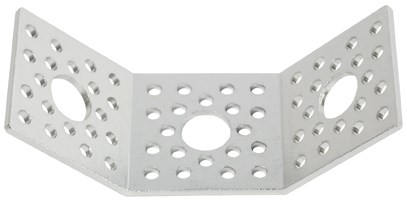
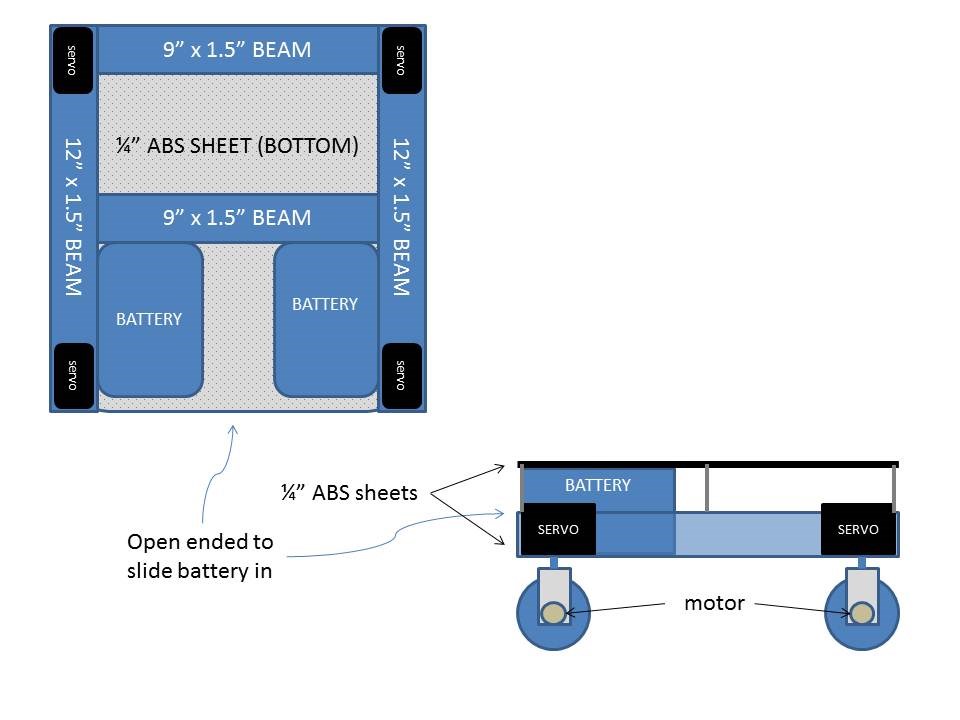
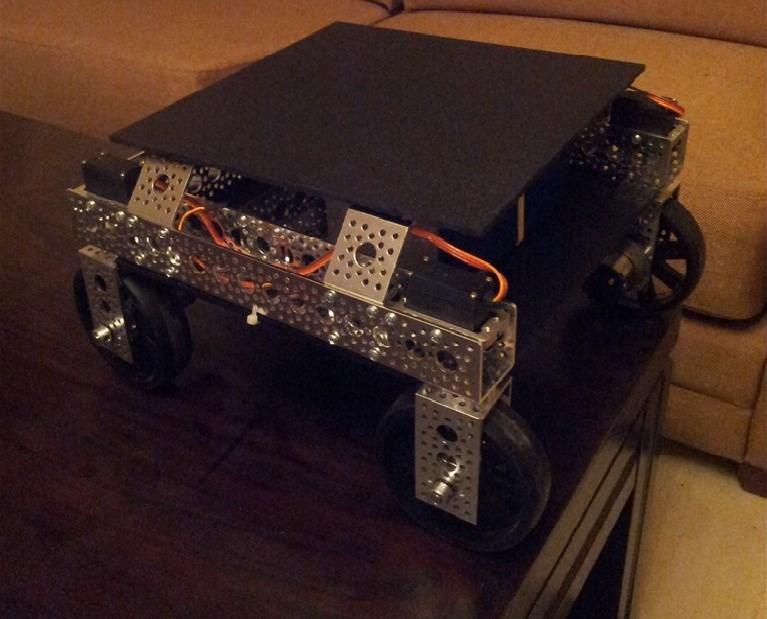
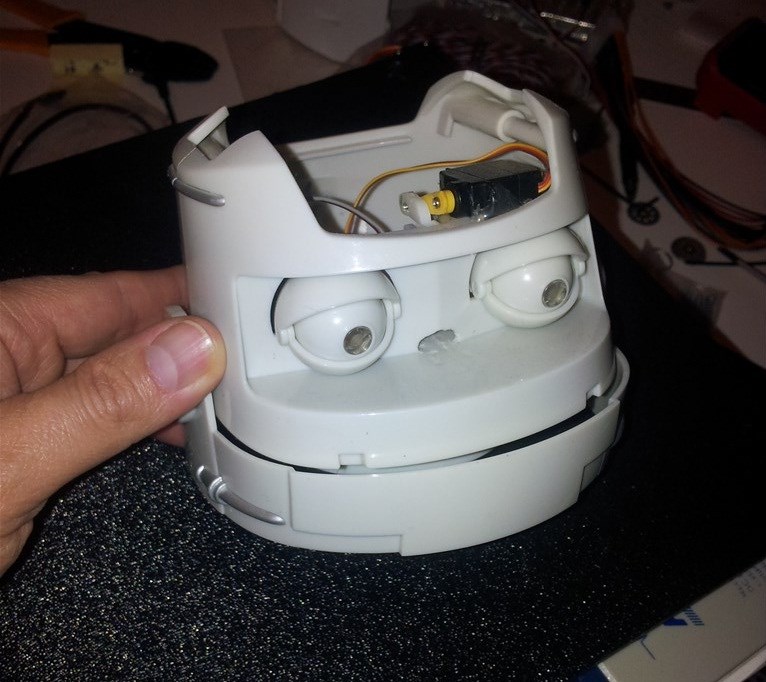
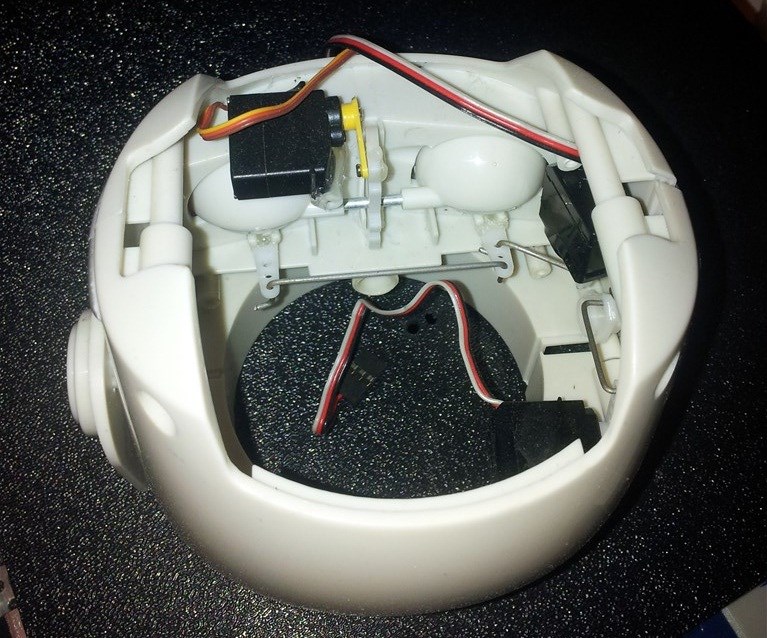
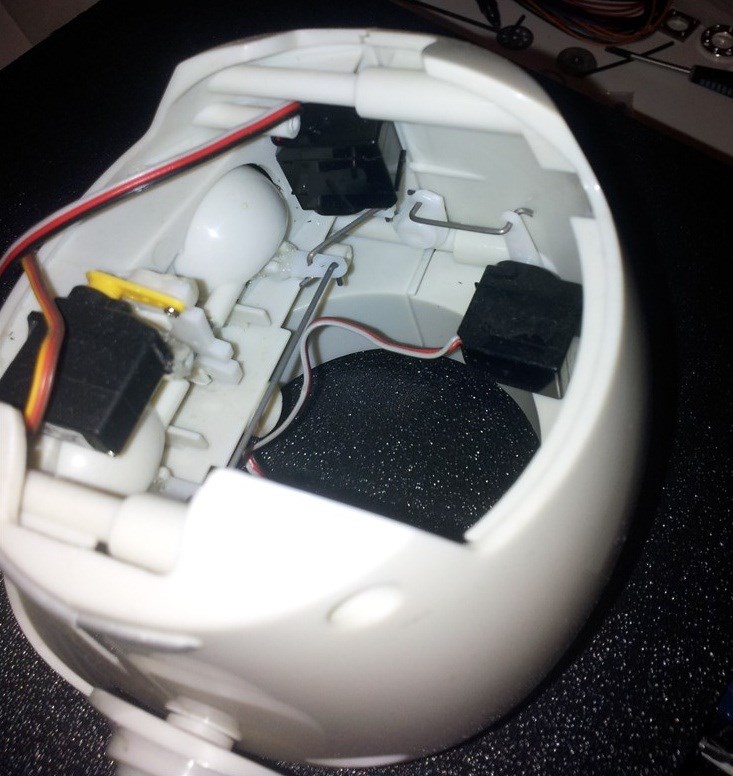
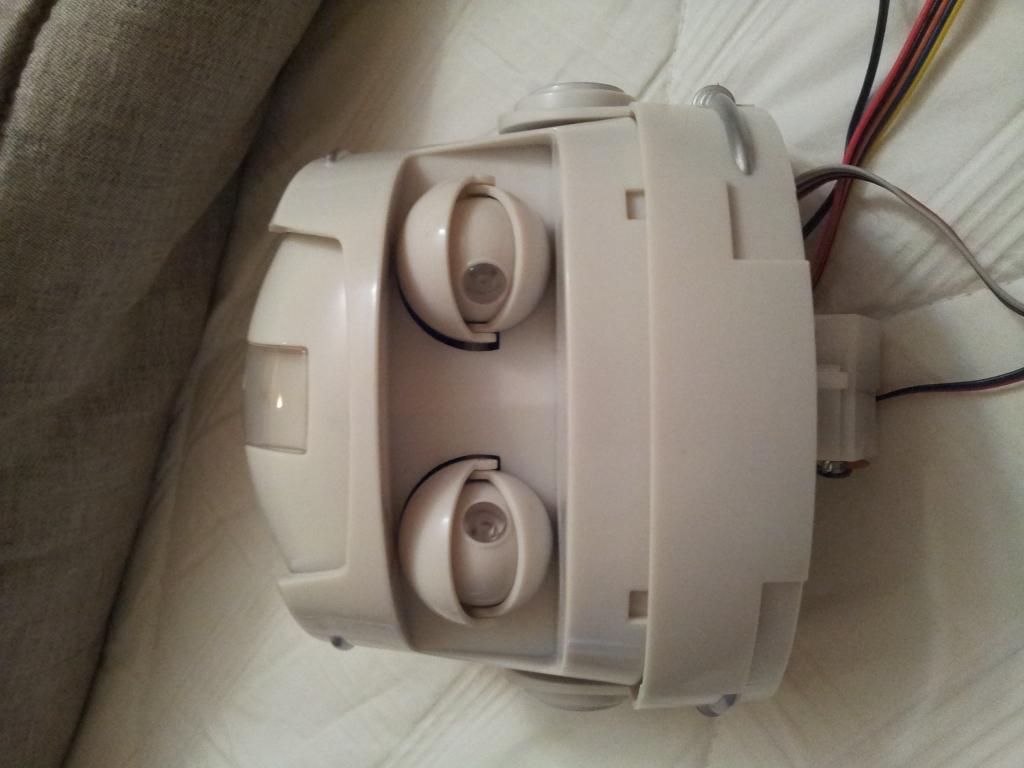
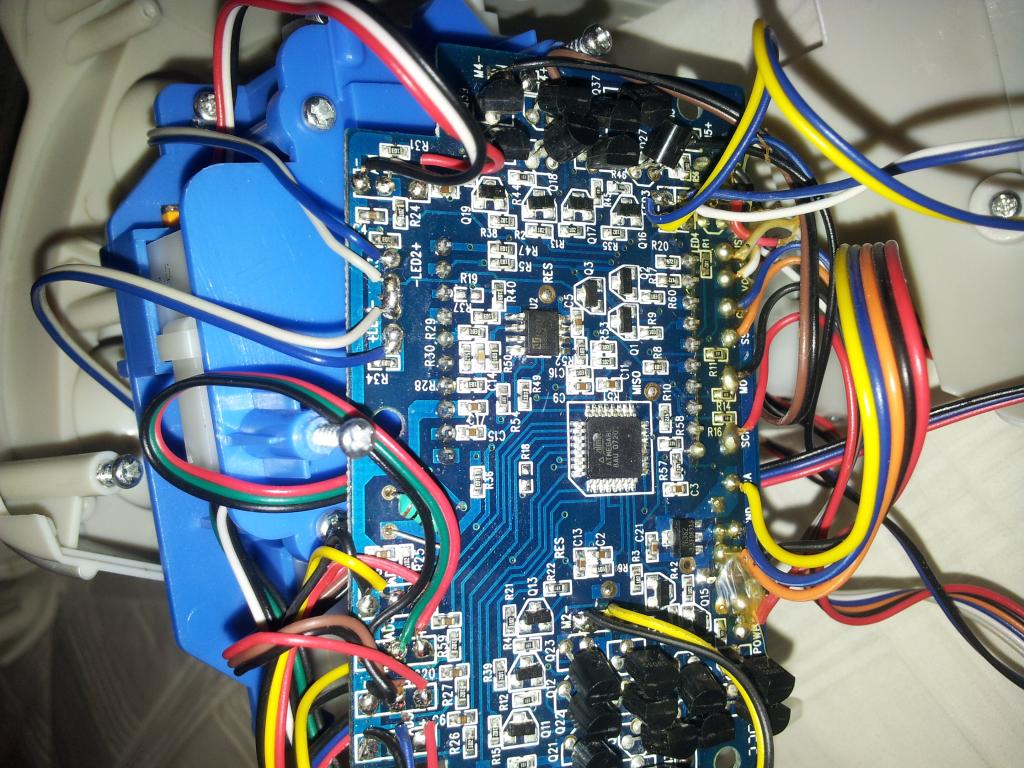
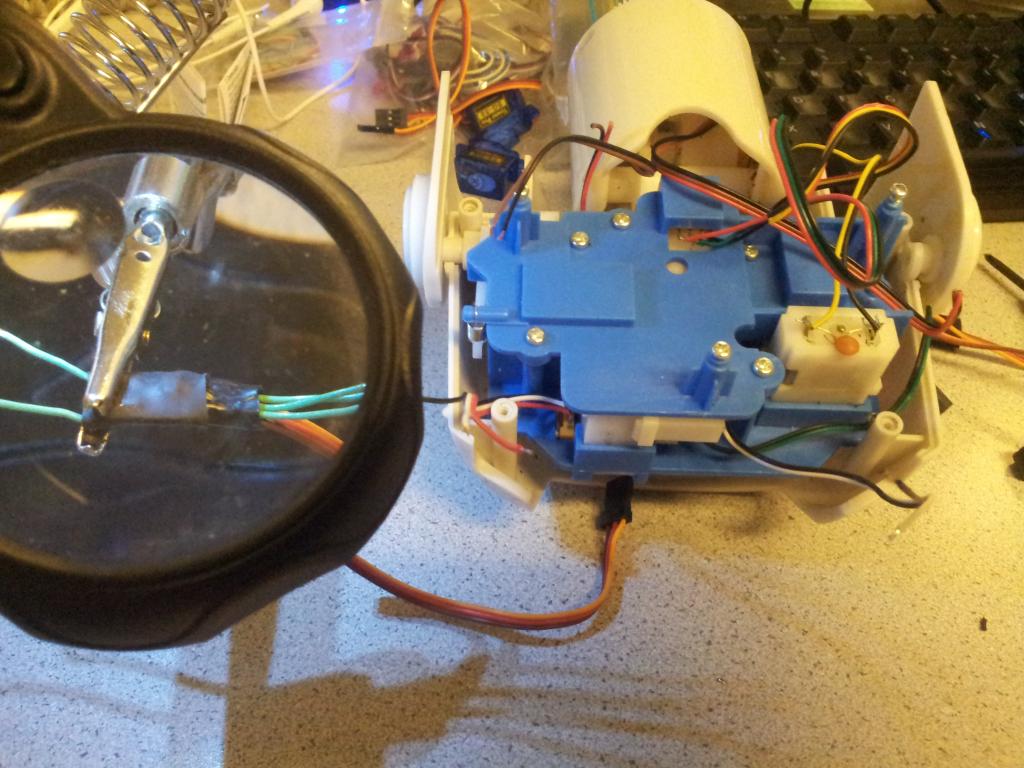
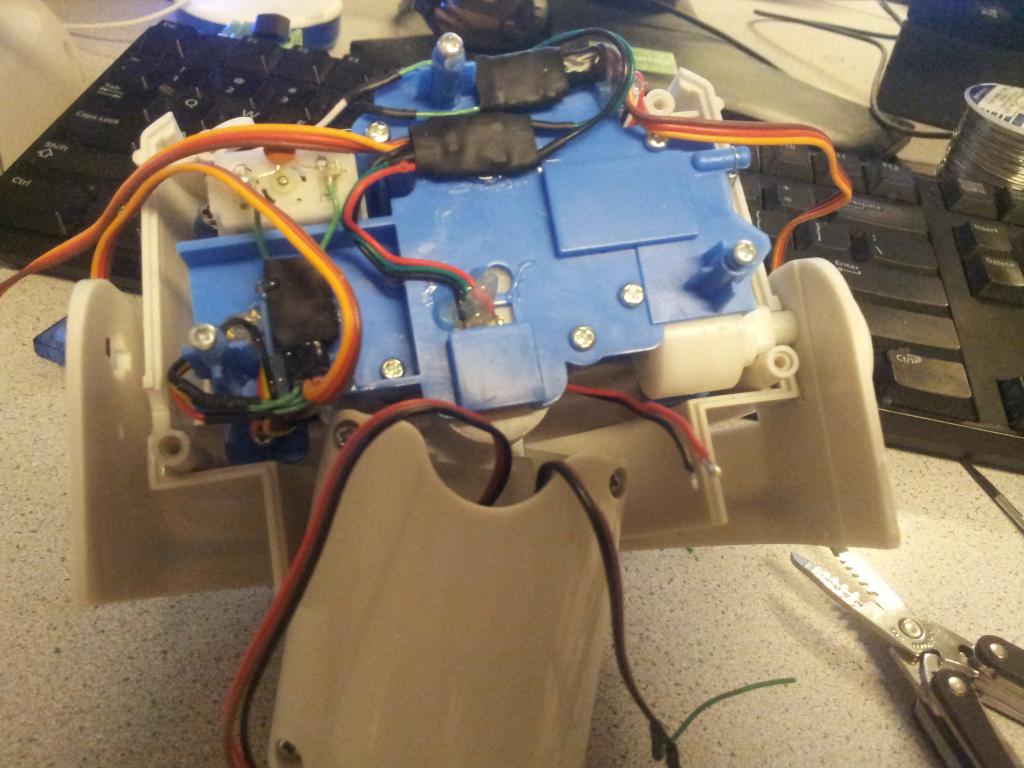
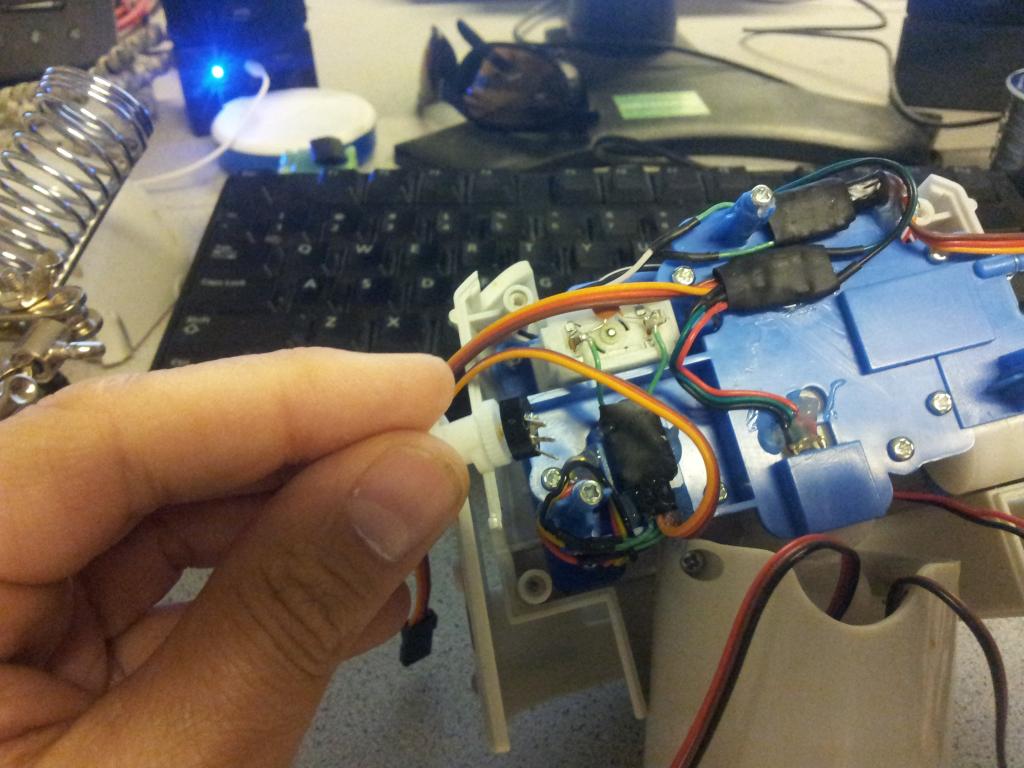
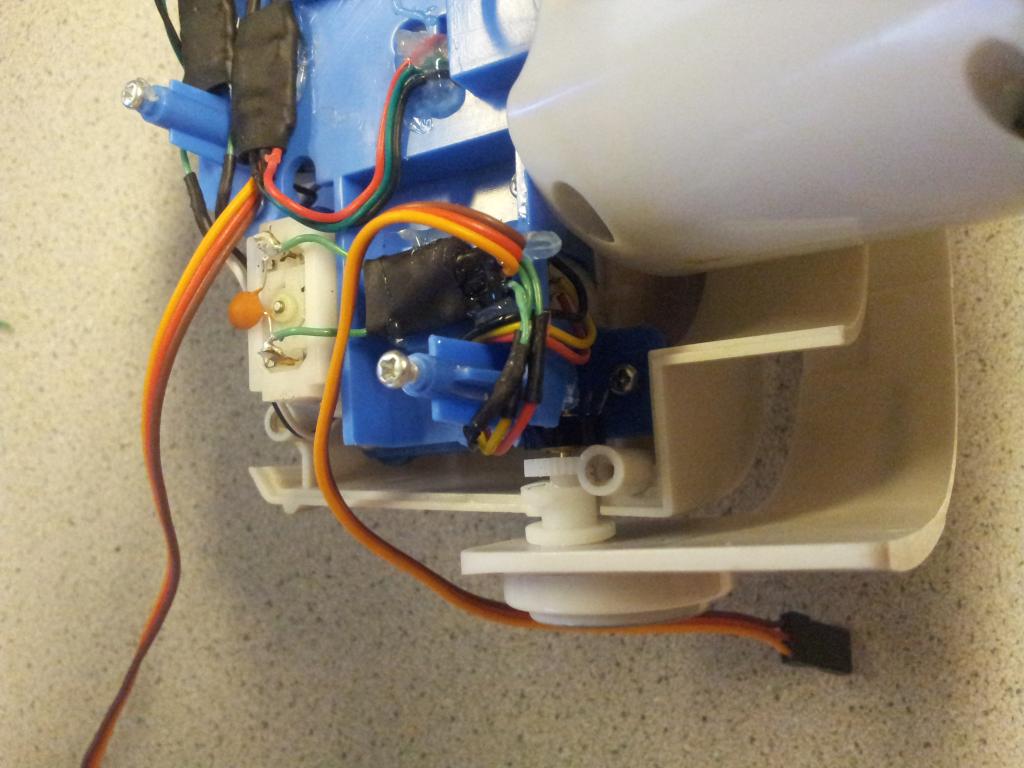
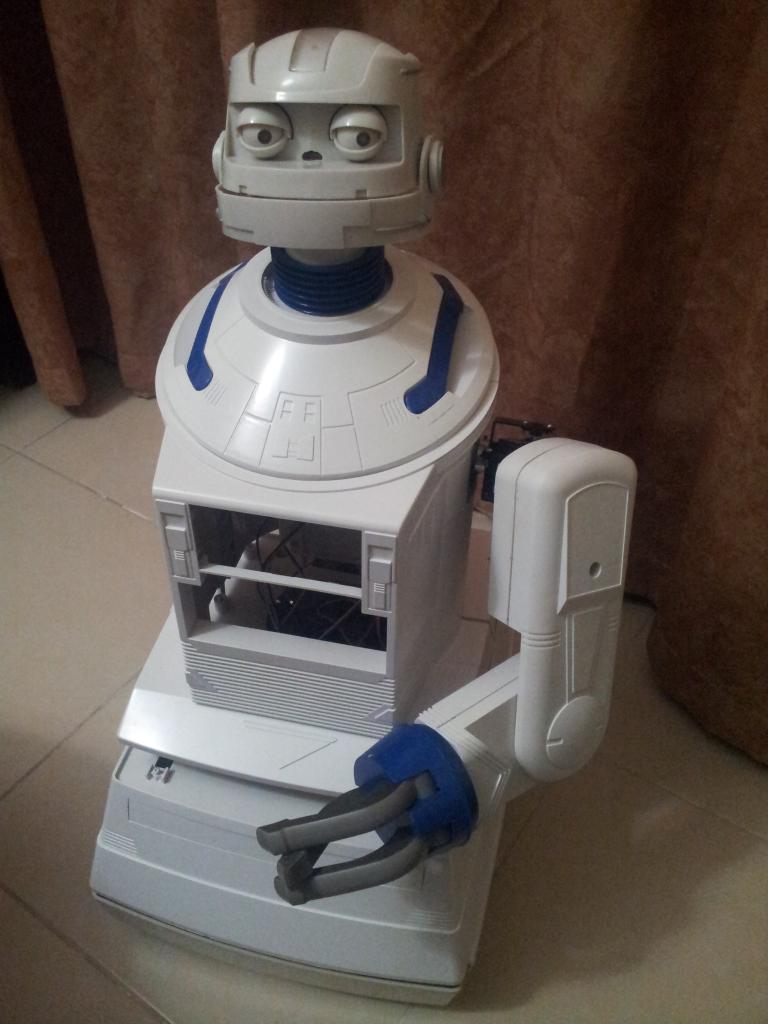
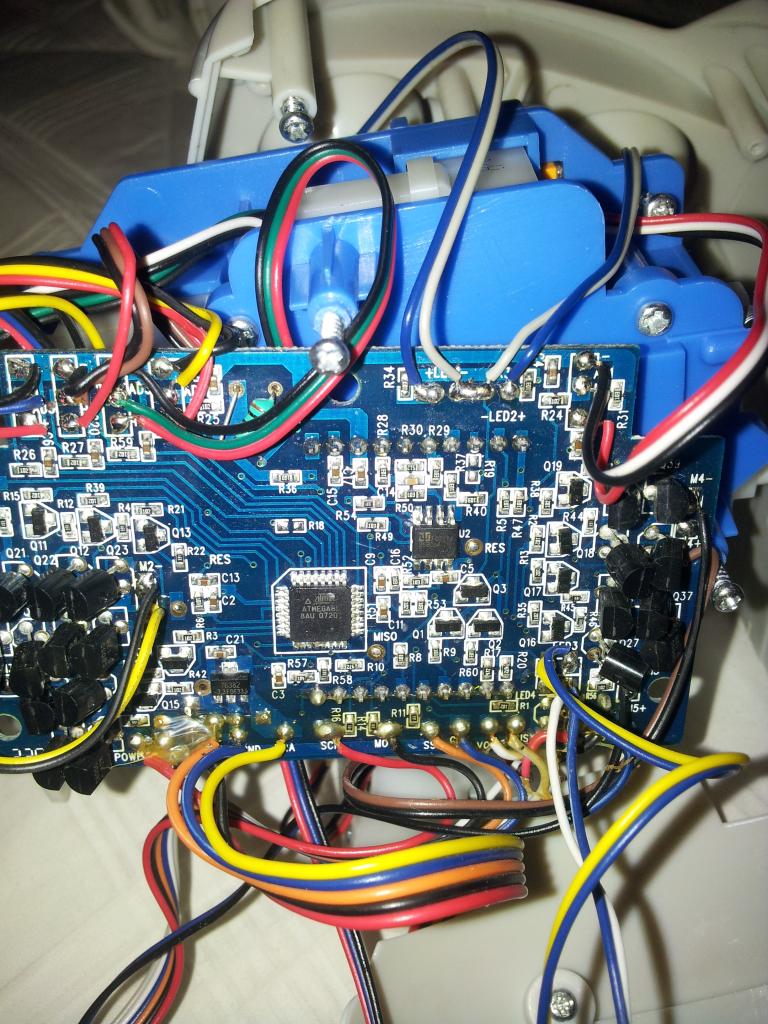
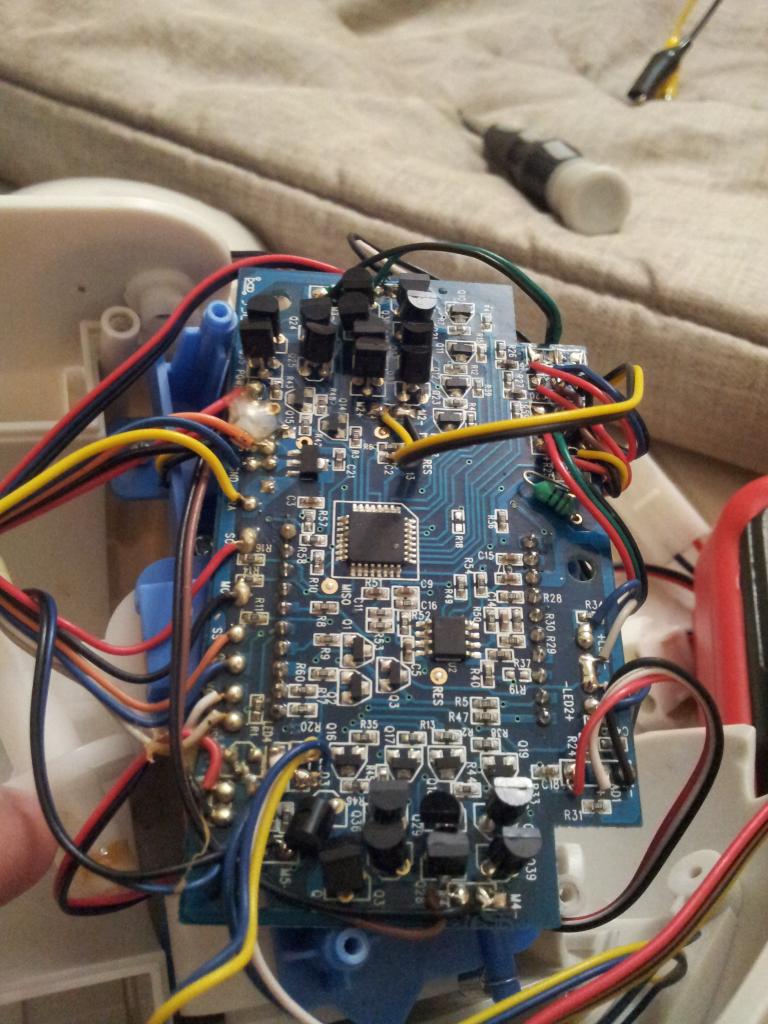
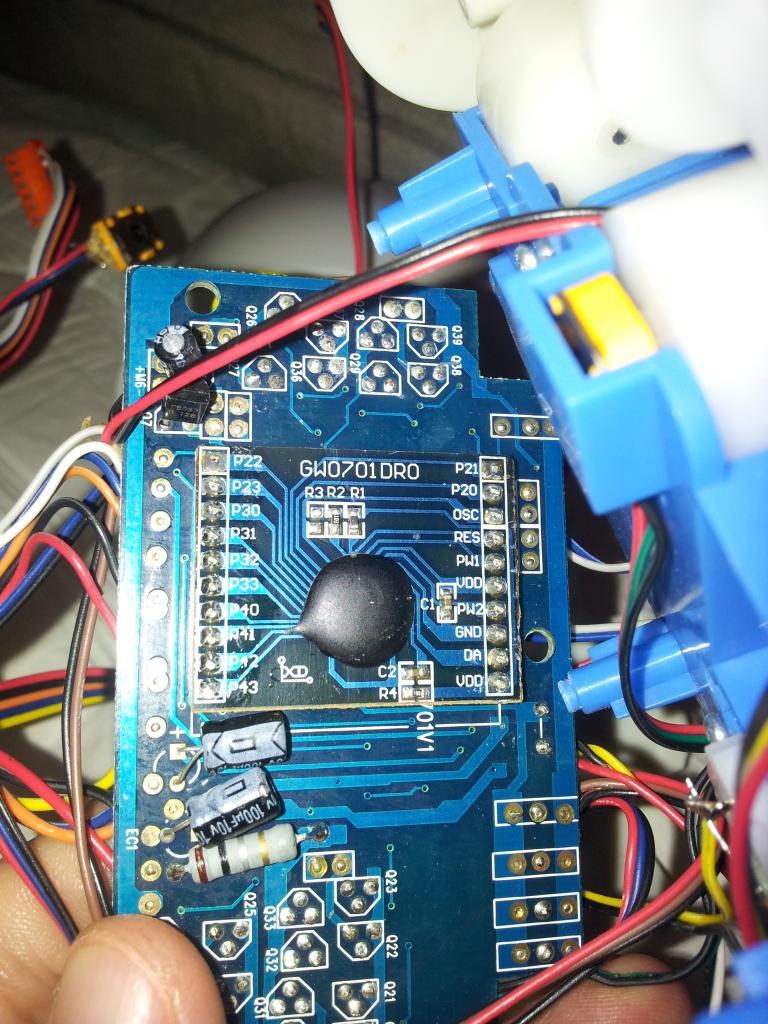
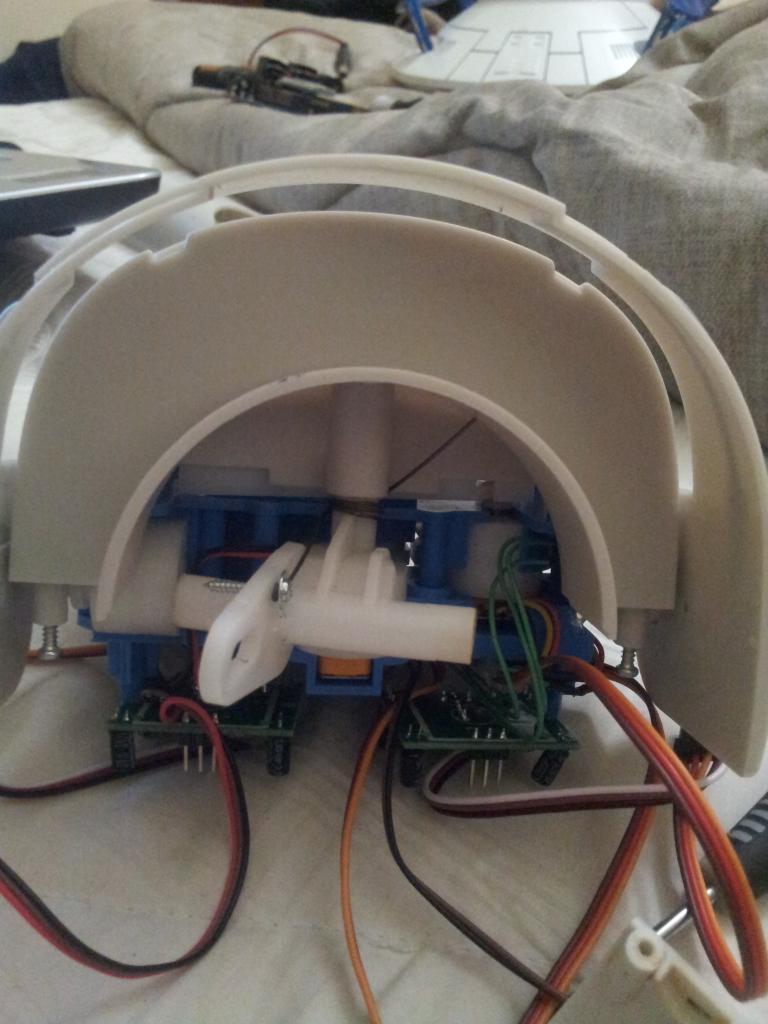
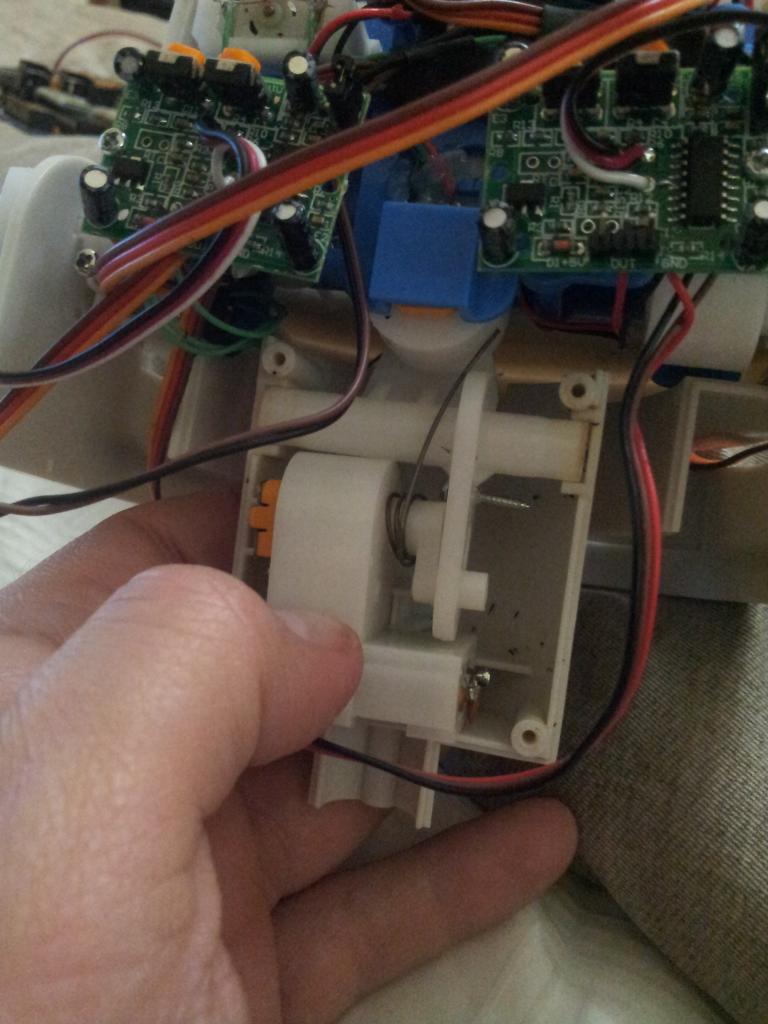
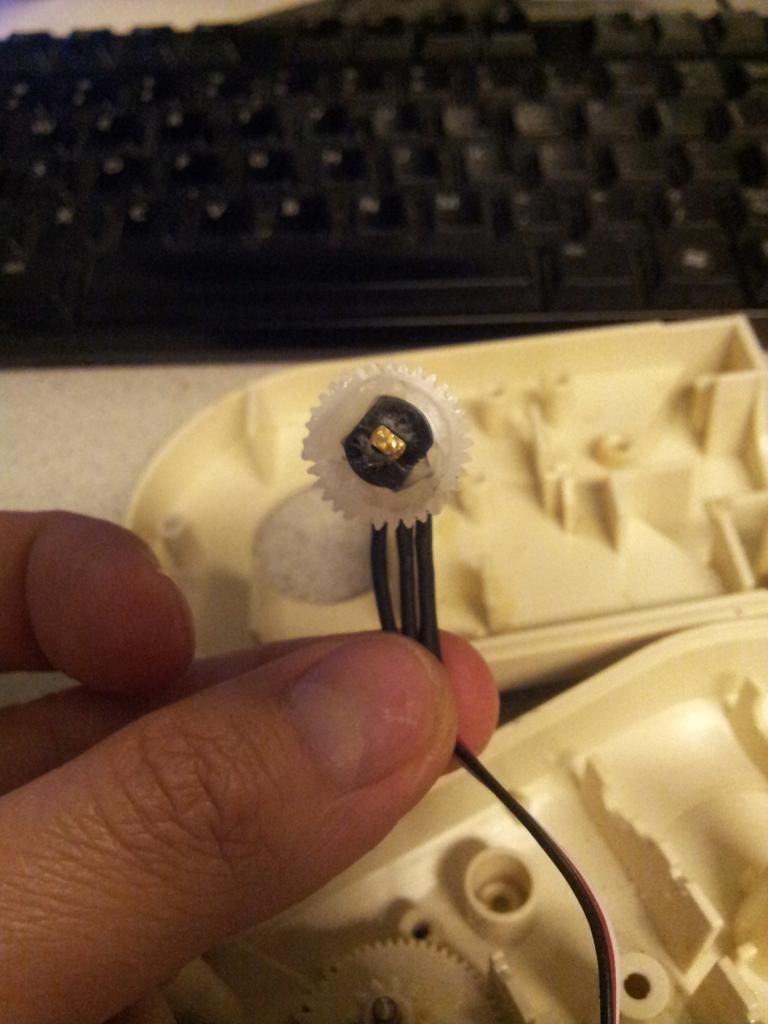
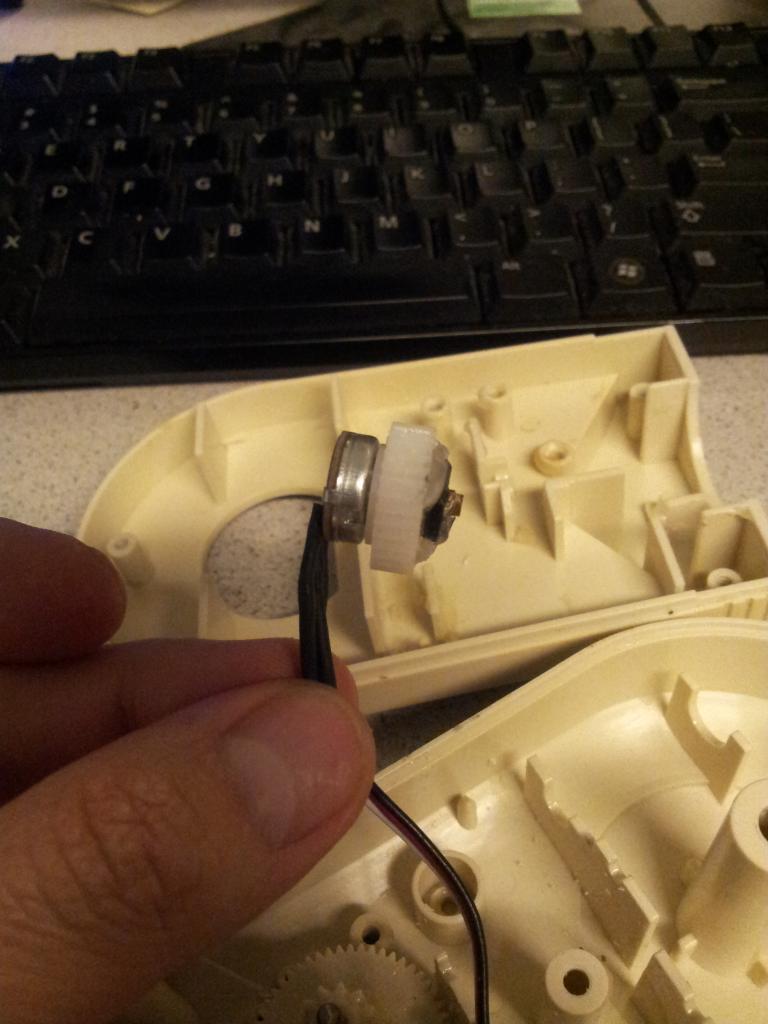
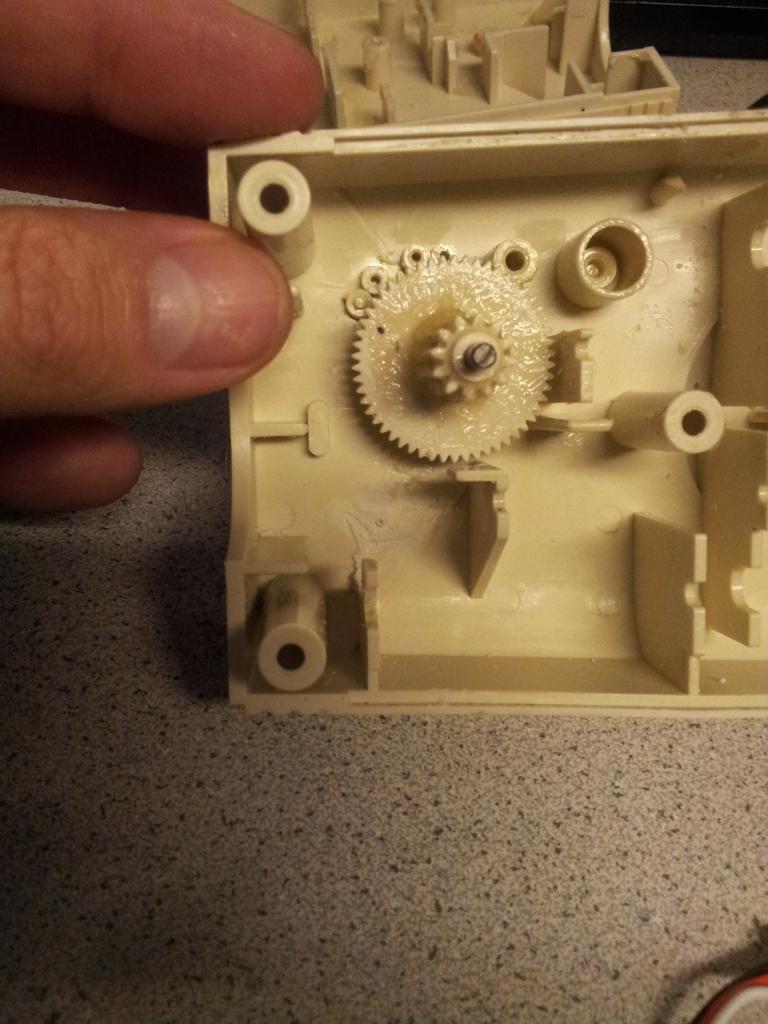
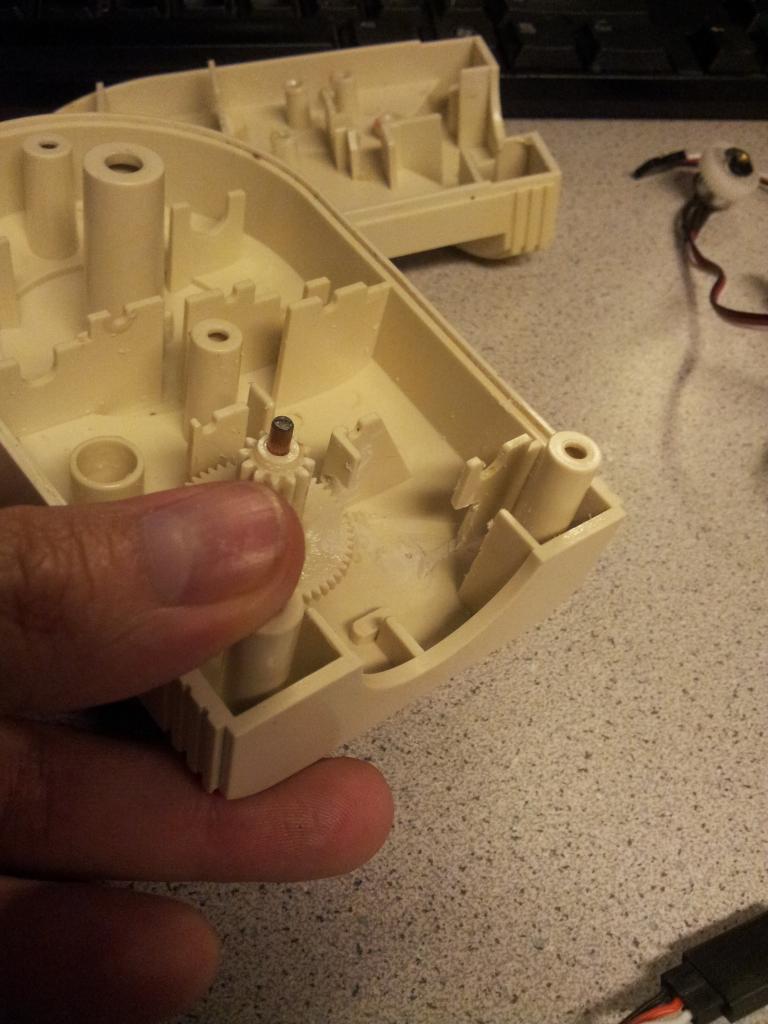
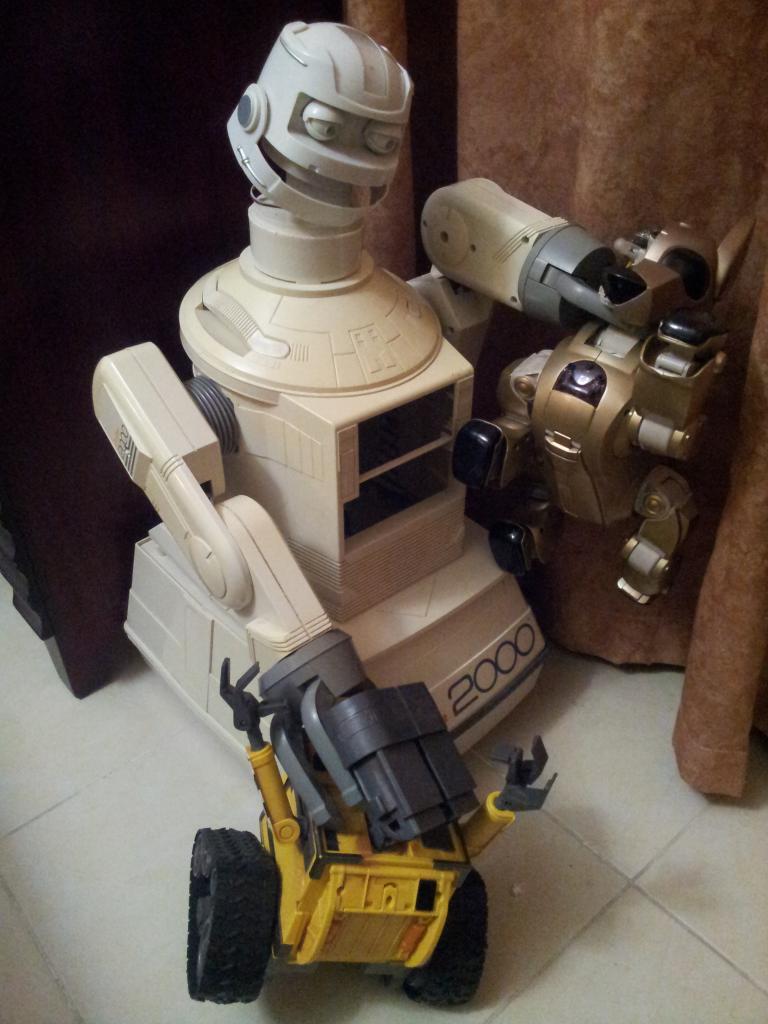
It's just a concept right now but I wanted others to see that the scale doesnt quite match. Right now its just stacked on there and neck is a little too long.
By Troy
— Last update

Discover more robots
Jstarne1's Diy Pc Battery Backup Power Source And 12 Battery...
Build a portable APC battery backup with parallel batteries and 12V charger to power laptops all day using repurposed PC...

Rickymahk2013's MARK X
Launch of first robotic product built with ARC Software; WorthyBot seeks Kickstarter support after years of...

Markthebotbldr's What Should I Name This Robot?
Tiny Roomba robot Red Poppy with Controller IO, temperature and light sensors to amuse your cat.
@SteveS, as prior Air Force, I've had an easier time in the military than many others (Army and Marines) who are still in today. My prayers go out to them.
Troy, can you give me more details about the neck system you built? What is that "piston" you used? Are solenoids ? or linear servos?
Sorry. I meant to say they are like pistons. They serve no purpose but decoration. I will be using servos and pushrods when I get them. They aren't installed as of yet. Oh ... and they are RC car shocks without the springs on it.
Shock absorber
Fabulous. I can't wait to see the arms. That is my next thing.
Ah! It worked fine! Beautiful detail. ??
The same night I did the previous video I also recorded the shoulders but wanted to wait until they were actually mounted. Here it is anyway. It's rough I know but it shows that the tilt axis is vertical to allow the arm to pivot inwards. If I had mounted it horizontally it would be a little different in how it moves. A better vid will come later.
Troy, It is good to see you getting time to work on your bot. It's looking great! I really like the neck "piston"/shock absorbers With all his freedom of movement shown, he will be able to display quite a personality.
Can't wait to see this guy in action! Great job.
Thanks rgordon. It's a bit rough around the edges but I'm near a milestone of getting it together and moving.