

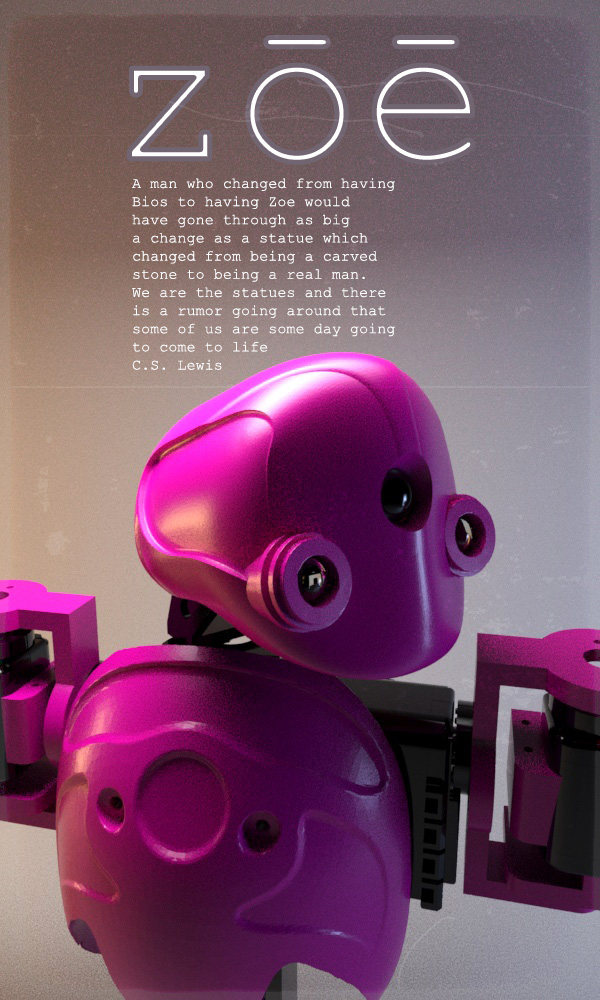
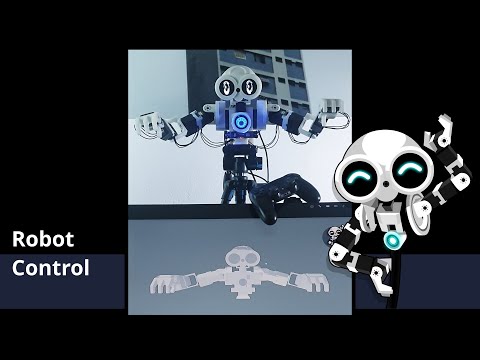
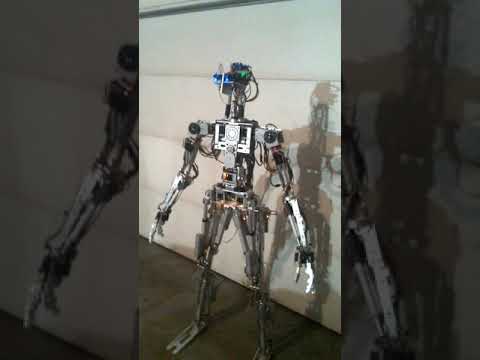
Since my robot is running on a Raspberry Pi, which is now supported by ARC, I decided to evolve my current project K[8] into a new one called ZOE... First steps will creating a new servo setup which supports Dynamixel Servos, and a new Conceptual design!!

ok , thanks what are you doing today?
EzAng
printing parts from zoe.
Hey Nomad...the EZ-Robot Battery you are using has 7.4V correct? It will be perfect for the servos! But DO NOT POWER the Raspberry Pi Zero from the battery, it will destroy the board! You will need to buy a voltage regulator, or just use a second power supply, you can use the charger and cable from your phone! This will work, no problem!!
howmuch do the charger needs to be?also do you have a link from the bearings?thank you
@EzAng I had to convert this from celcius as I live in Canada So The Bed Temp is 149 deg Fahrenhite and I always use 475 deg Fahrenhite for the Extruder I use these no matter what the box says. I print on glass and I use Aussie Mega hairspray not all hairsprays work. spray on the glass 2 coats while the glass is off the printer .I use 2 springclips to hold the glass on the print bed. the printed part should release when the bed is cold. if I am printing more pieces I have several pieces of glass so I can keep printing, while the last print cools. You clean the glass under hot soapy water, also a light spray of hairspray alows you to continue printing on the glass several times before it needs to be washed.
nallycat ,
thanks again buddy,
just go in my PETG, maybe printer on Monday
I have been doing ROS, Linux - keeps me busy
Be well,
EzAng
Hey Nomad, good progress on the prints!!
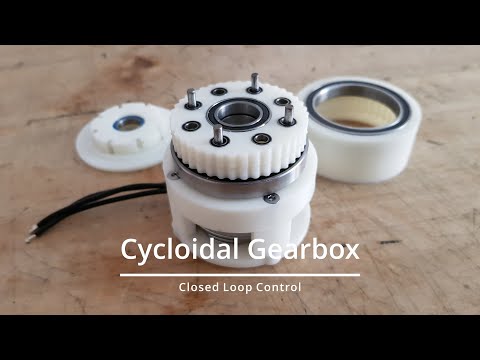
You need two of these bearings!!
https://www.123bearing.eu/bearing-6809-2RS.php
The charger for the Raspberry Pi Zero can be any ordinary phone charger, but you can also order the official charger for the Pi Zero...
https://www.reichelt.de/raspberry-pi-netzteil-5-v-2-5-a-micro-usb-schwarz-nt-musb-25-sw-p167078.html?PROVID=2788&gclid=CjwKCAjwnIr1BRAWEiwA6GpwNcmBifu1QpkBnIcVwTo7oiqdgTJm-VAUhCNnWylYnT5HA5BinXfSVBoCNFMQAvD_BwE&&r=1
i go for original parts.tomorrow last parts to print ,the brackets.:D so that leaves to by a raspberry pi zero.