


This here currently-headless wonder is Little WALL-E...
Little WALL-E was once of the Interaction variety and, although clean, he came to me sans head. I didn't ask and he hasn't said. Either way we're in the market for a replacement if anyone has a spare.
And a few pics of his progress...
Tops | Updated 7/3/2011 (ORIGINAL)

Under Tops | Updated 7/3/2011 (ORIGINAL)

Tails | Updated 7/3/2011 (ORIGINAL)

Under Tails | Updated 7/3/2011 (ORIGINAL)

Ta-da! | Updated 7/3/2011 (ORIGINAL)

Under the Hood | Updated 7/3/2011 (ORIGINAL)

By radmeck
— Last update

Discover more robots
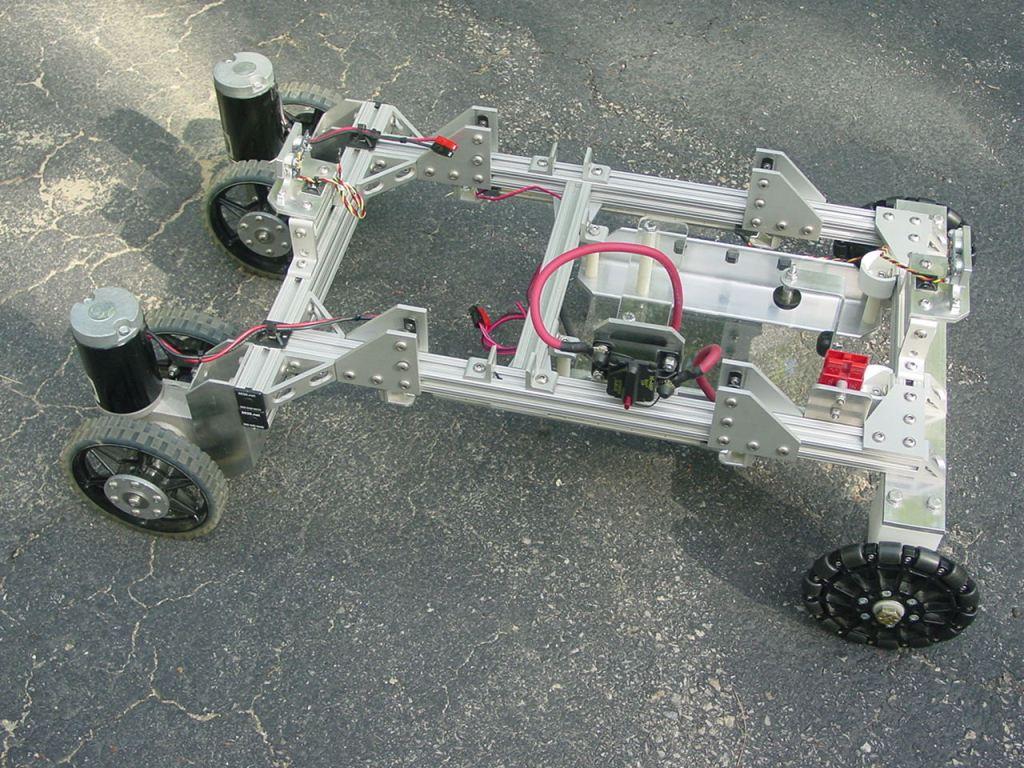
Jim's Project Armadeus
ARMadeus Mk7 articulated robot, 48" tall and 112 lb, modular 80/20 chassis with 12V gear motors, servos, linear...
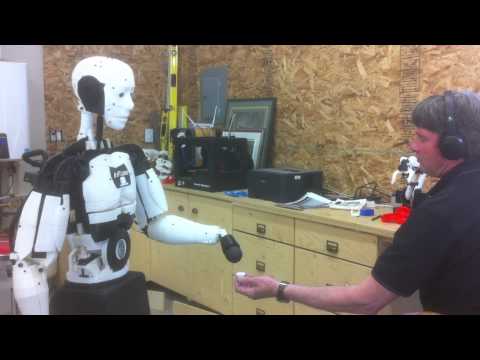
Bhouston's Inmoov's New Gripper
3D-printed syringe-powered universal gripper adapted for InMoov arm; picks up small objects; EZ-Robot OS enables easy...
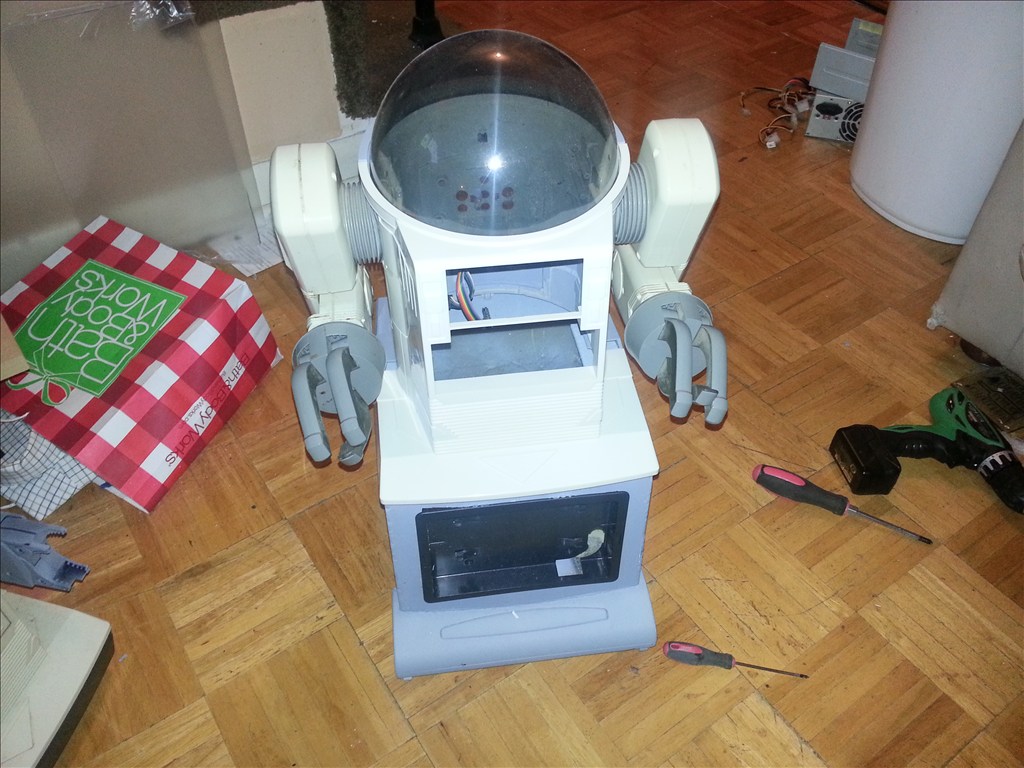
Jstarne1's Meet Dusty , Modded Omnibot 4 Home Security Cam,...
Dusty omnibot torso: vacuum and silent sweep modes, germicidal bulbs, multi-stage carbon/foam filters, pan-tilt camera,...

Unhappy with the results of directly mounting the arms to the servos, we started over using some very nifty chains and sprockets to offset things a bit. Also upgraded to HiTec HS-56HB servos for increased durability and their unique mounting options...
By the way, you can get the miniature mechanicals at ServoCity: Servo Sprockets (.1227) Plain Bore Sprockets (.1227) Plastic Chain (.1227)
Dude, i totally LOVE that design. Serious kudos!
You mentioned you were unhappy with mounting the arms on the servos, could you please give more details? How is direct mount different from the chain drive? I am working on a Wall-e project too.
Thanks
I would have preferred directly connecting them for the sake of simplicity but the lack of space made for several structural compromises that weakened the mechanism a little too much for my tastes. Also, by offsetting the servos I was able to keep much of the original mounting components/design with slight Dremel/X-ACTO modifications. Yes, that means the arms still pop off at the shoulder joint so they can be easily re-positioned without messing with the servos!
That being said, since they are no longer connected directly, the effects of external wrenching or twisting to the arms should largely be absorbed by the arm mounts and chain before hitting the servos. A link in the chain (or the arm itself) should pop off before any serious (kinetic) damage can be translated to the servo. The HS-56HB servo's stronger gears should help in that regard as well. Mounting the servos towards the front also frees up that valuable accessible real estate towards the back for mounting bigger batteries and your EZ-B...
Finally finished his left arm after an all-night miniature mechanicals marathon! In a state of delirium working on the other left and right arms now. Heheh...
Servos and sprockets... Oh me! Oh my!
My what mini chains you have there...
That'll do it Jerry...
Lookin' good Gov'na!!
Great to see that setup in action! works very well
Got his alternate-location left arm linked in and working! One more to go...
My third arm...
Dude, that's some serious engineering
What happened to your finger?