
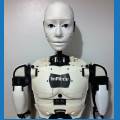


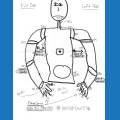
My InMoov Project.
Its taken about 3 weeks with breaks in-between and have nearly finish the head, also getting use to 3D Printing! As I brought my first 3D Printer to start this project ( FlashForge Dreamer ).
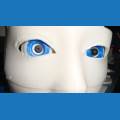
Man getting the eye mechanism setup correctly with the 3 servos is a really pain!
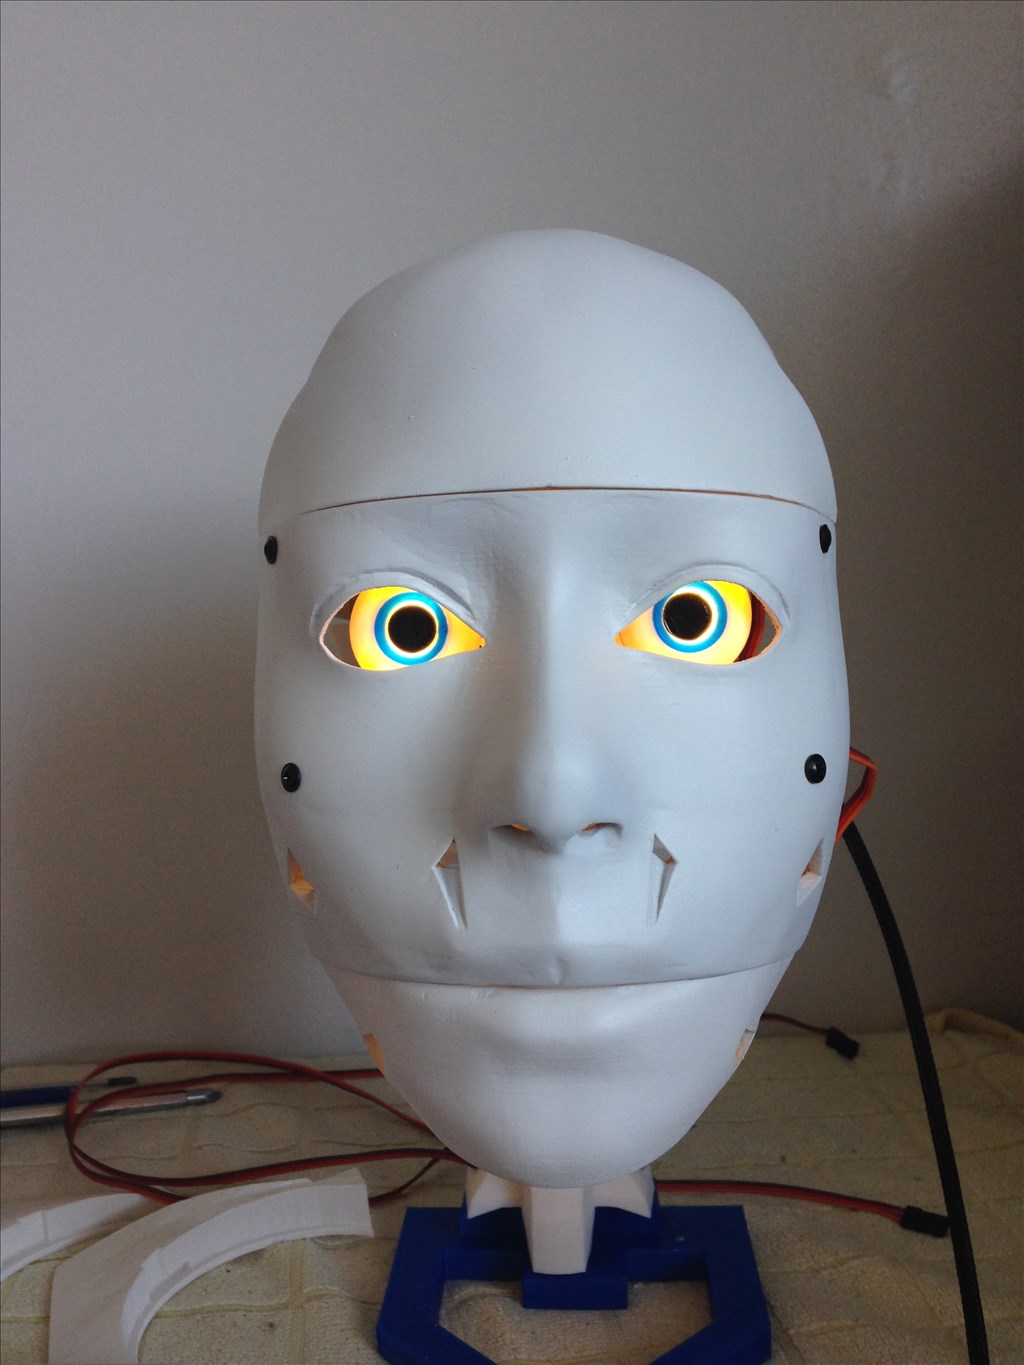
I though I would put LEDs behind the eyes, to come on when Inmoov is activated, but I'm not sure about it?
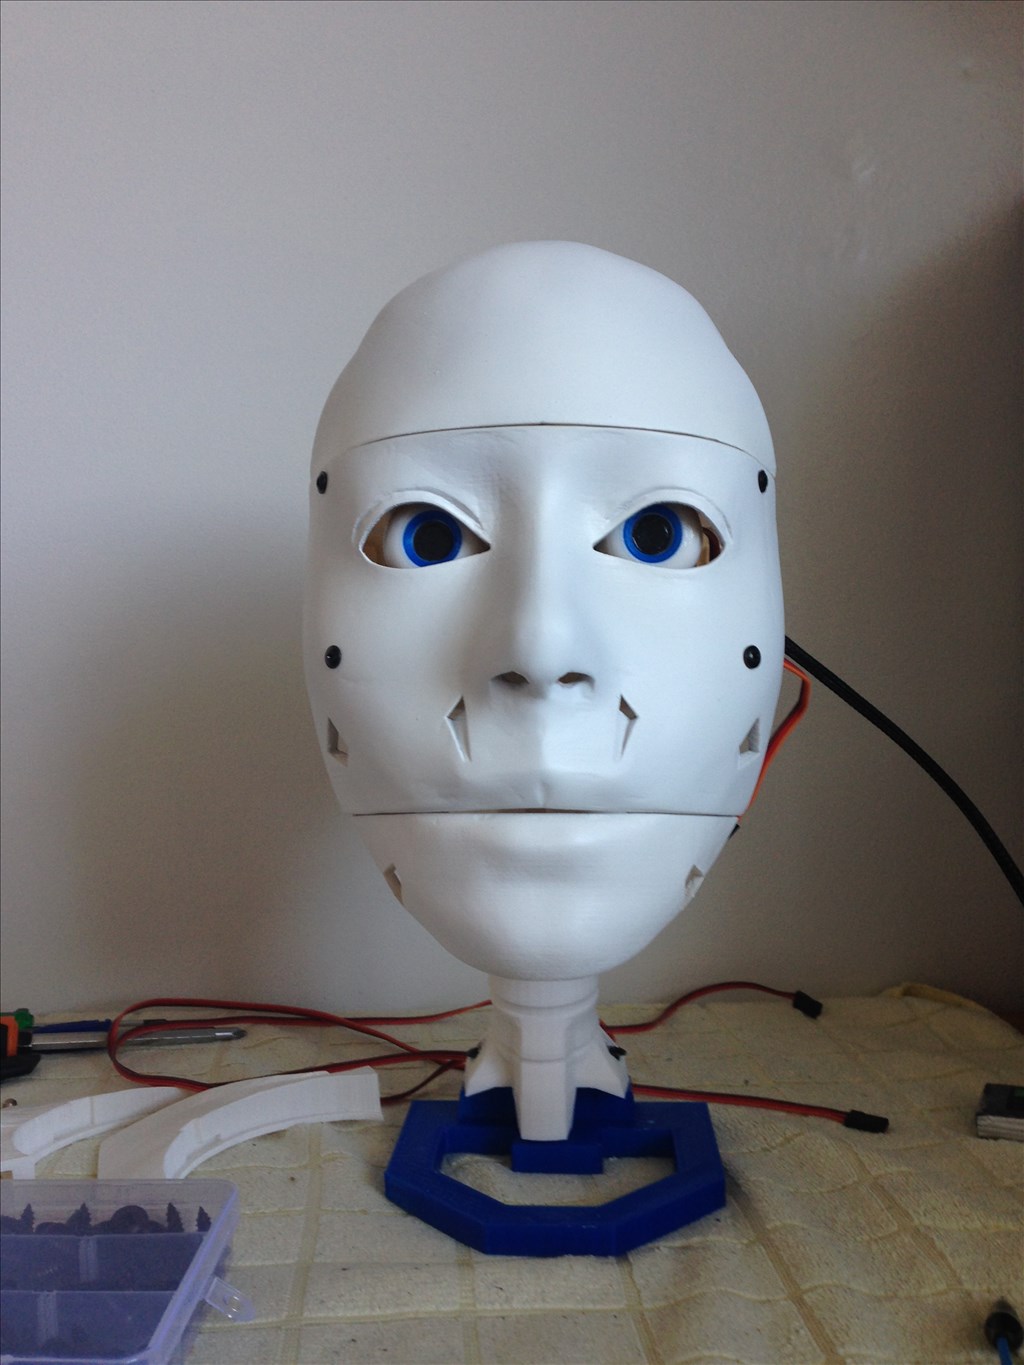
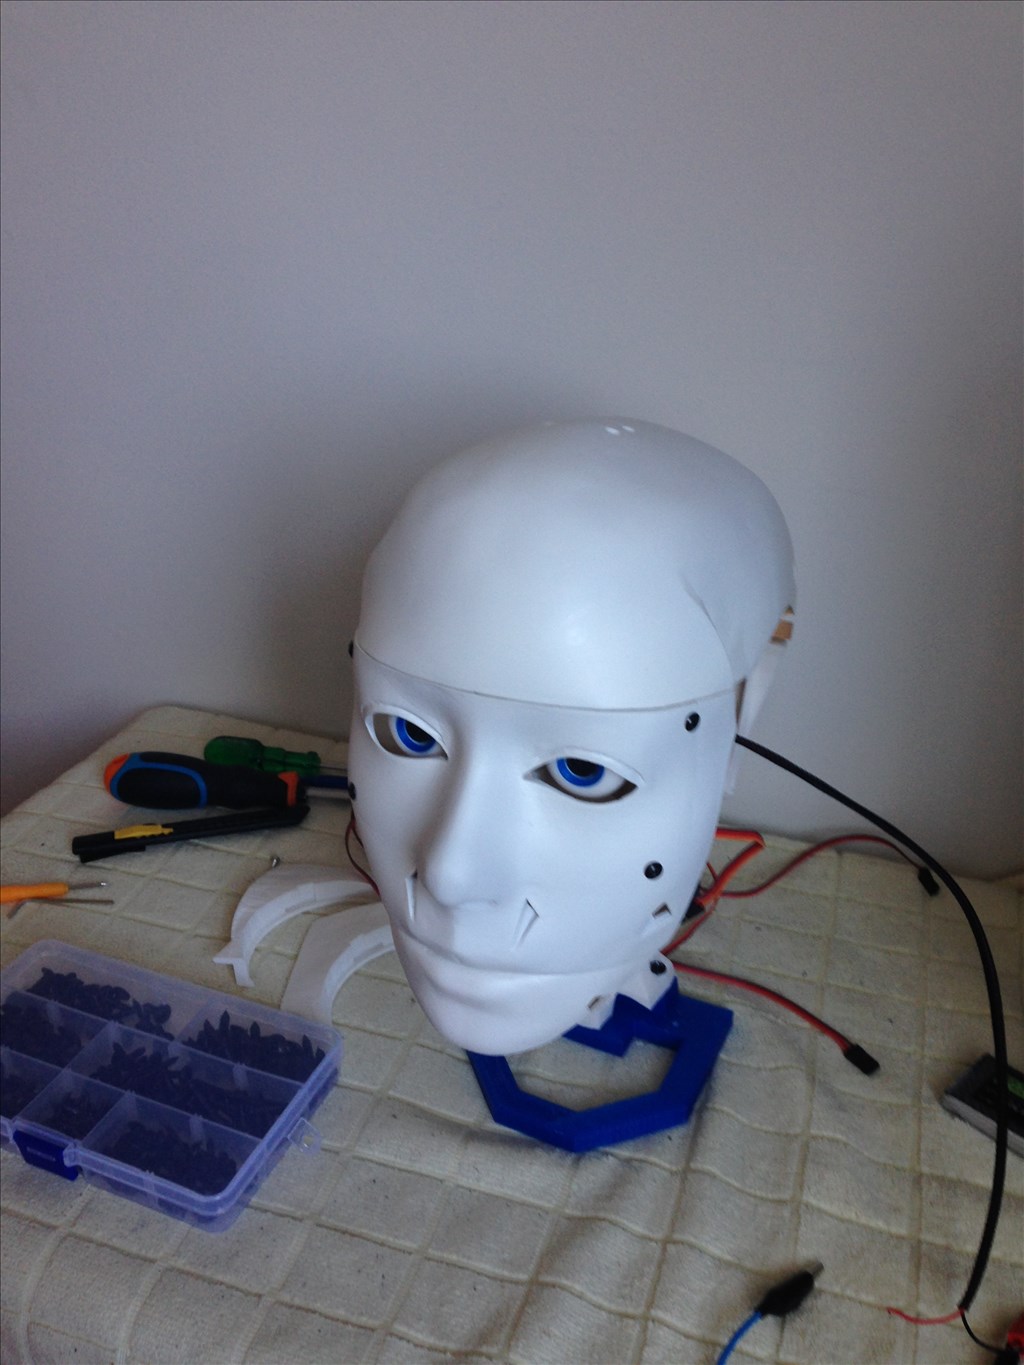
Yes, it cracked along one of the joints, will need to be re-glued, filled, sanded, and sprayed again.
Also I need to create another Head stand, which is a lot more stable.
I see a box of screws in the photos. I am printing the head on my replicator 5th gen. Did you buy a kit of screws? Are they nylon or metal? What size are they?
@mstephens_42 Yes, it's was a kit I got off eBay, there metal. Can't remember the sizes exactly, I think they were 4mm, 6mm of different lengths and some 8mm ones that I haven't used!
There's been a number of past posting on the InMoov website forum about screws required.
Just go to the Home Depot... every screw, nut and bolt you will ever need for assembling an entire inMoov is there... Just buy a variety for screw sizes and you'll be fine... That's what I did...