
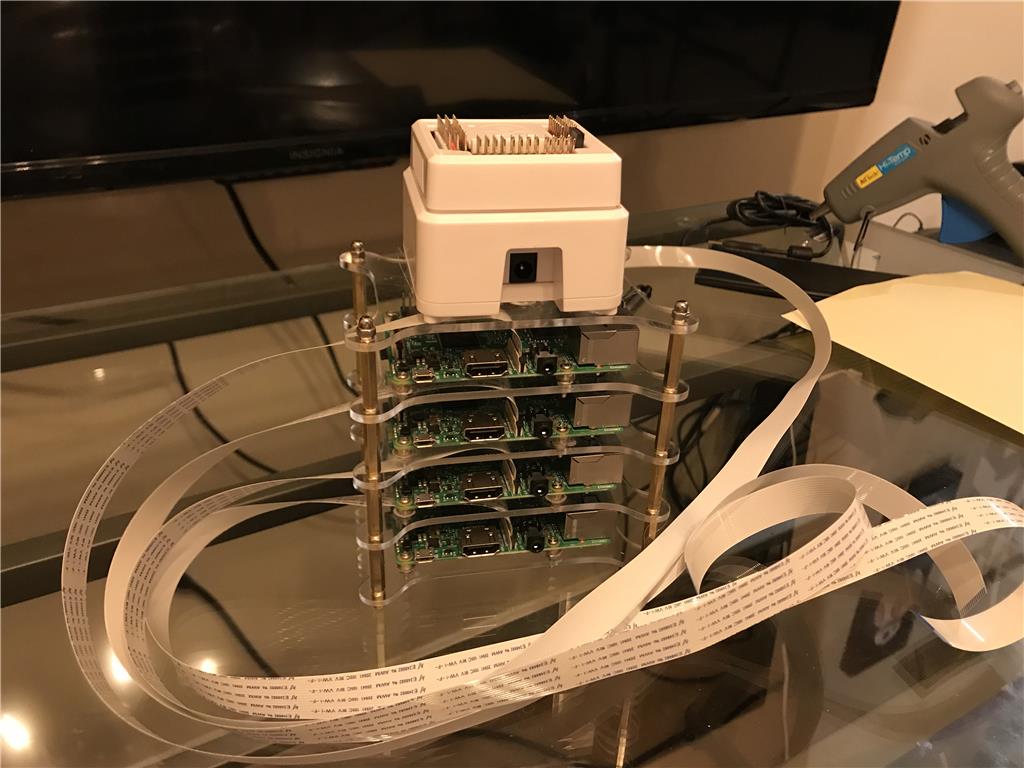
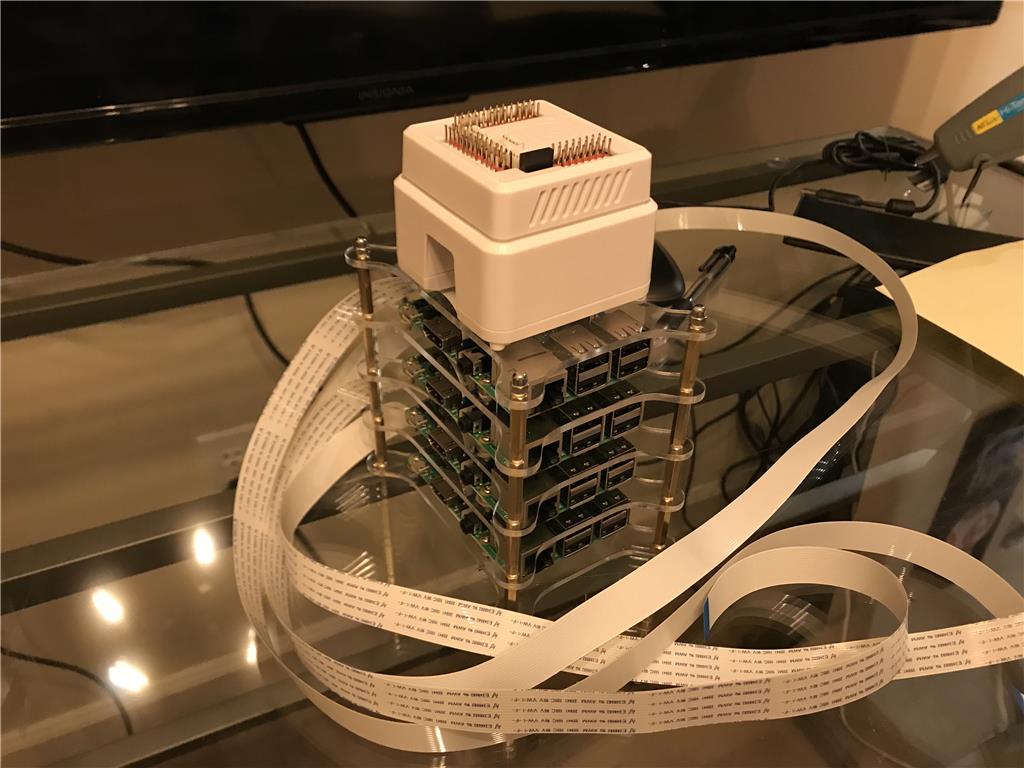
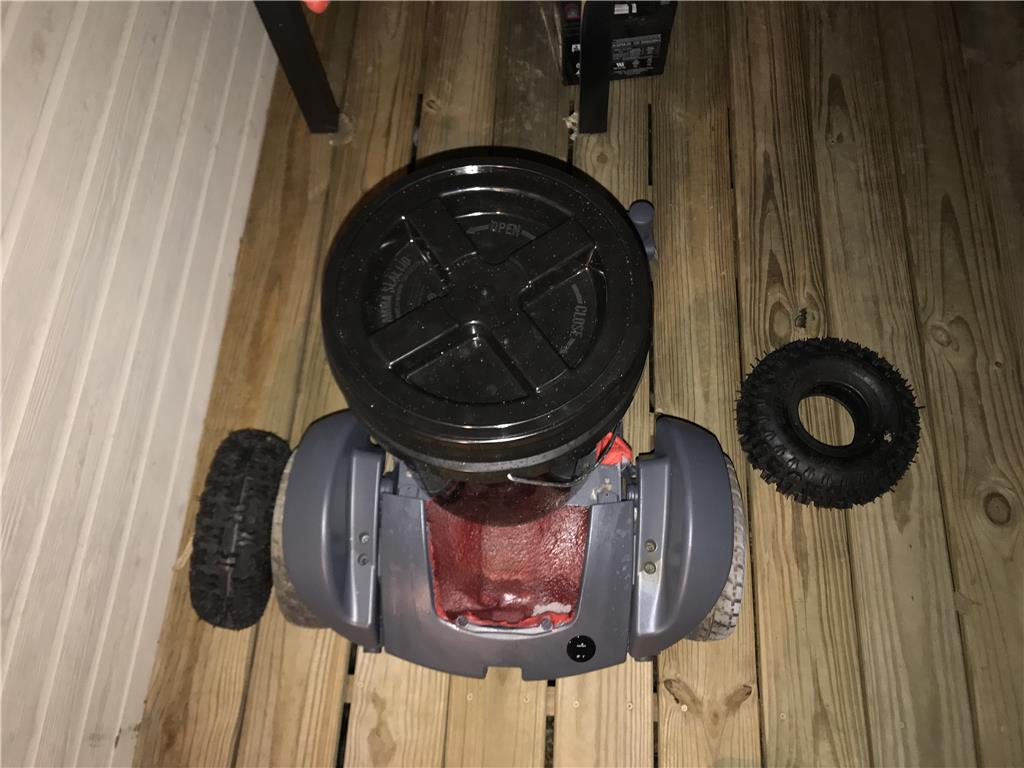
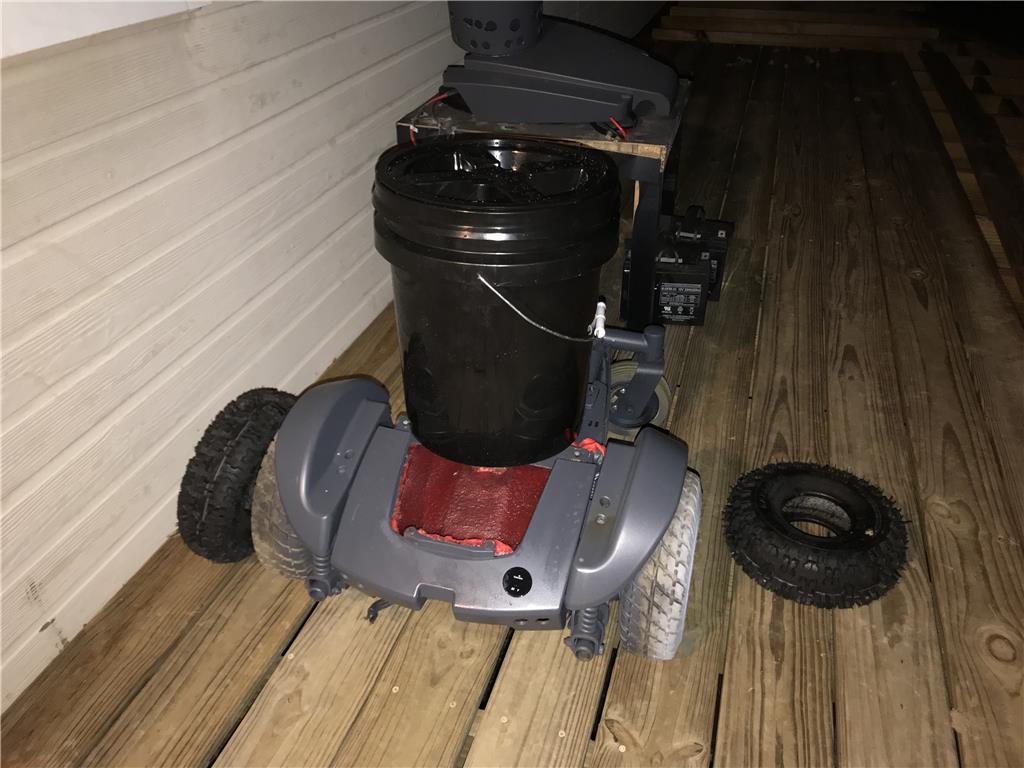
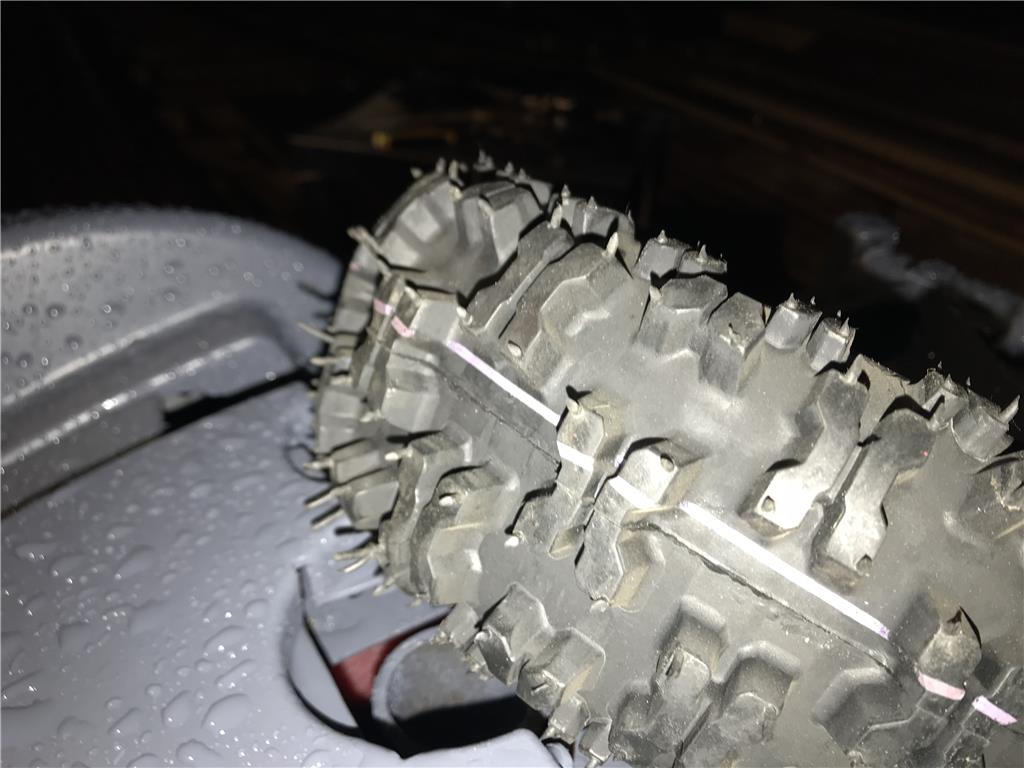
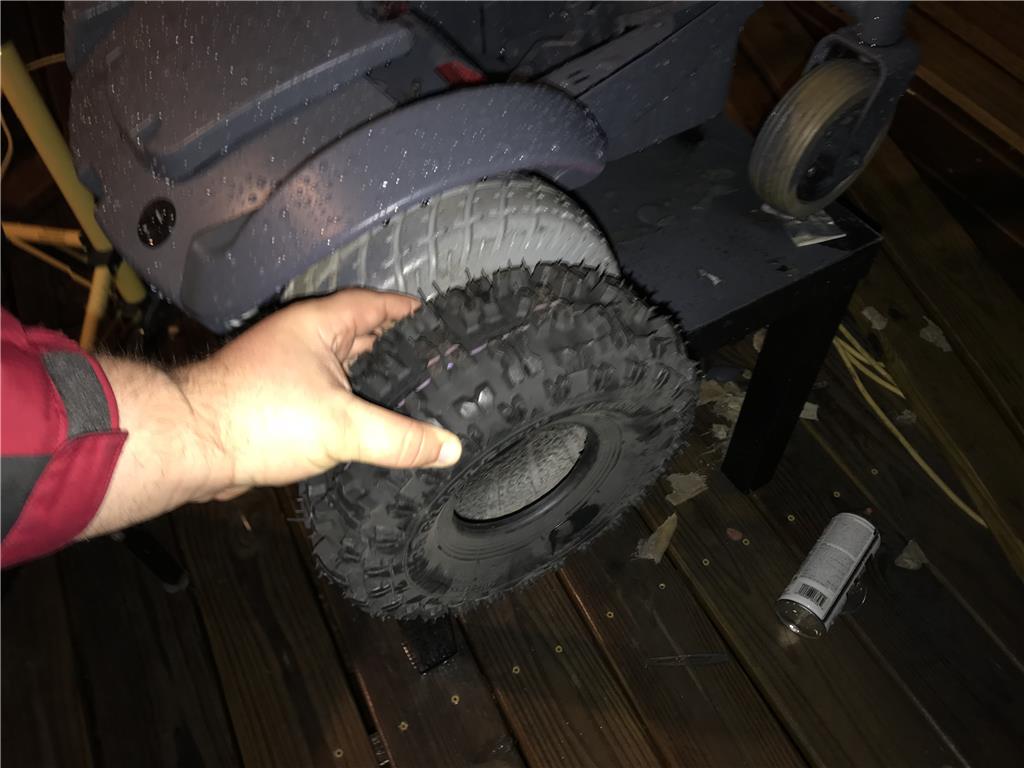
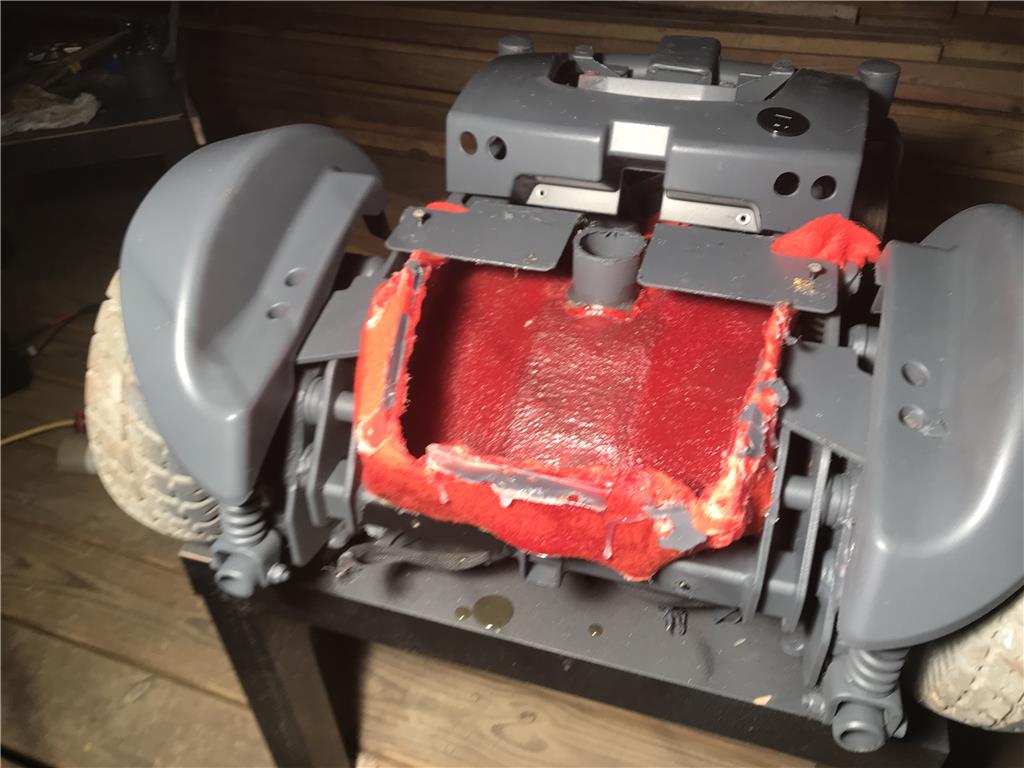
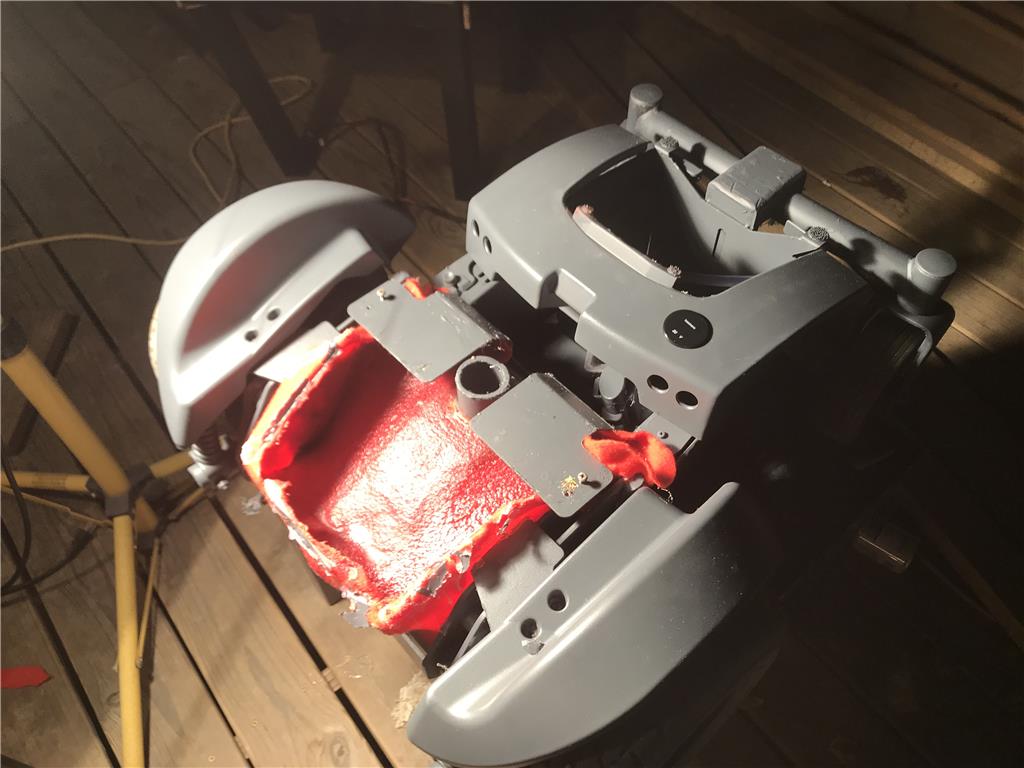
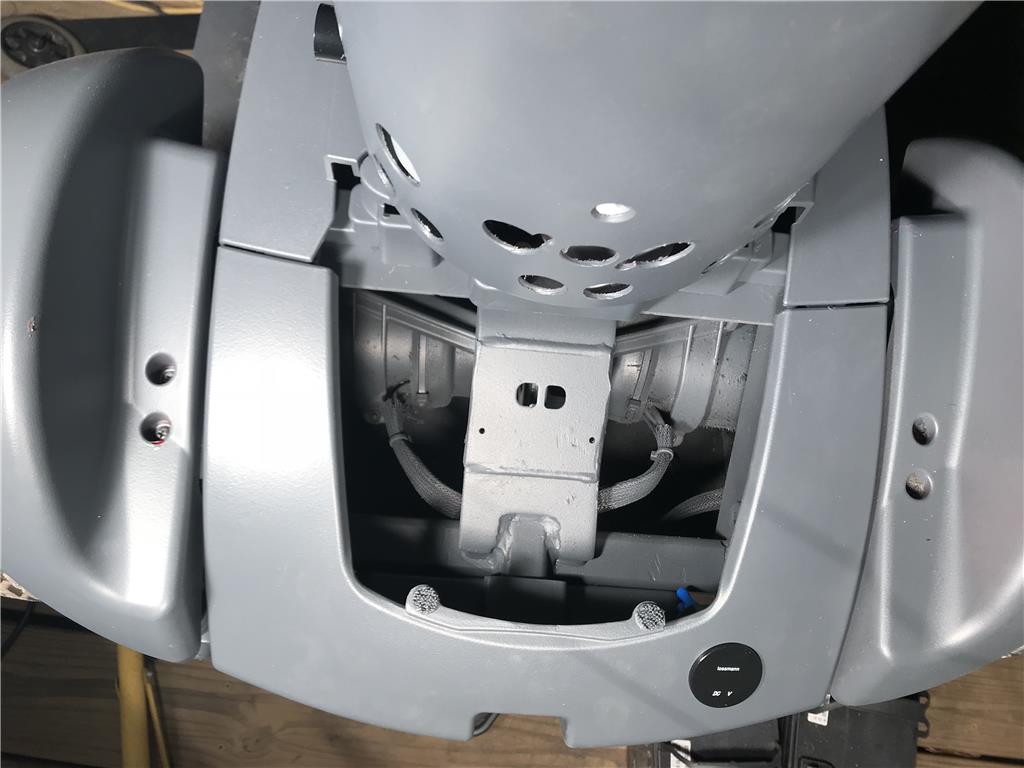
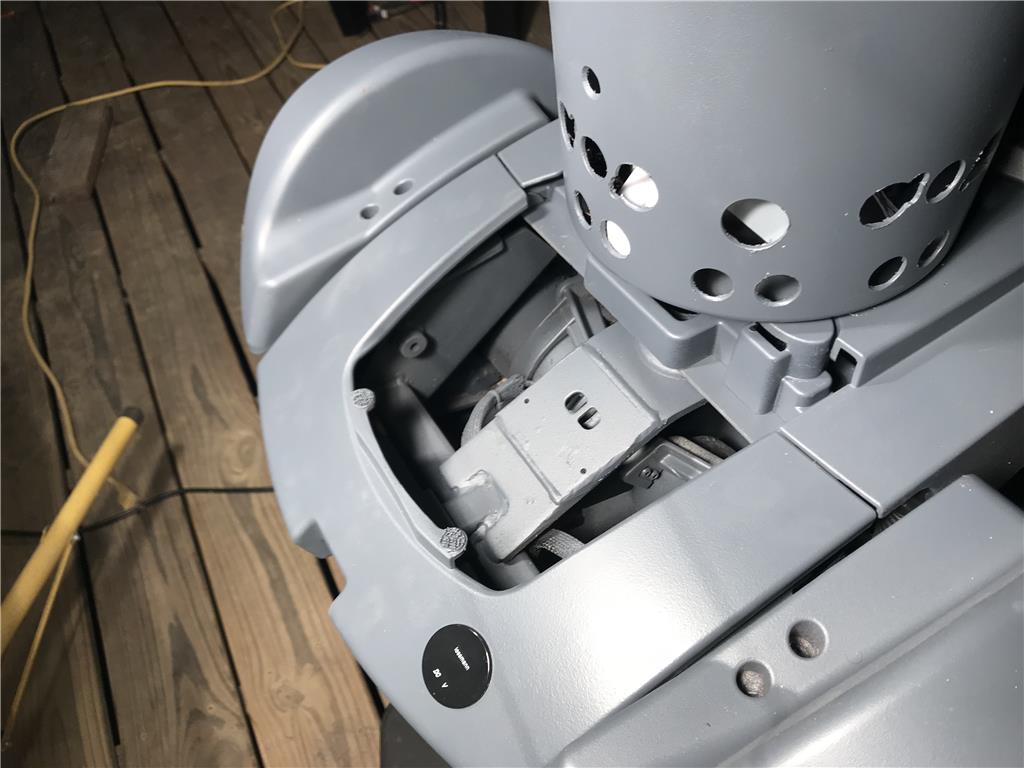
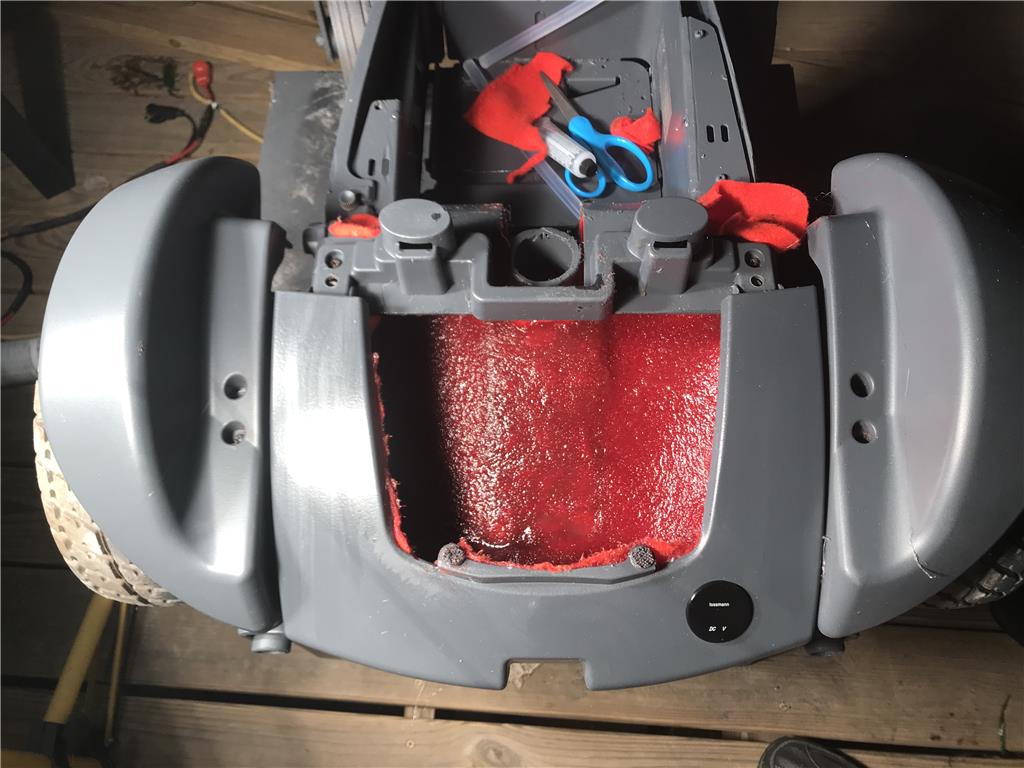
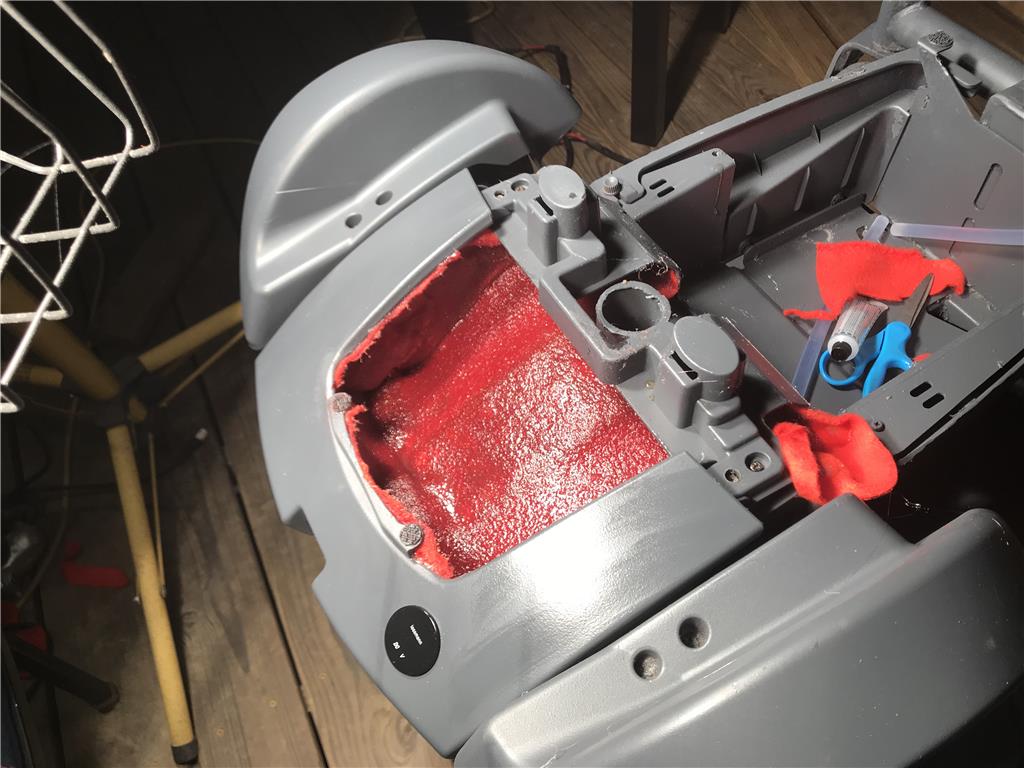
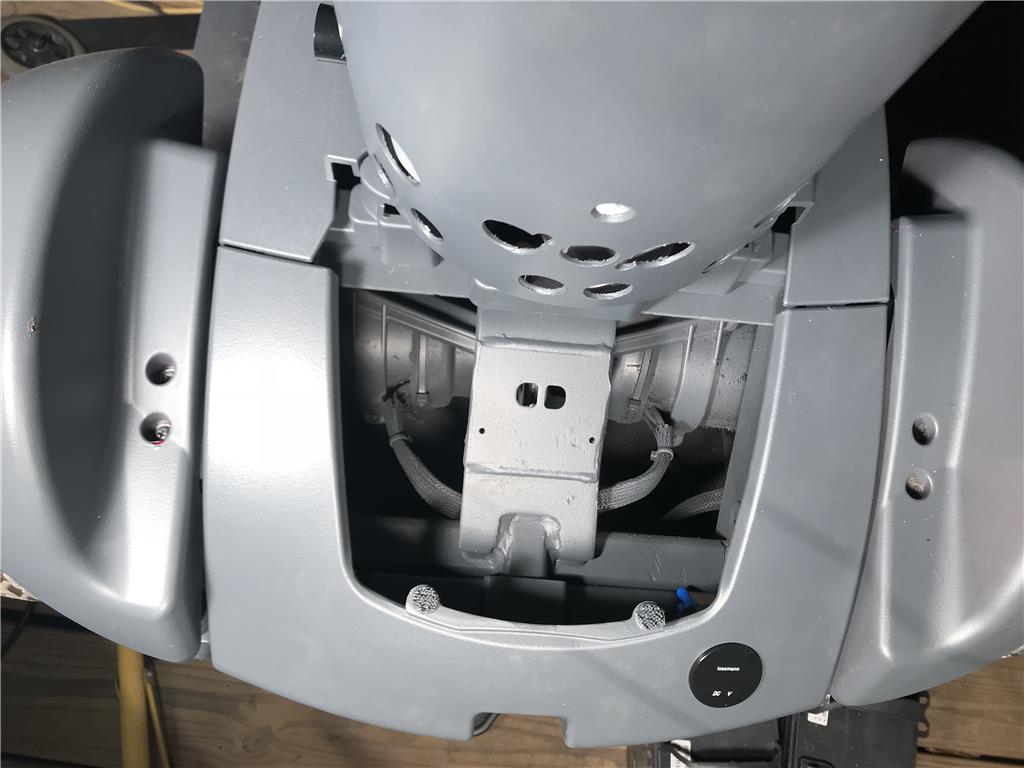
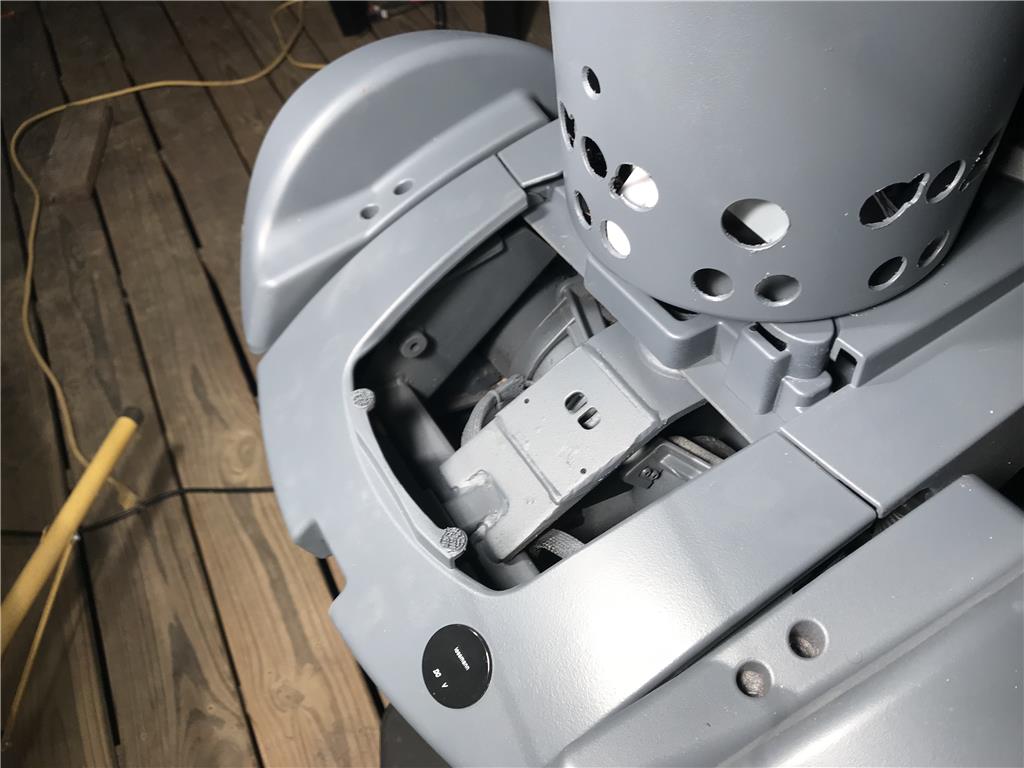
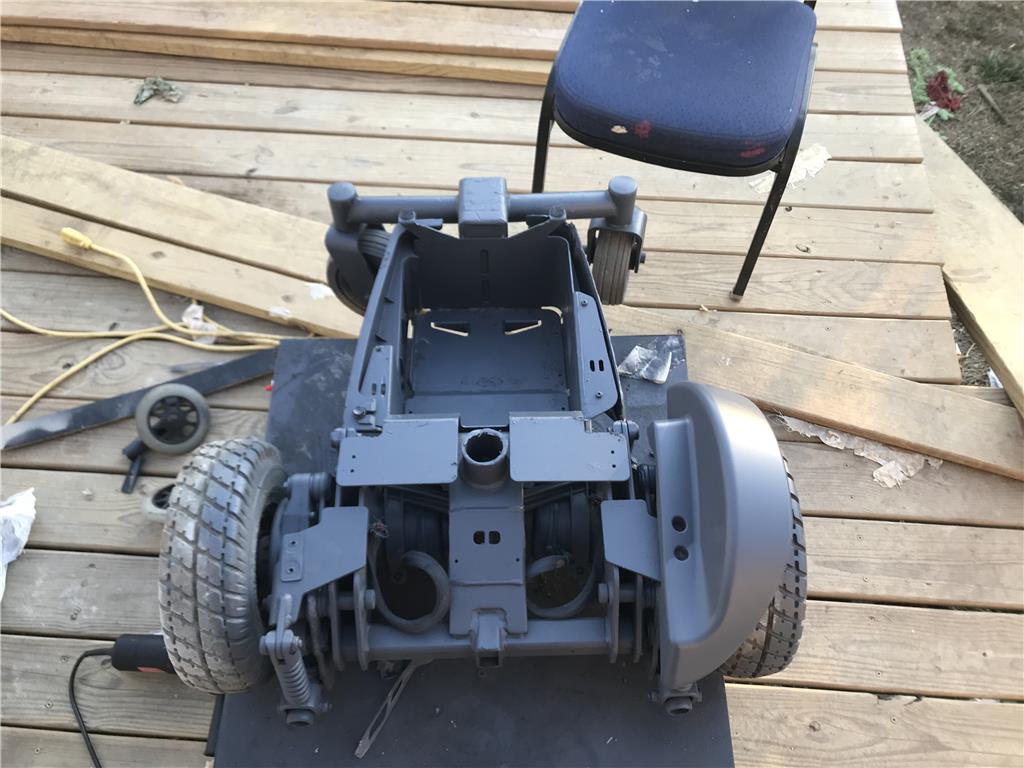
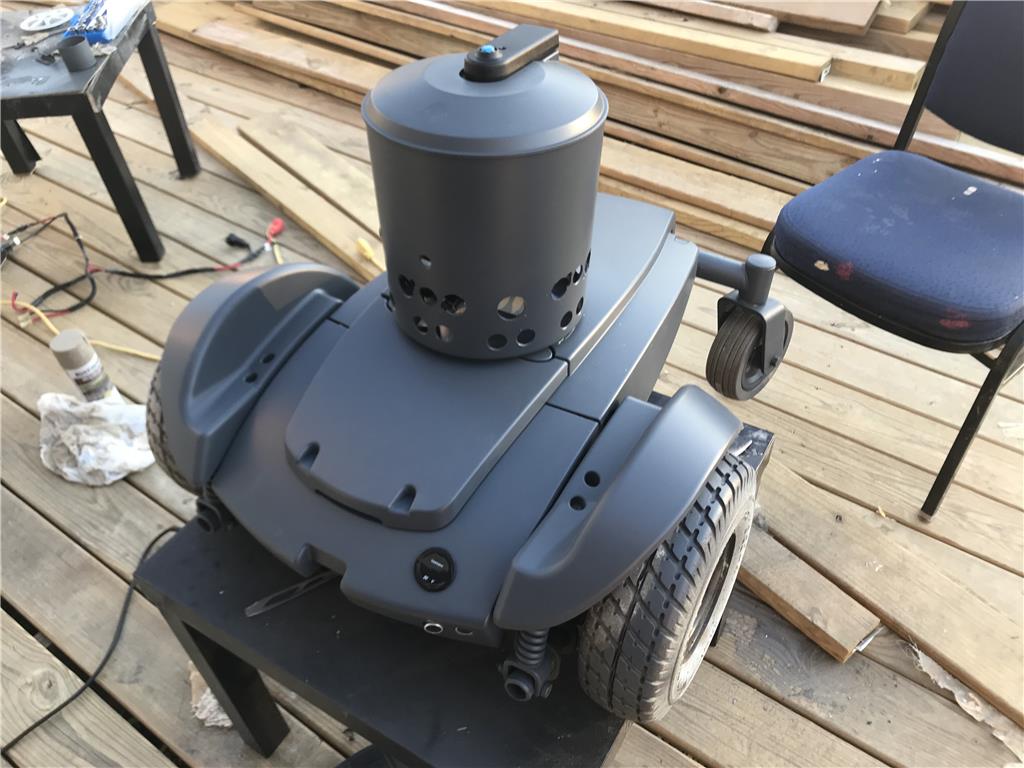
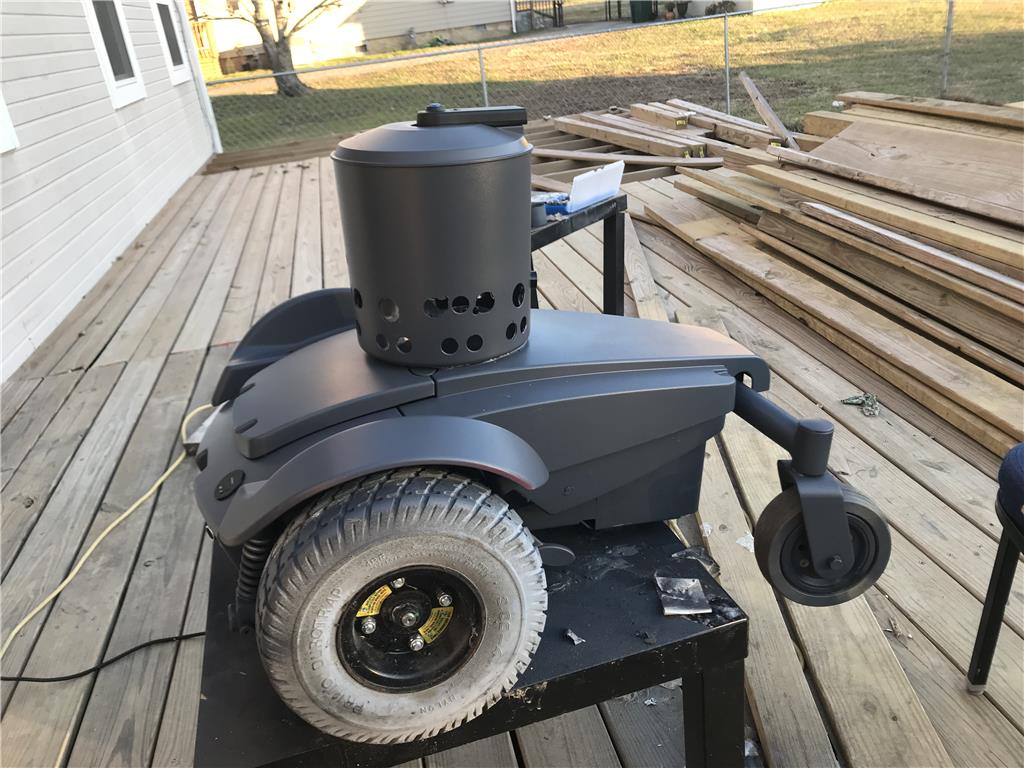
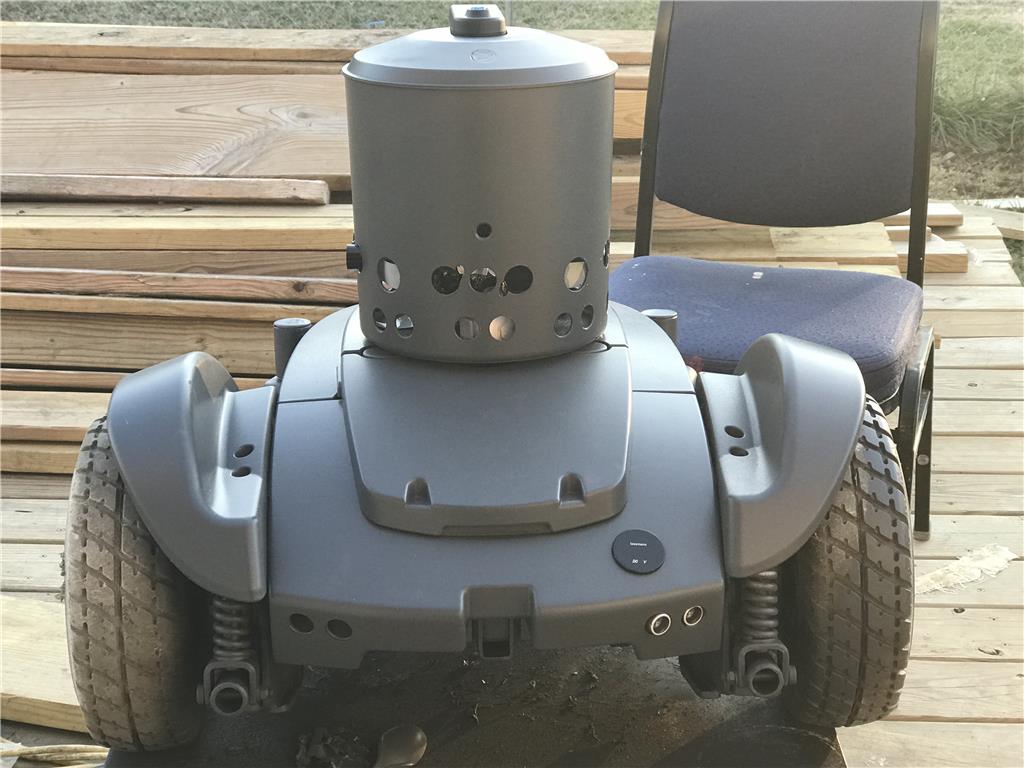
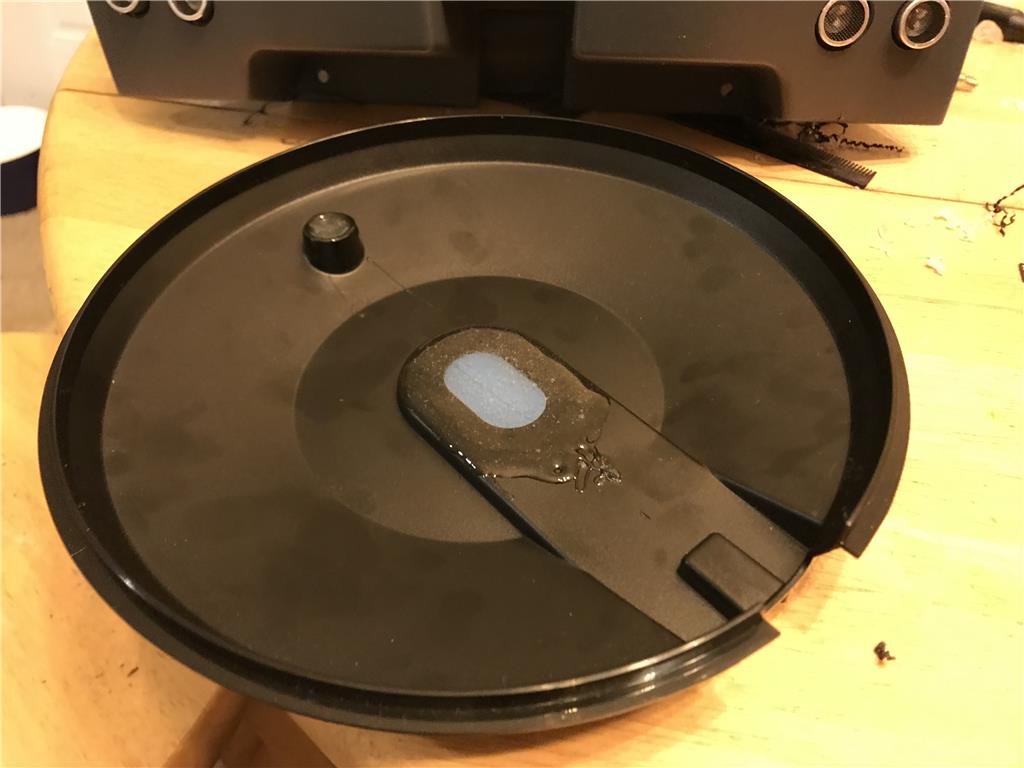
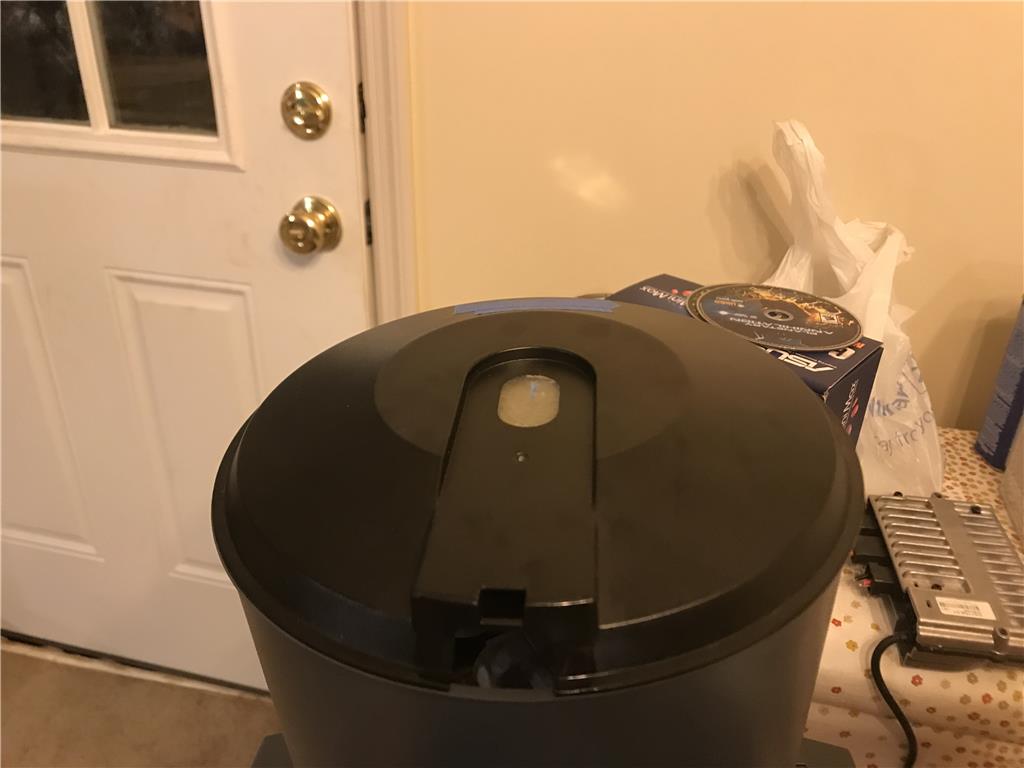
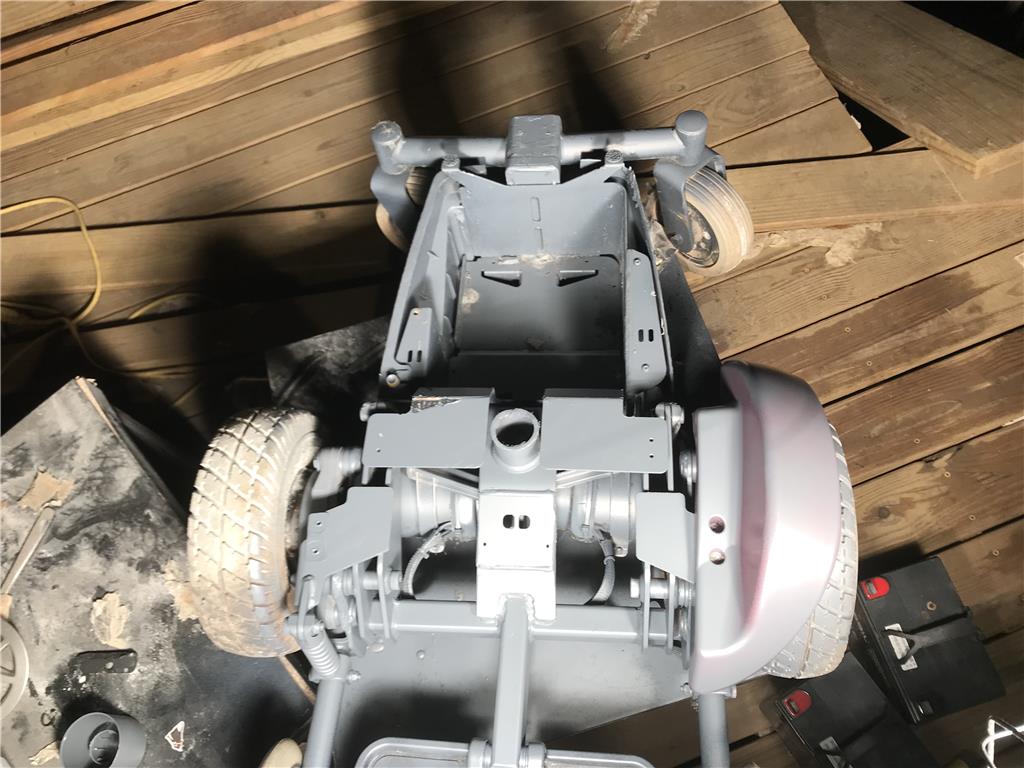
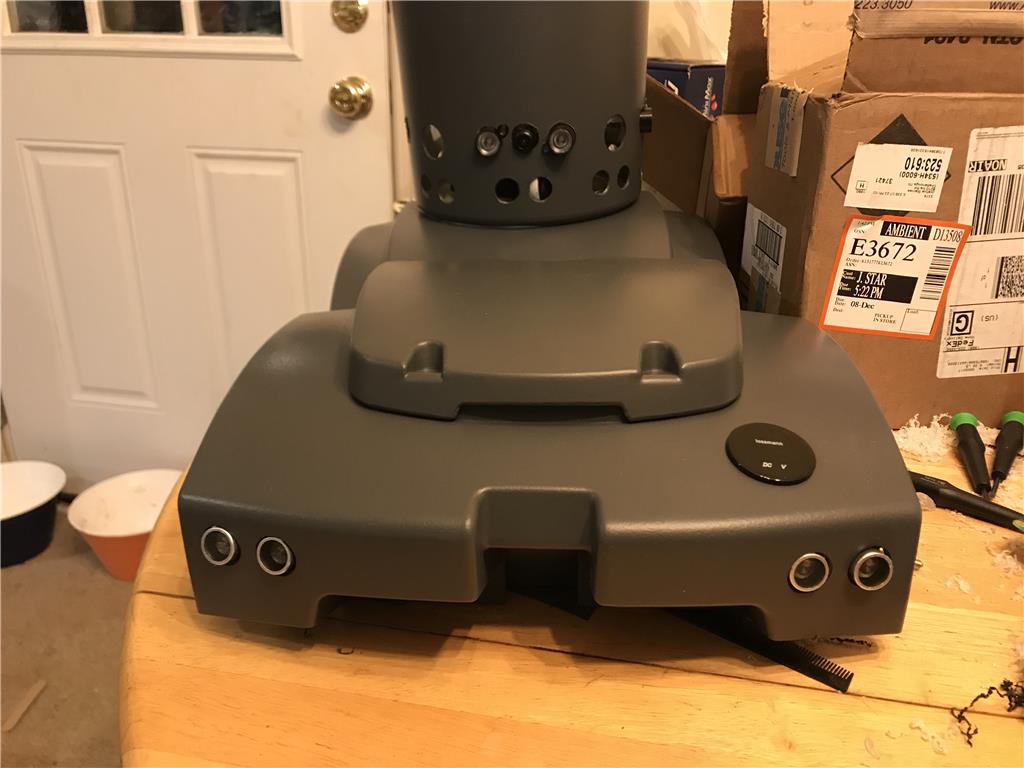
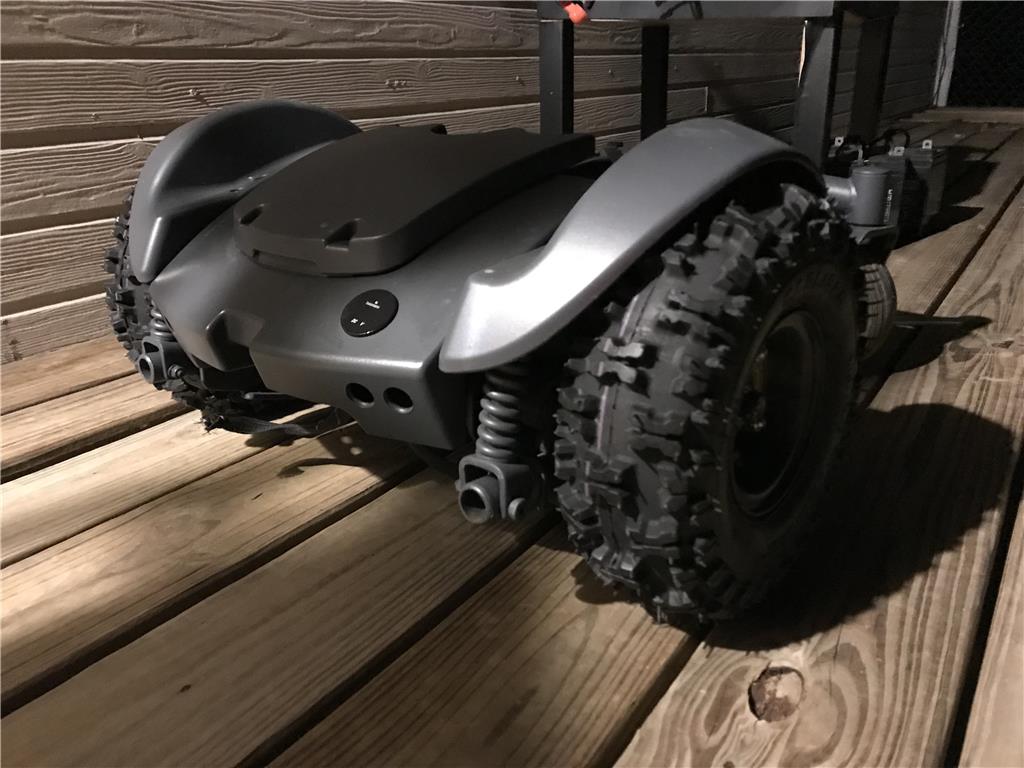
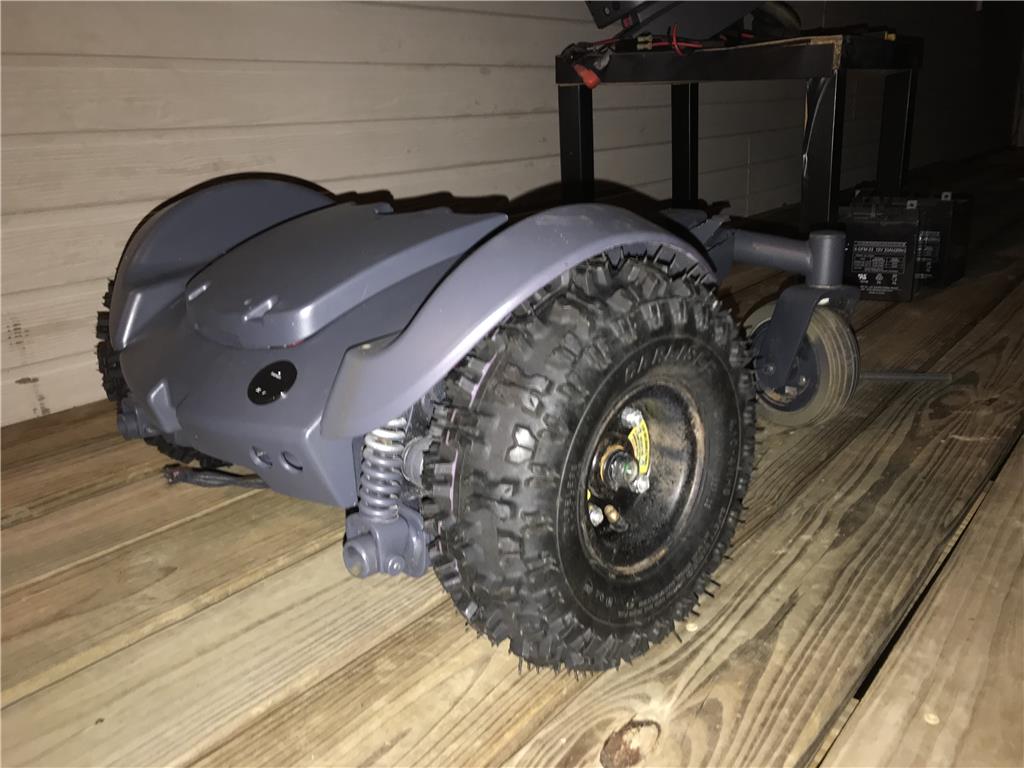
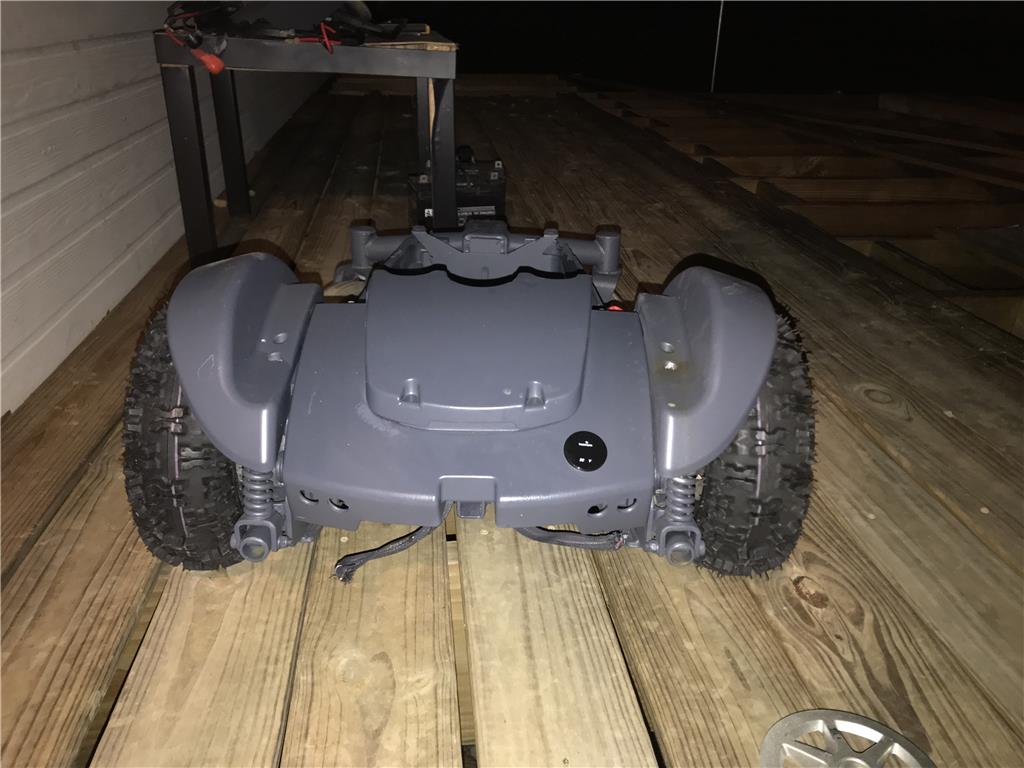
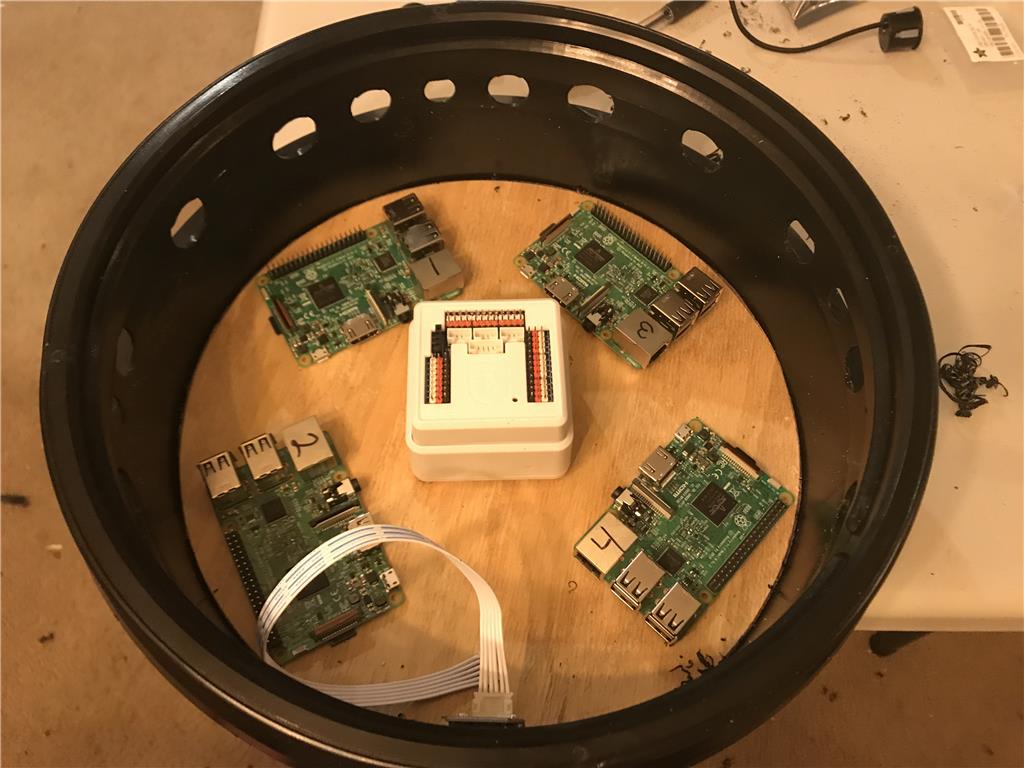
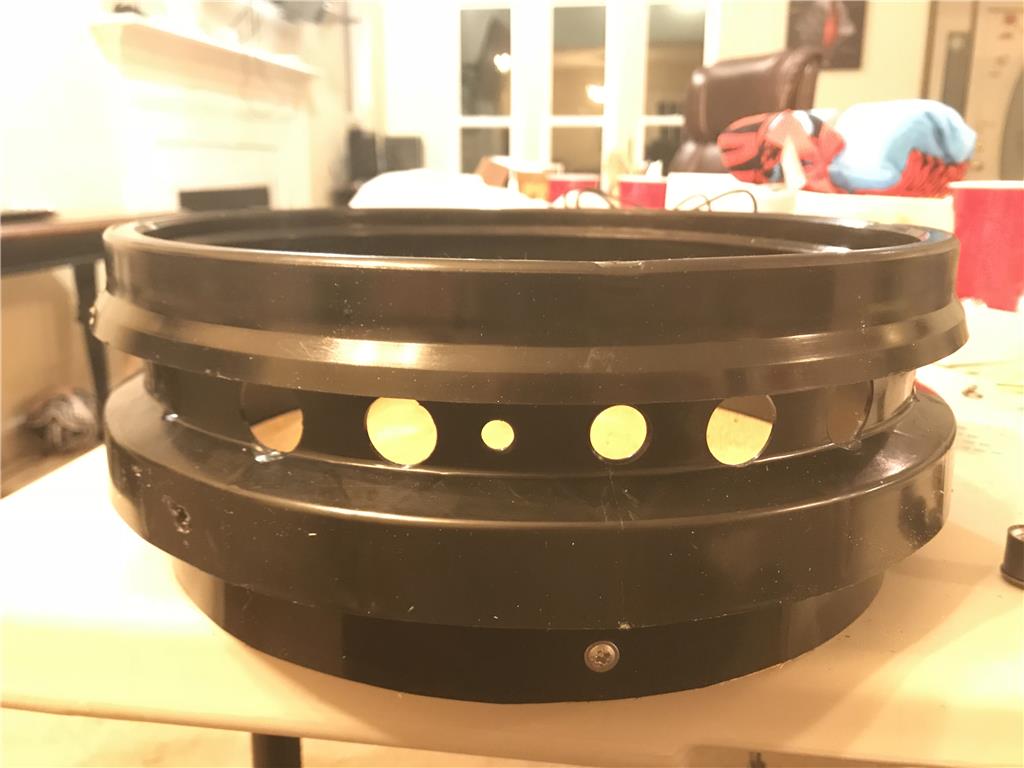
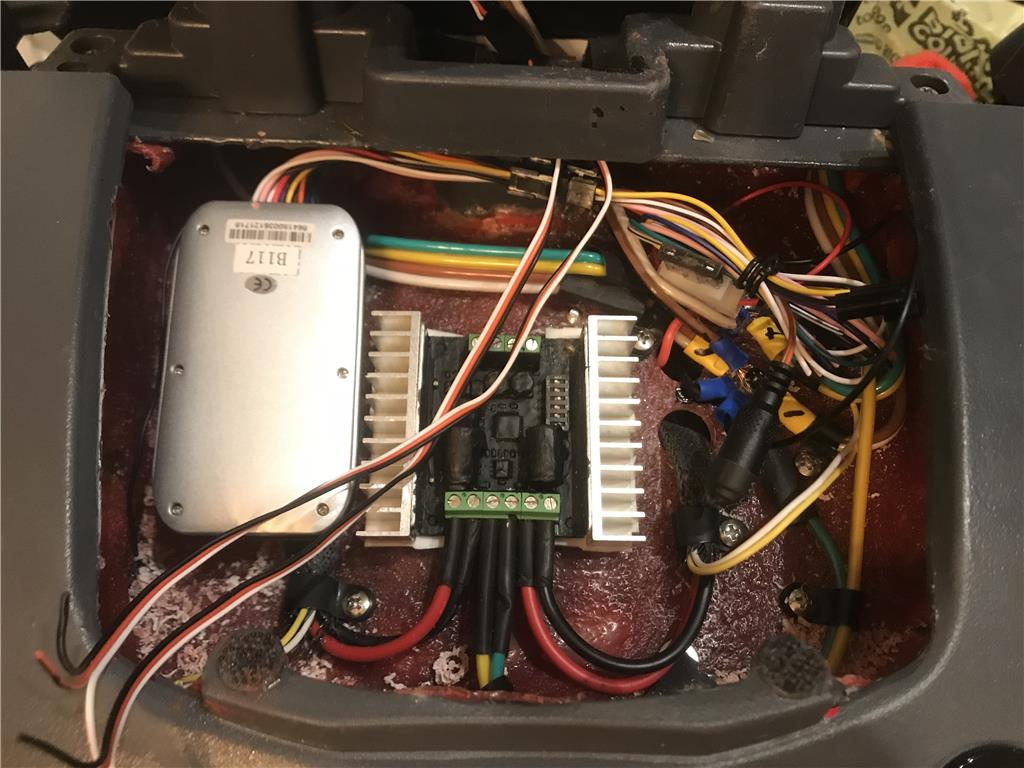
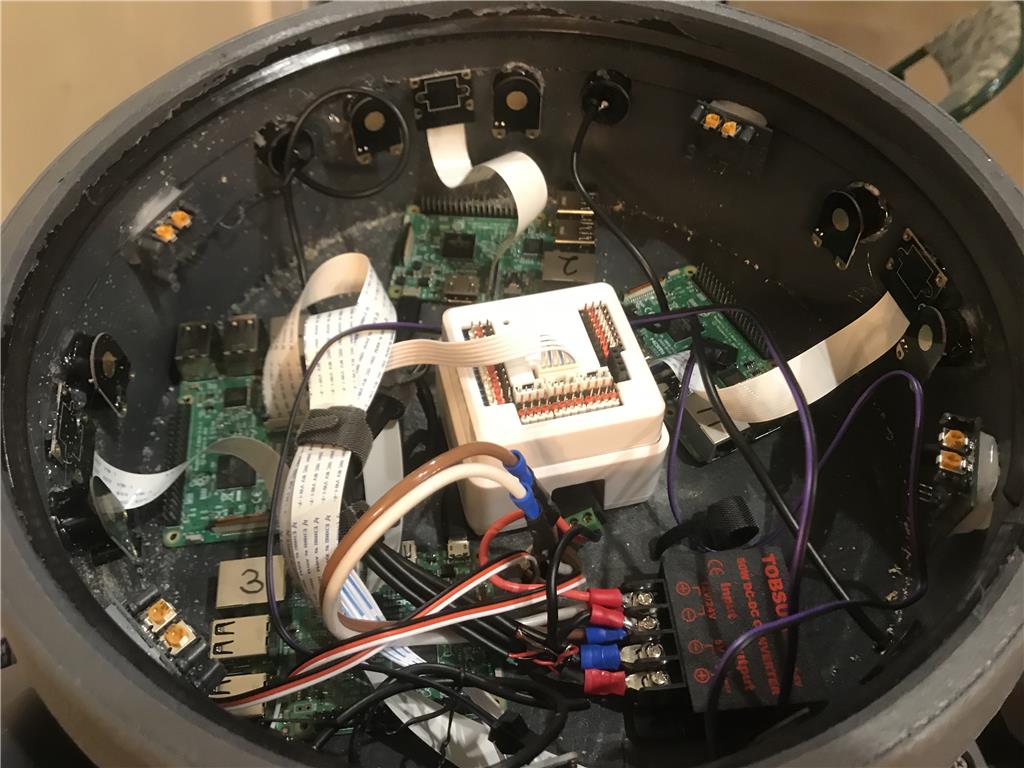
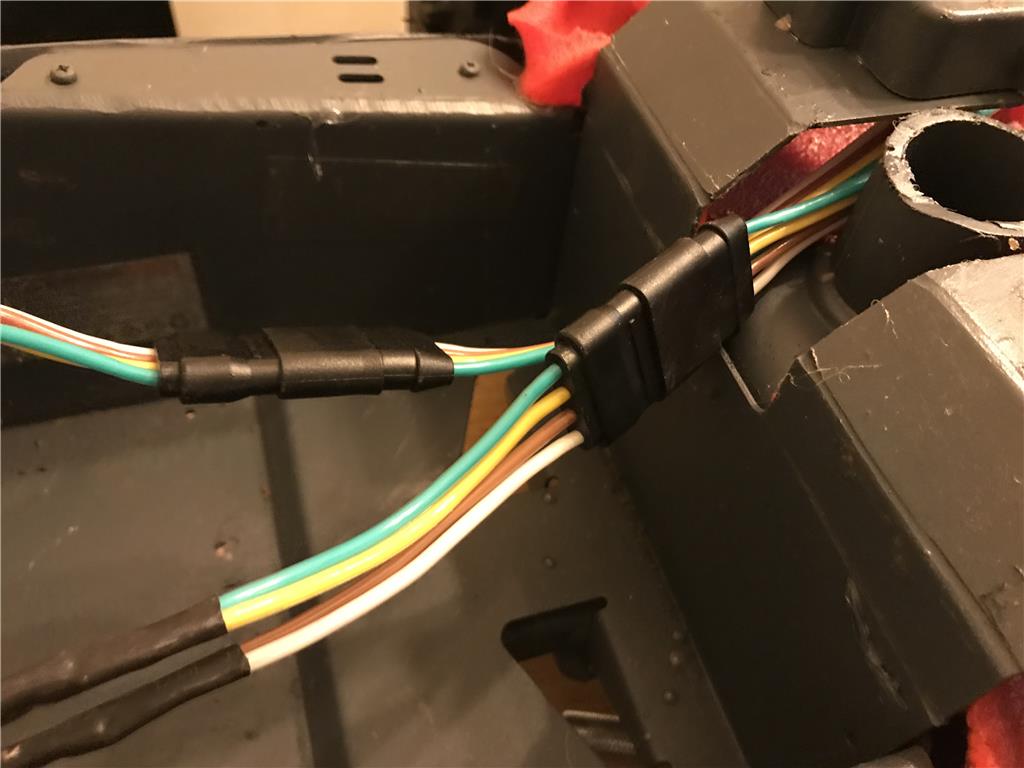
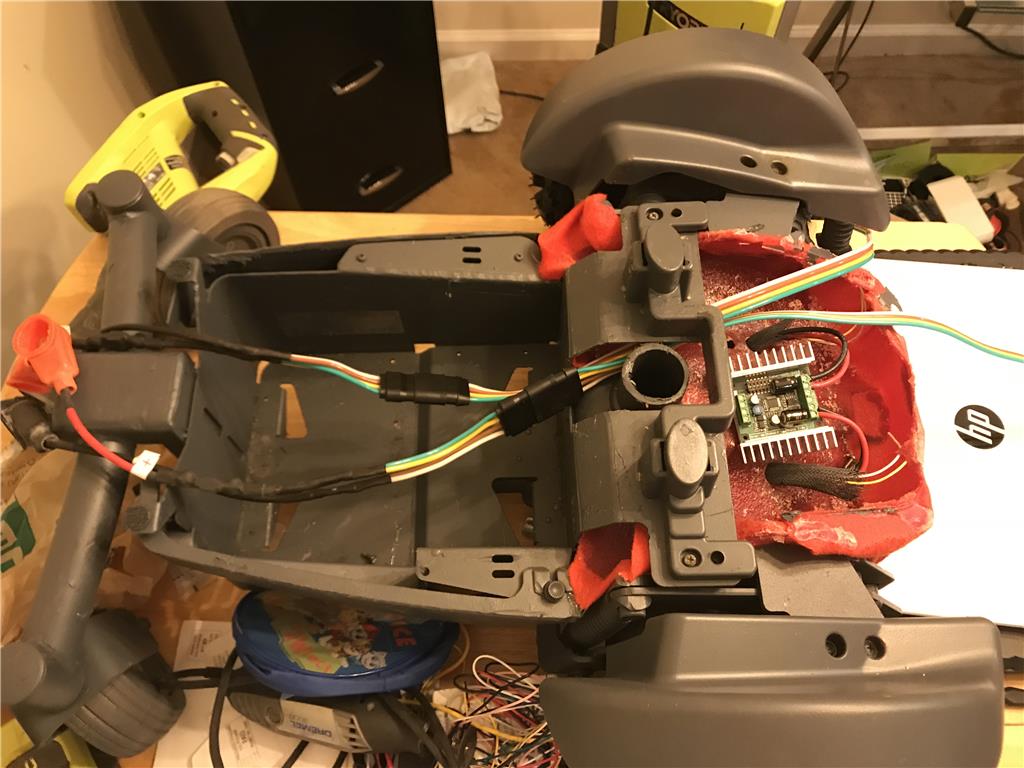
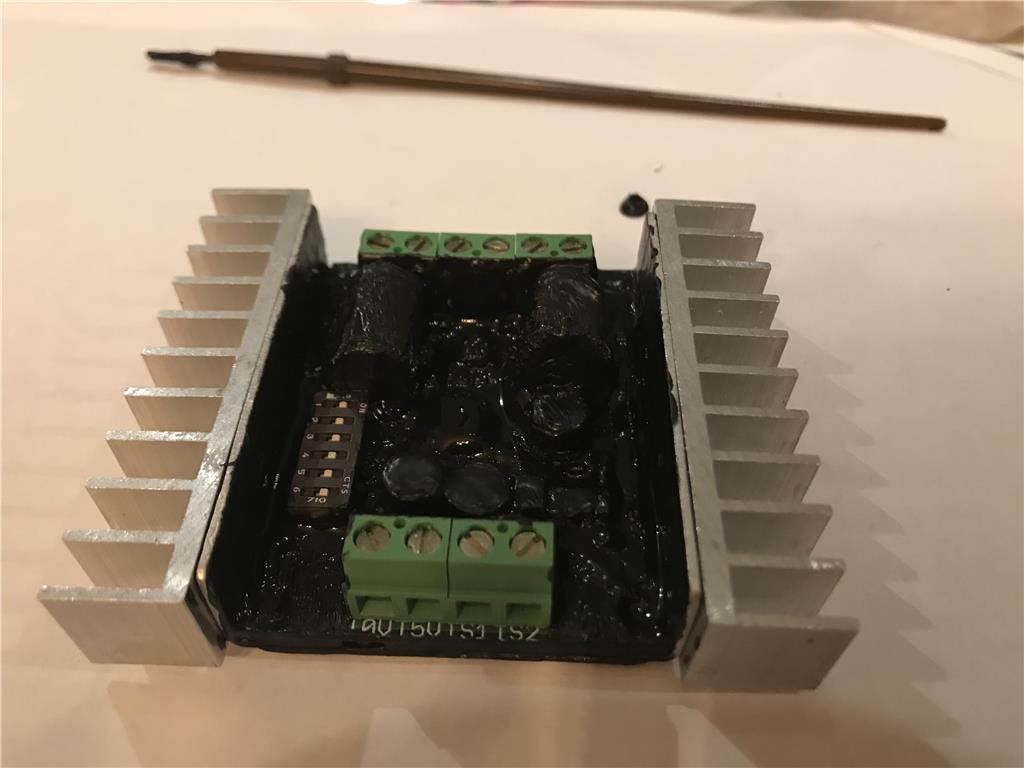
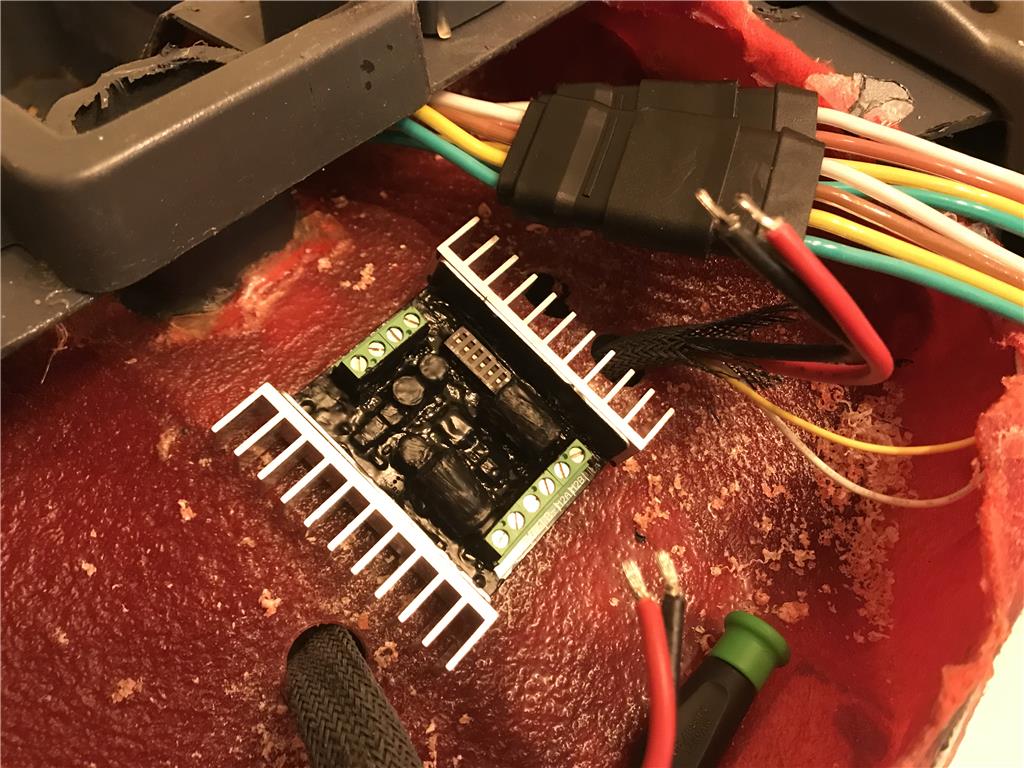
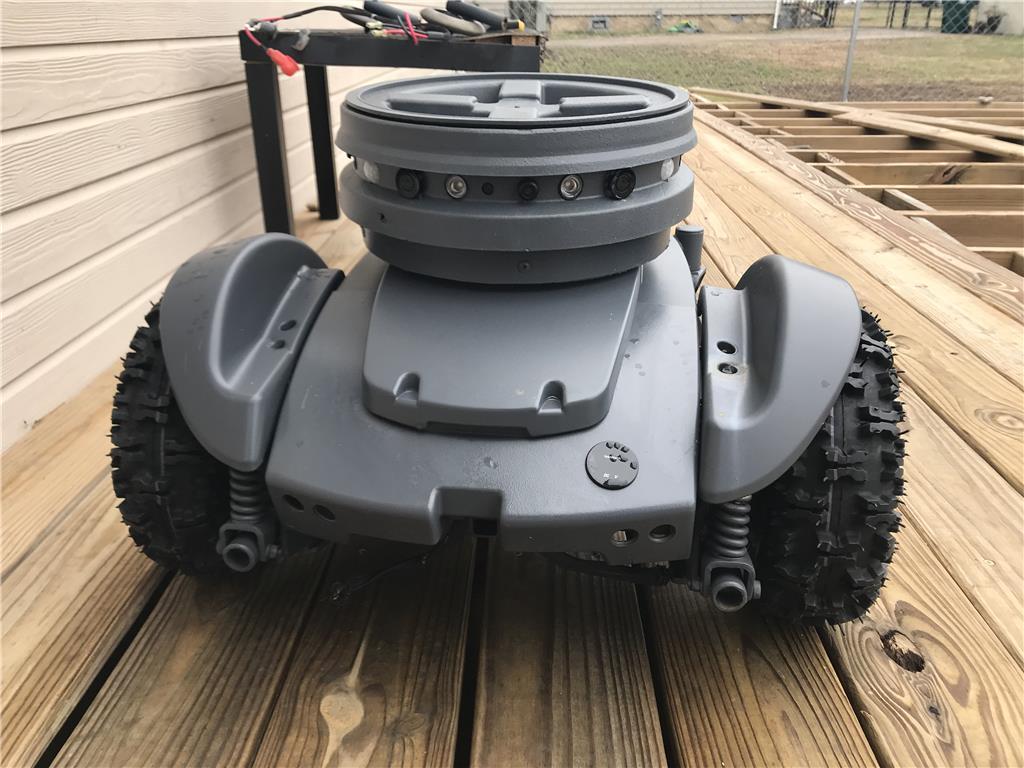
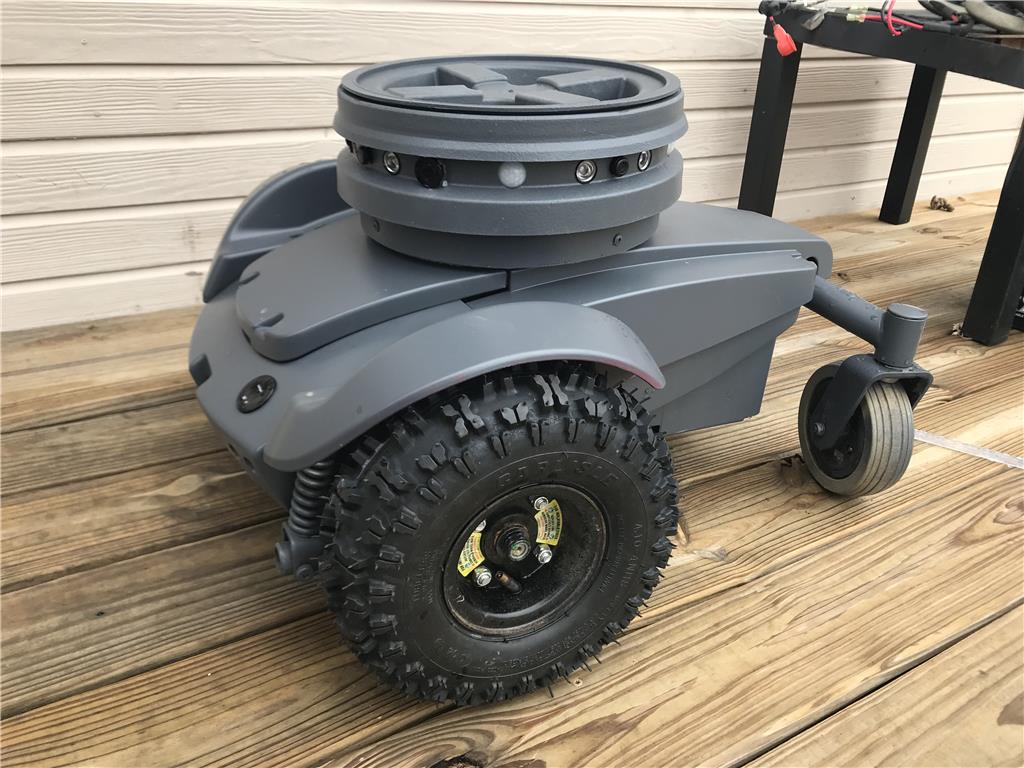
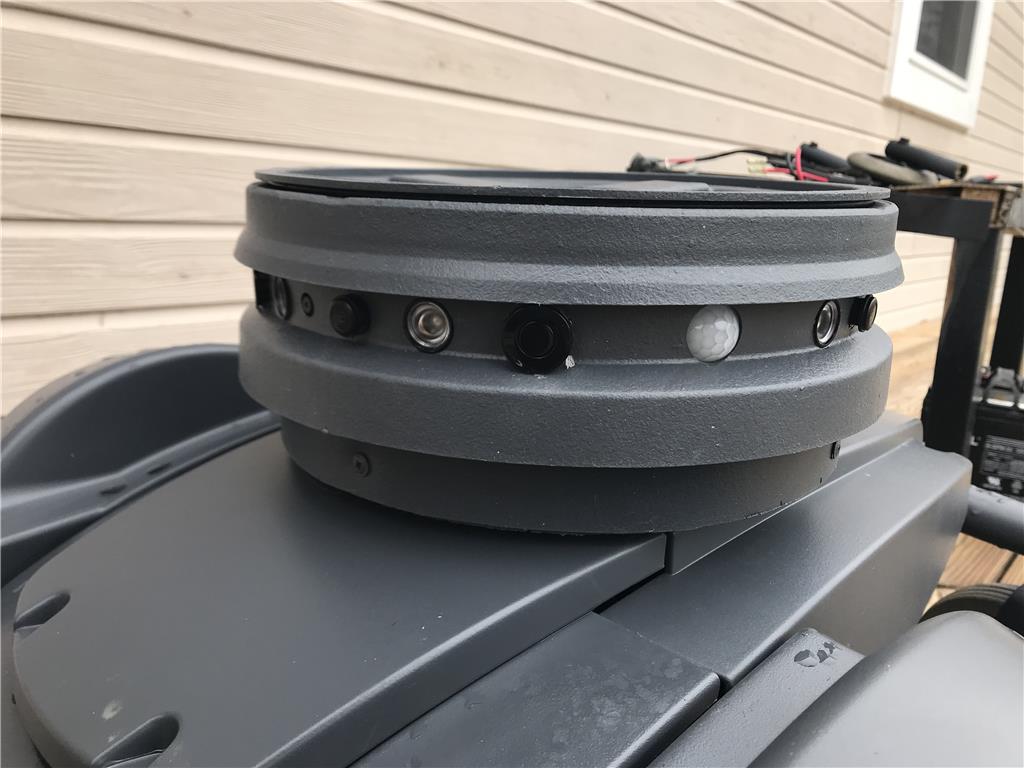
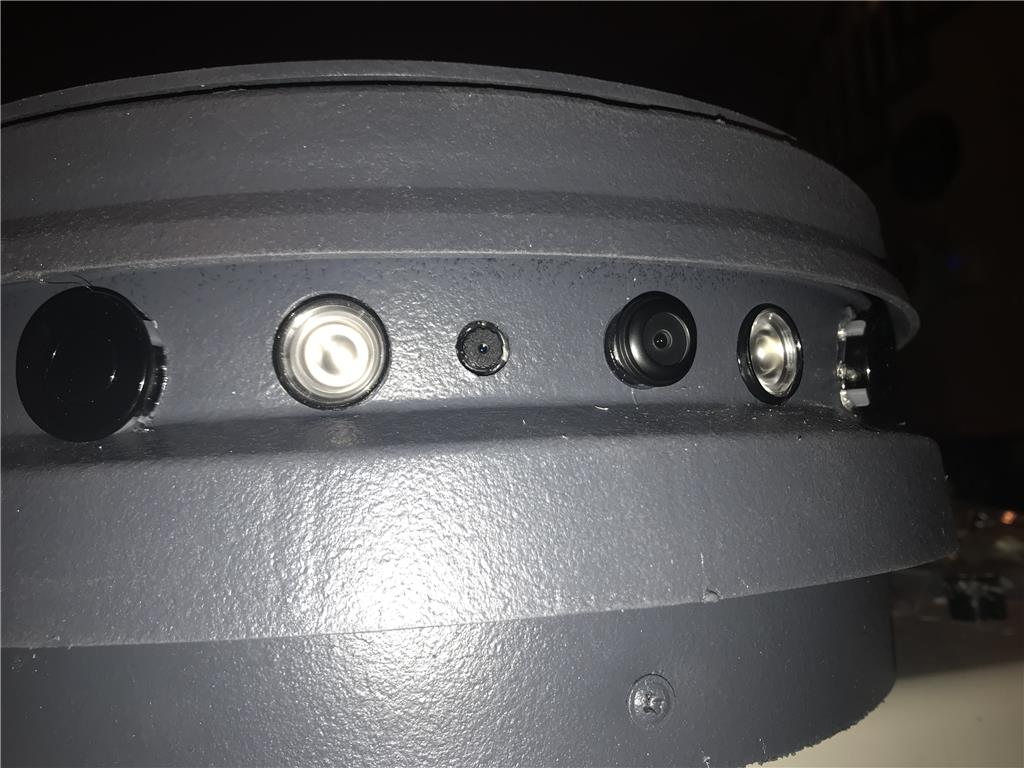
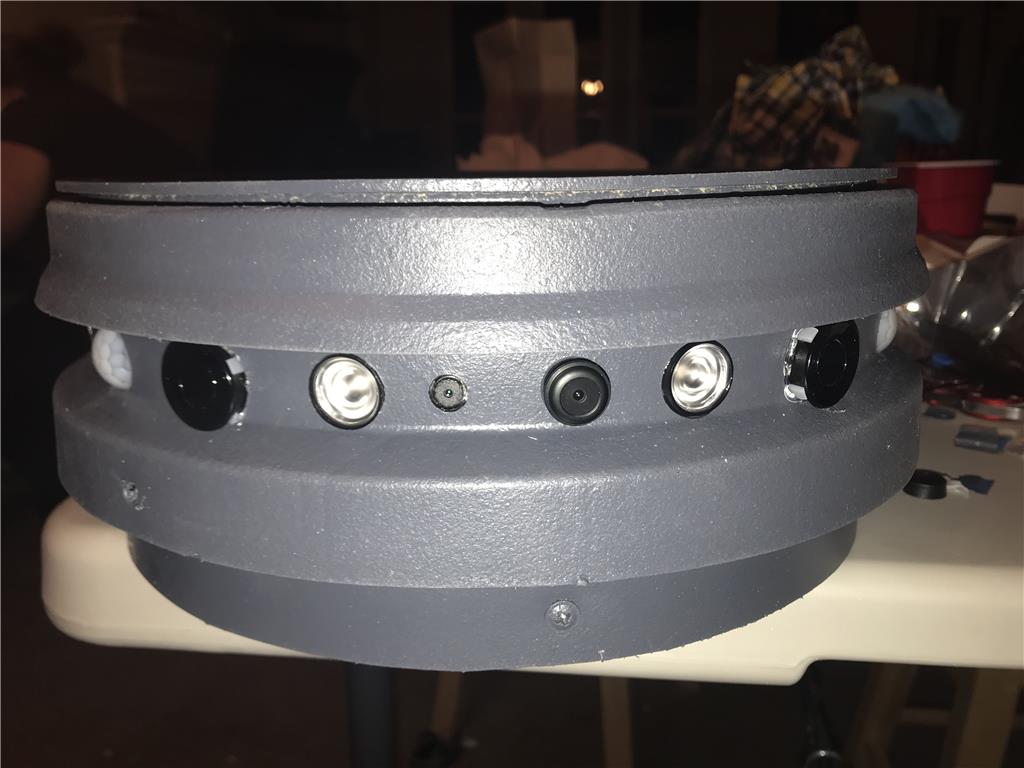
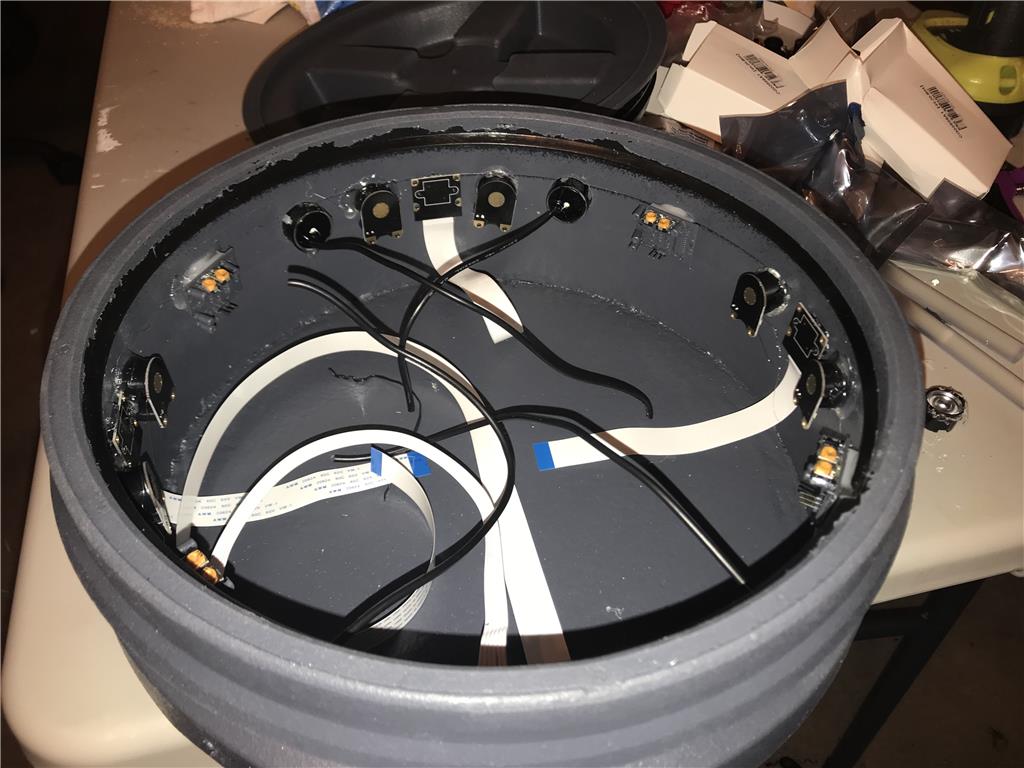
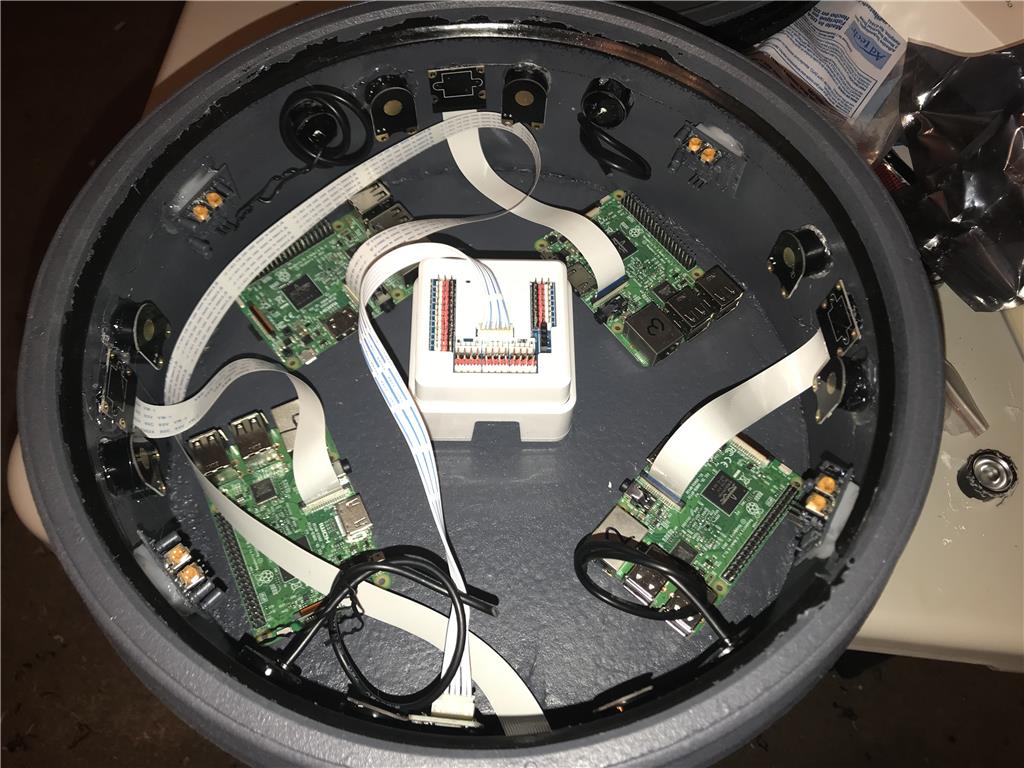
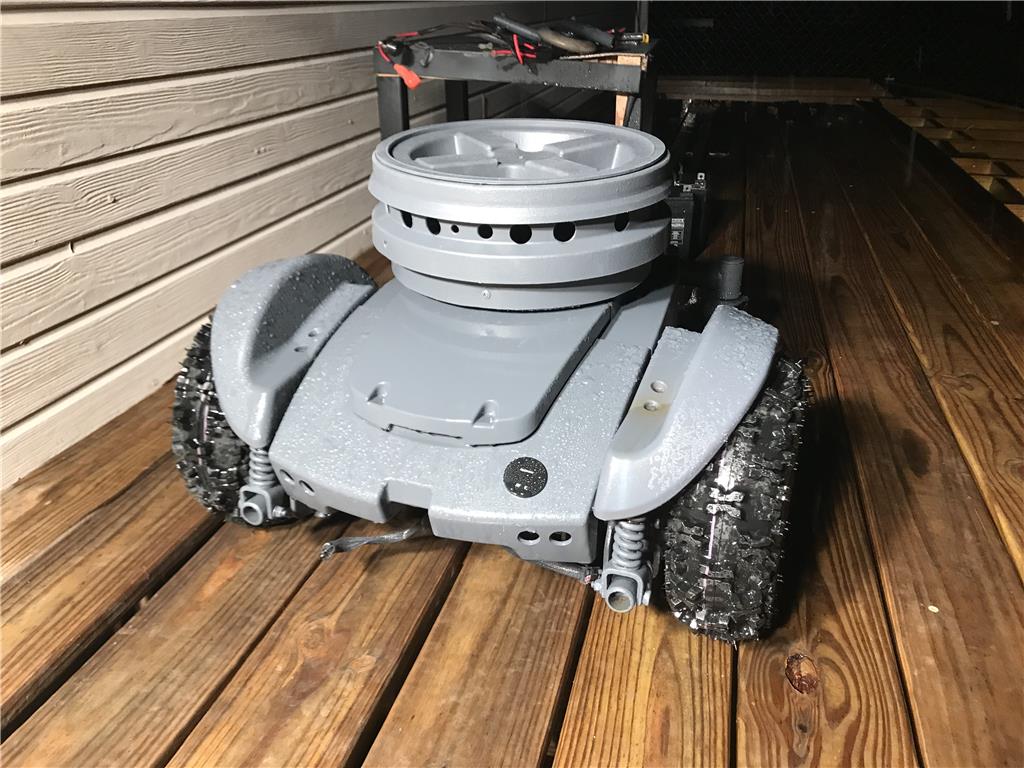
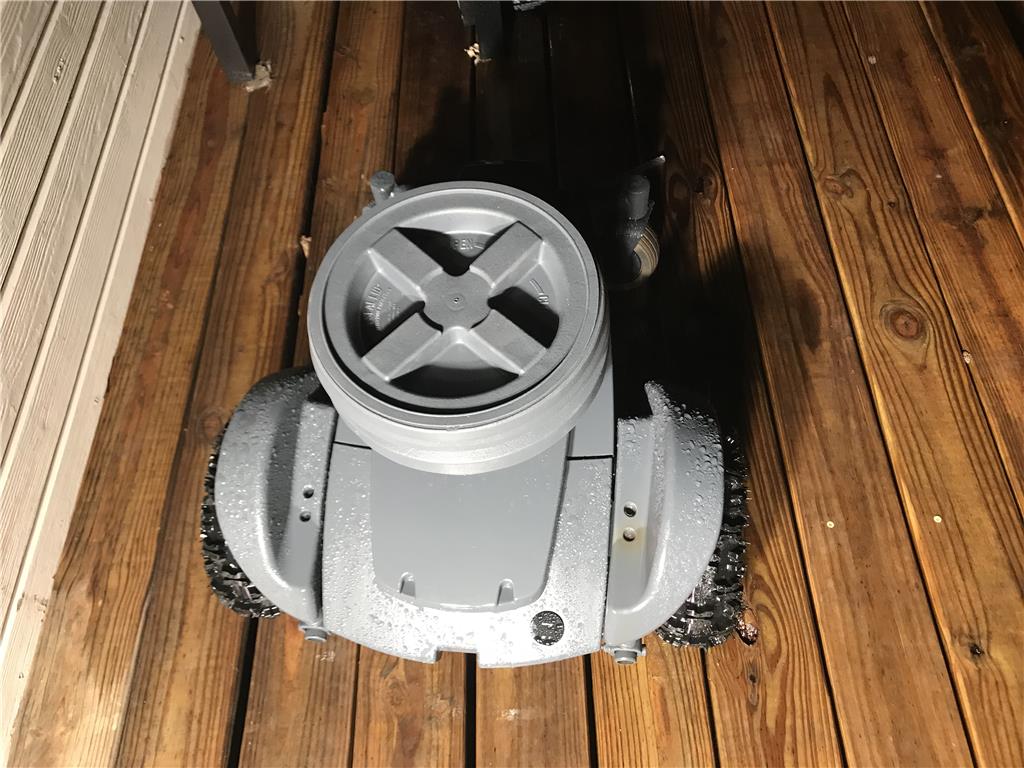
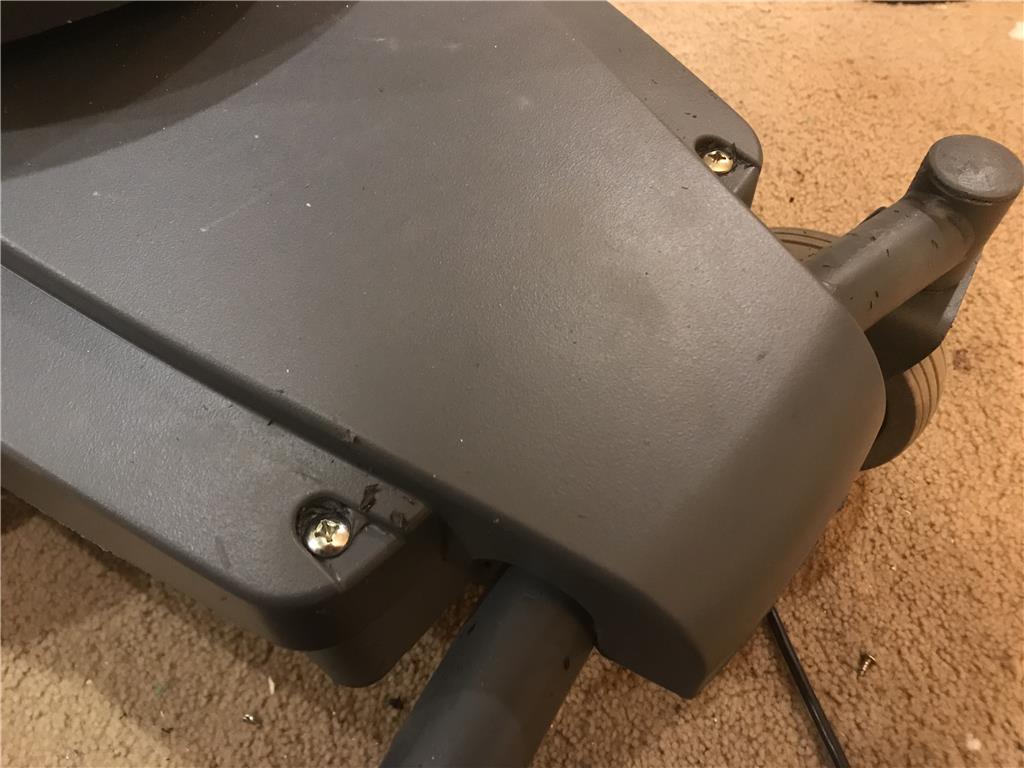
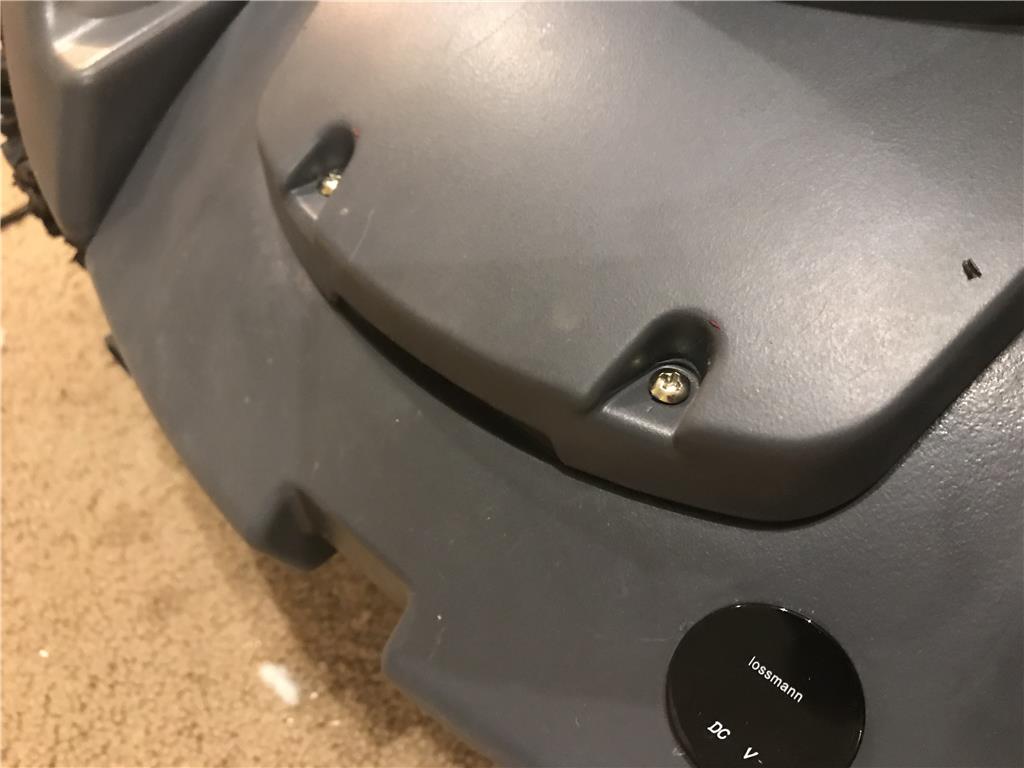
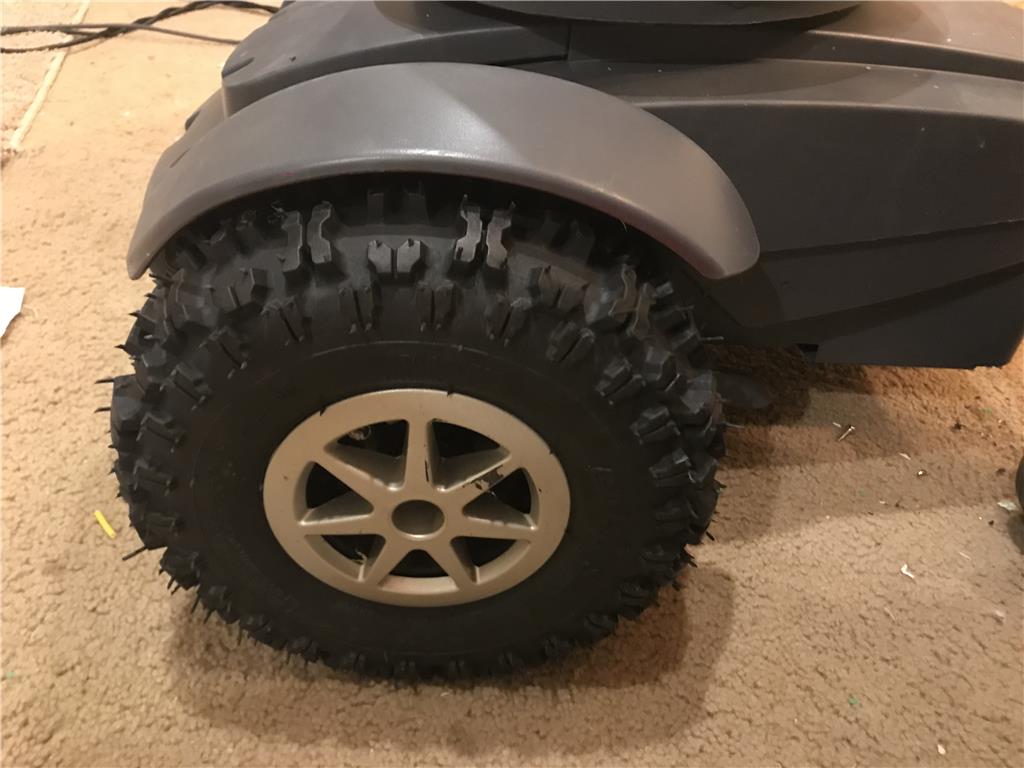
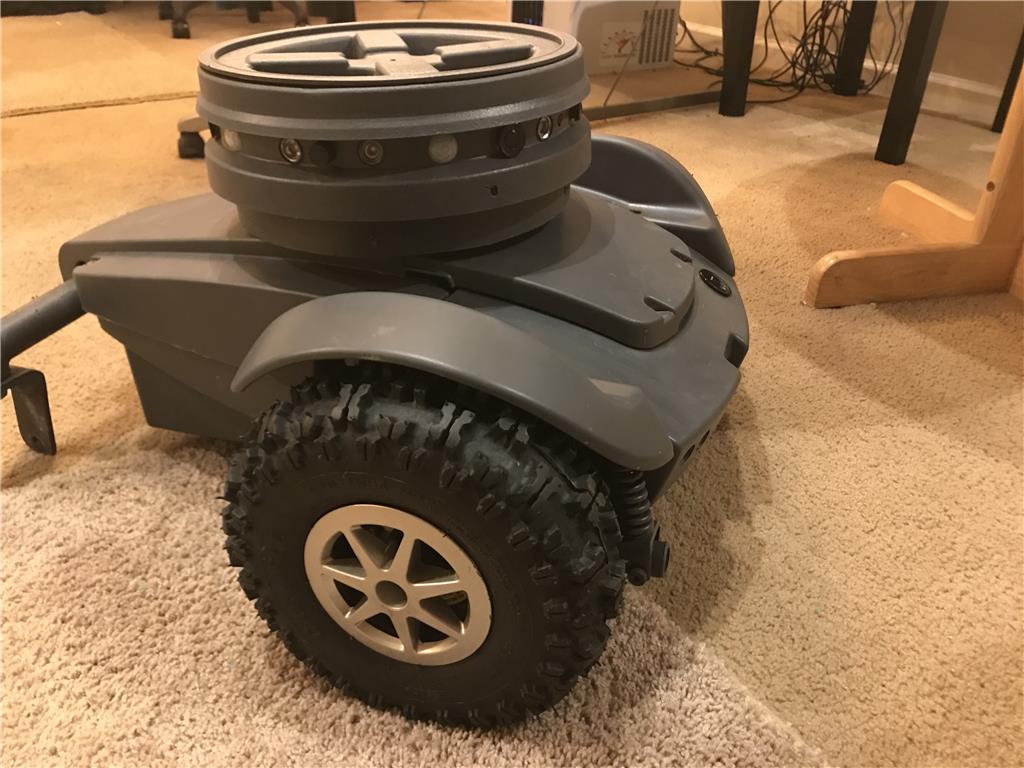
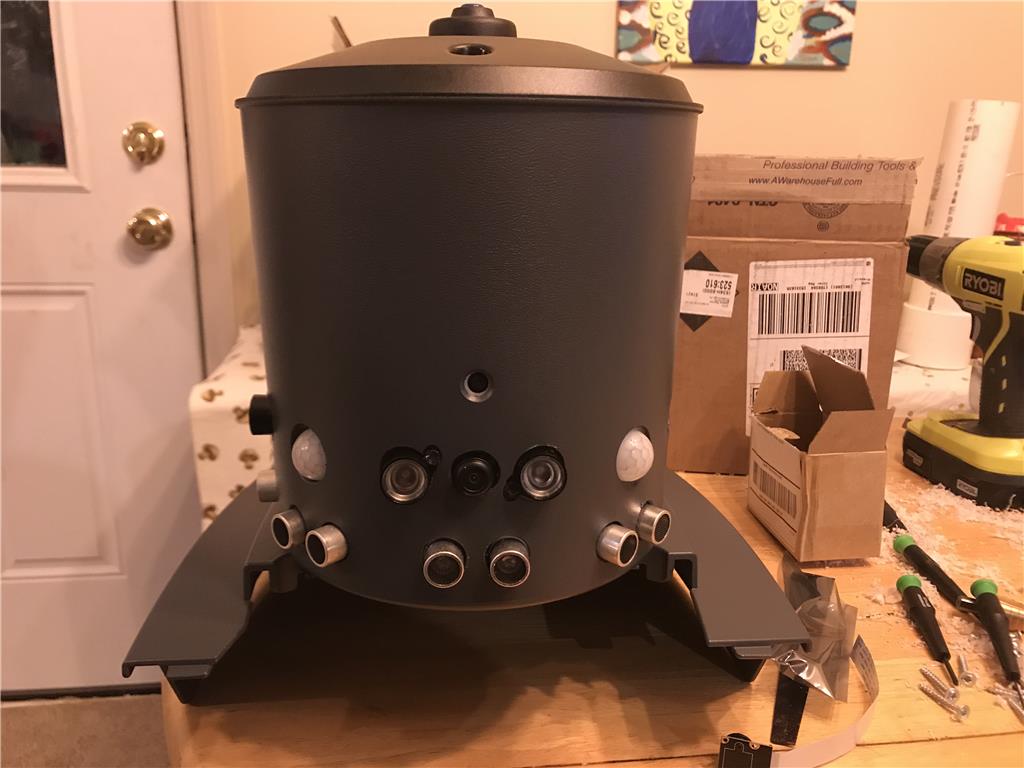
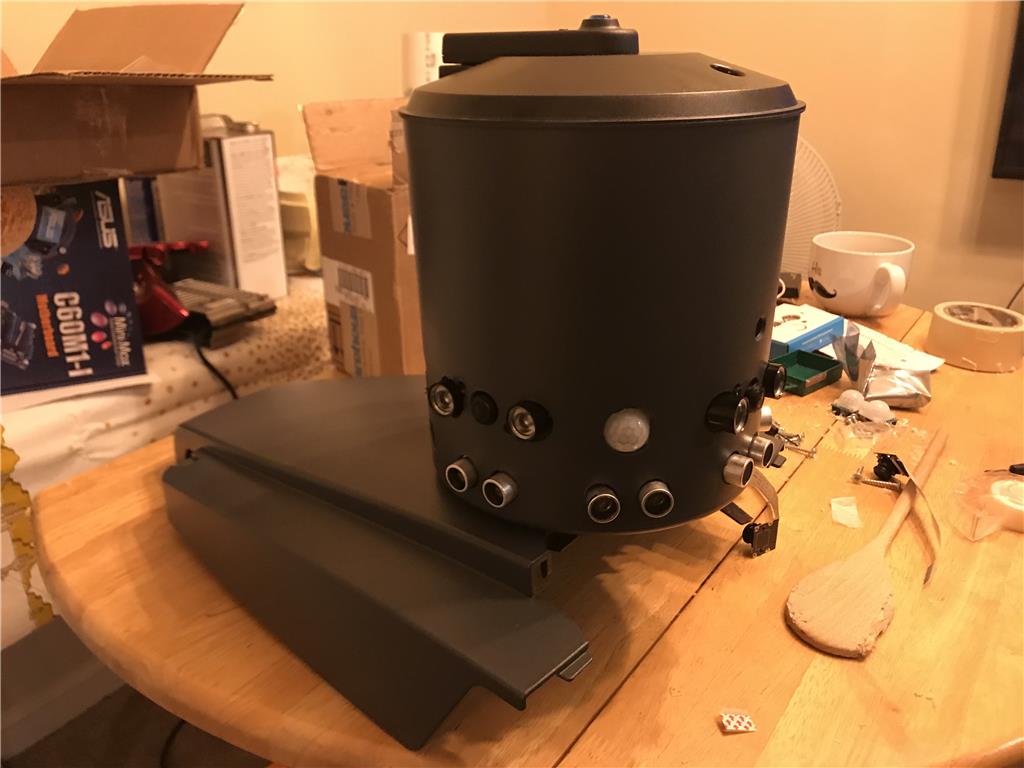
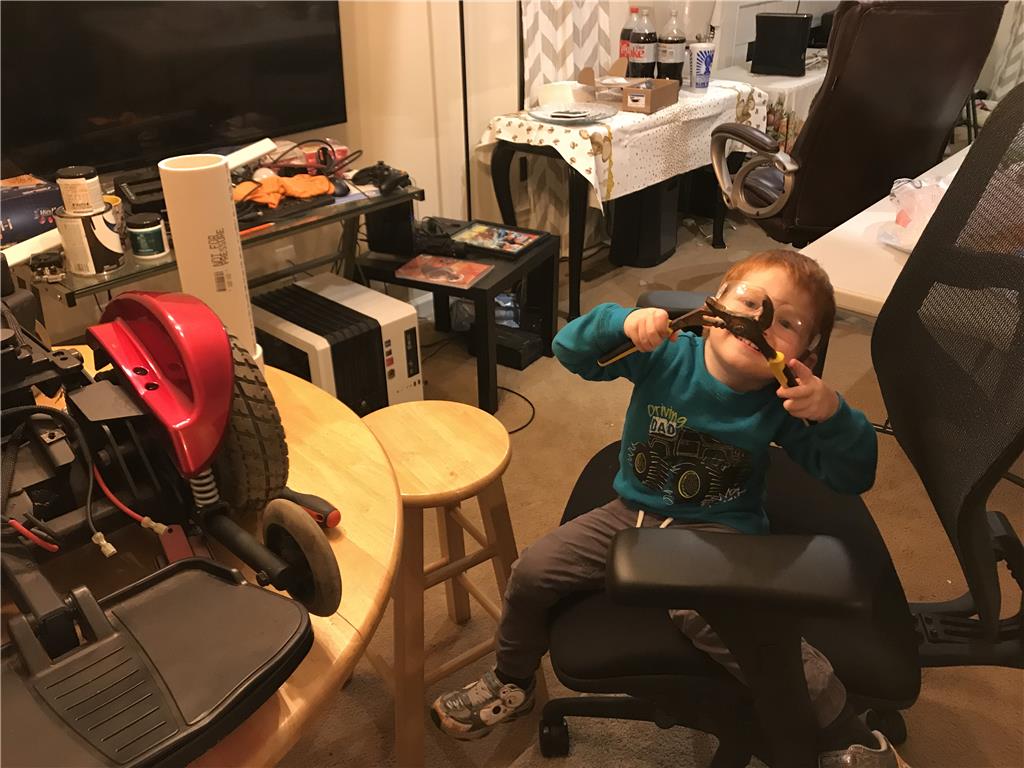
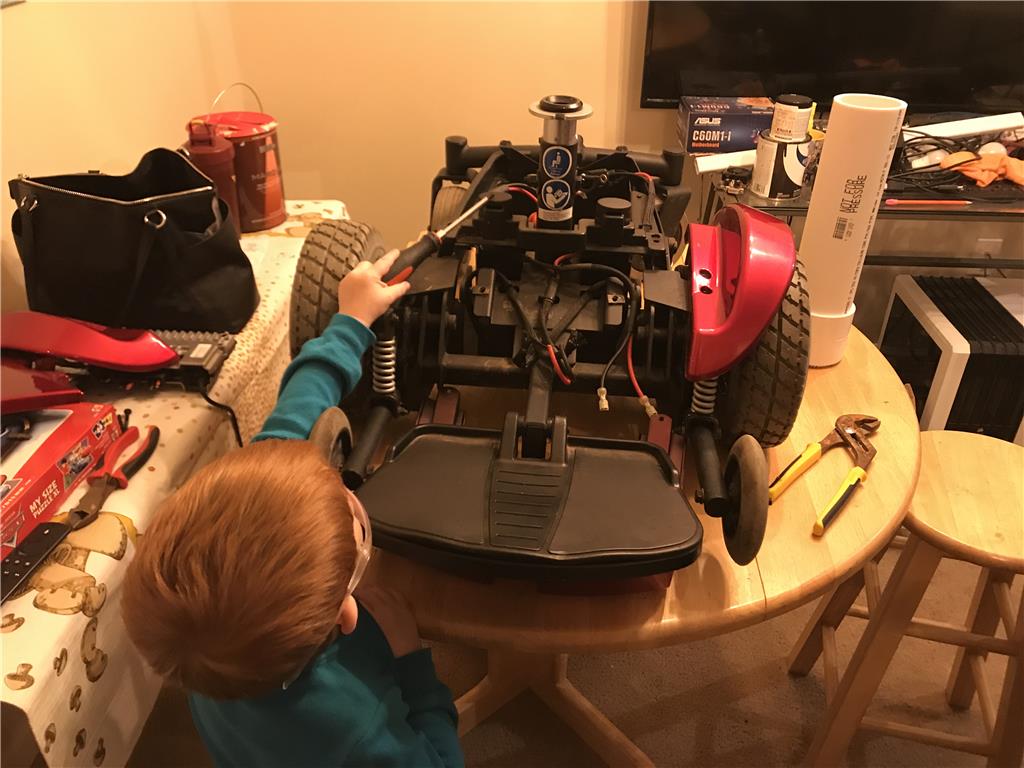
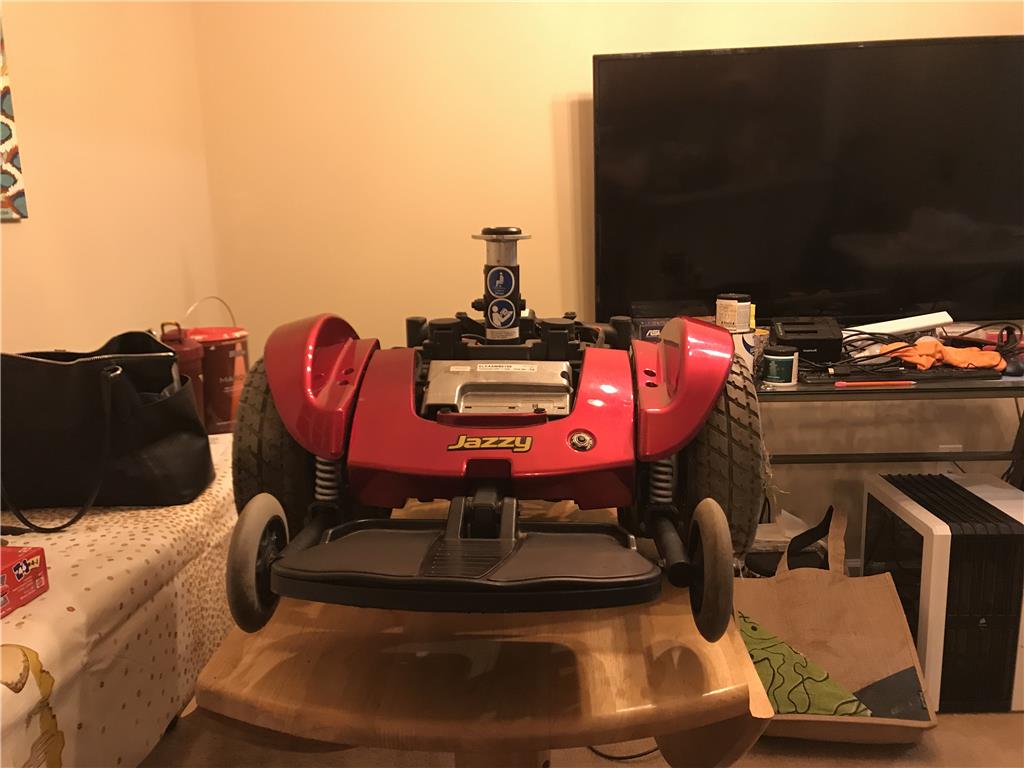
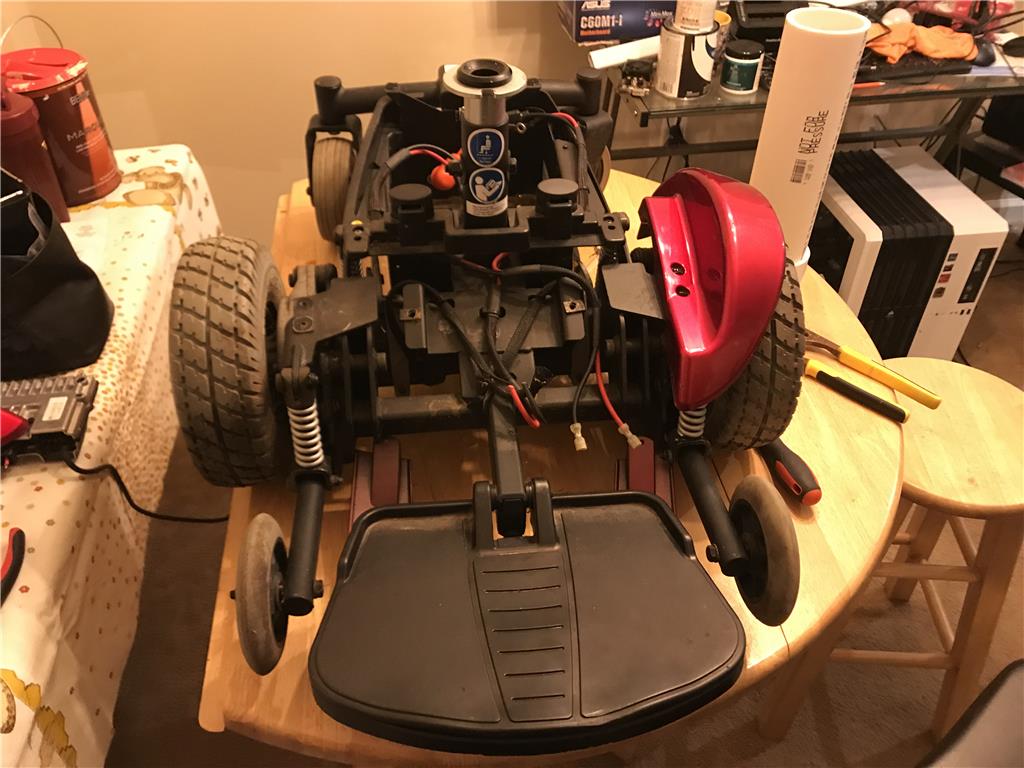
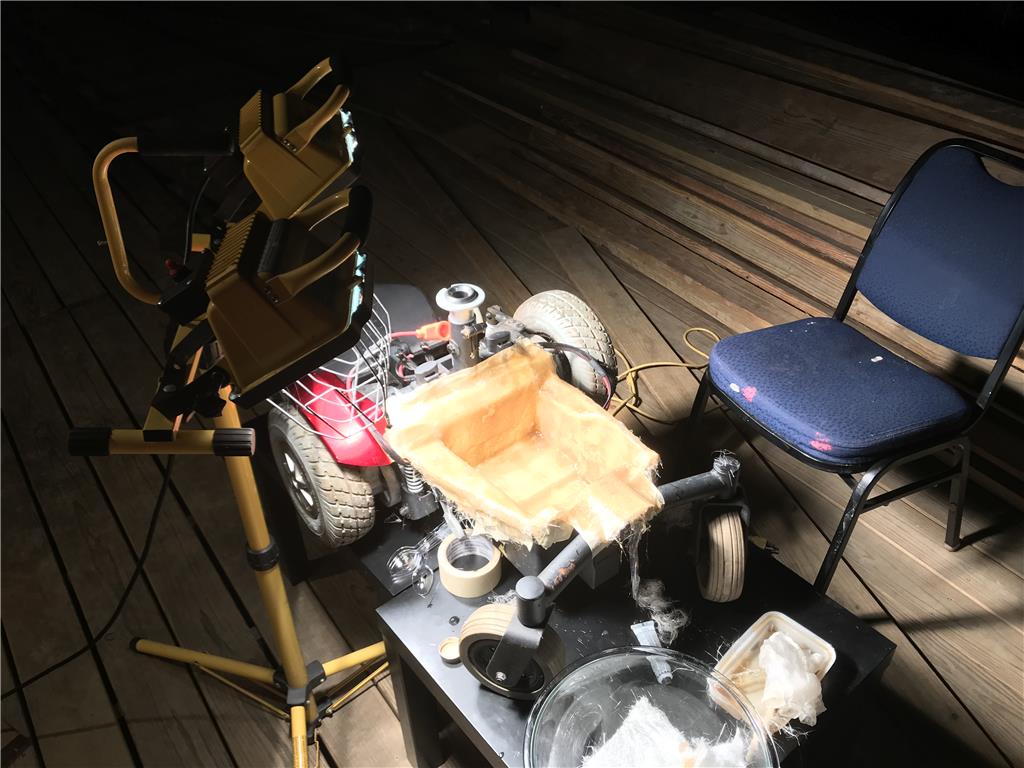
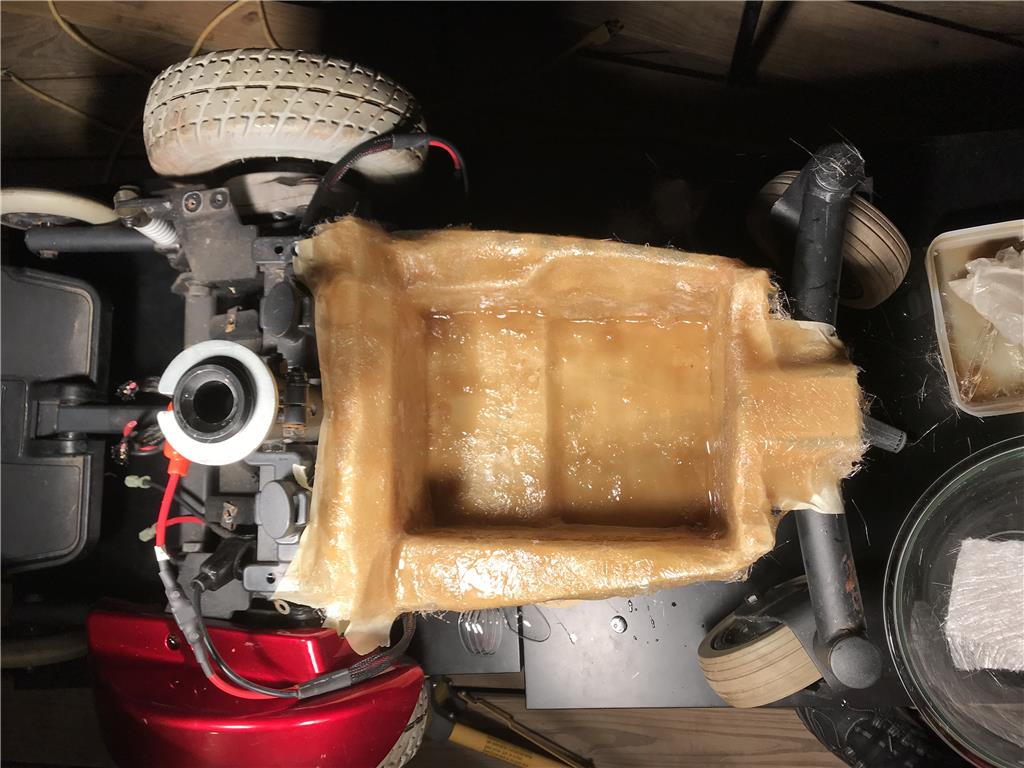
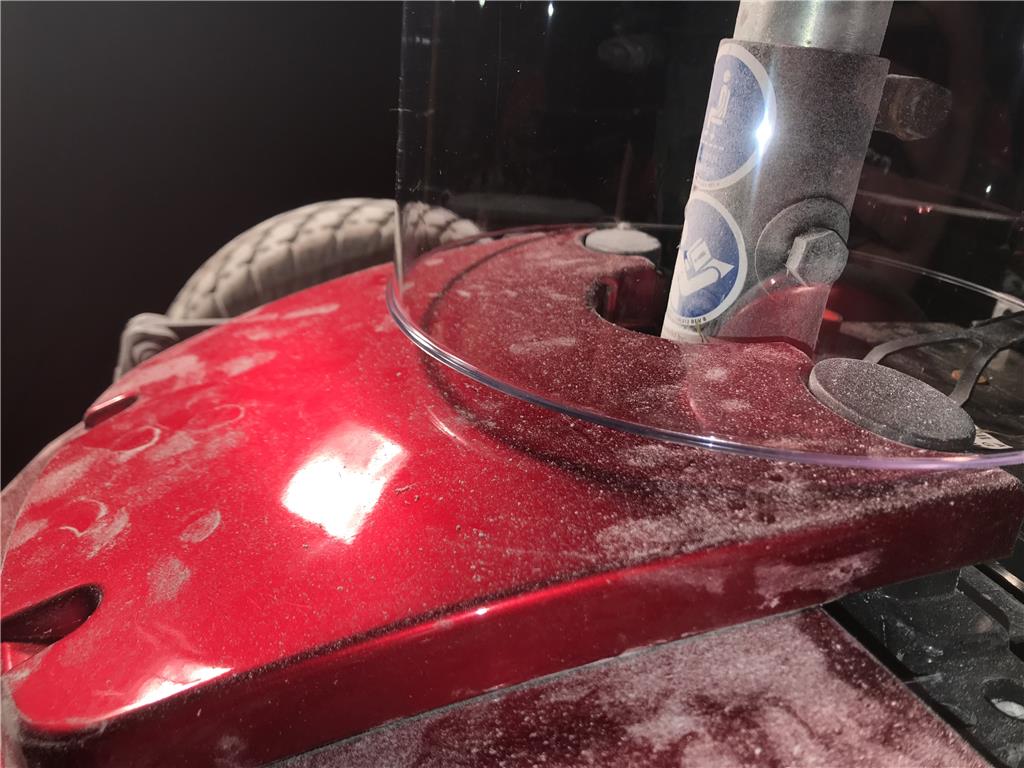
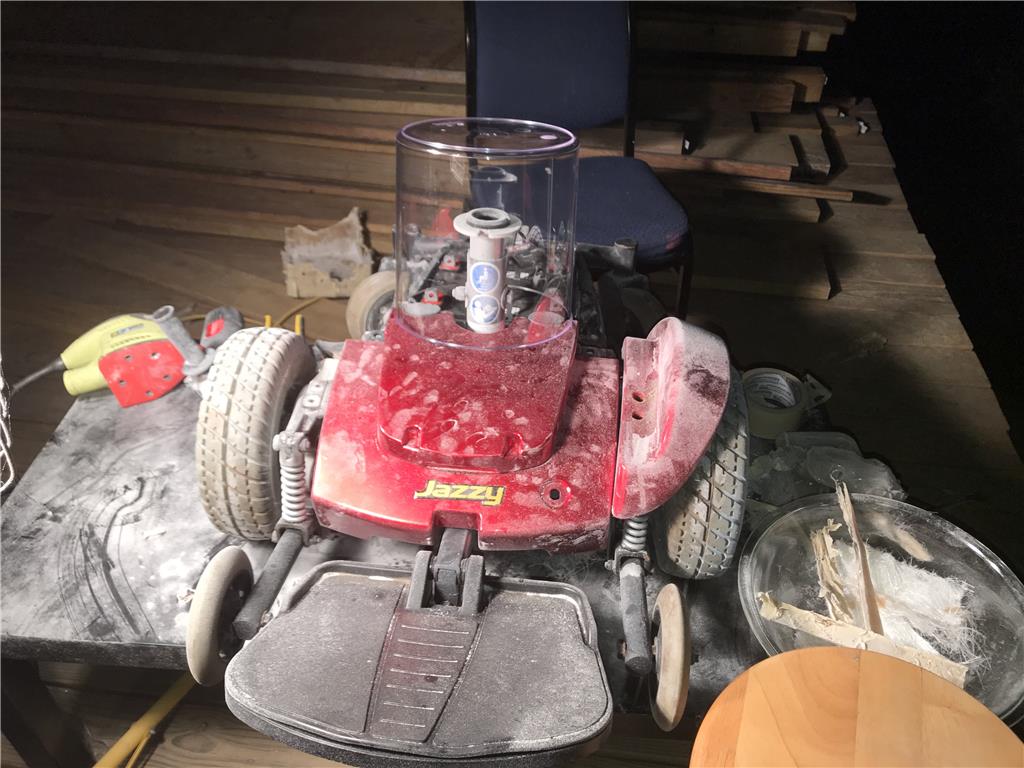
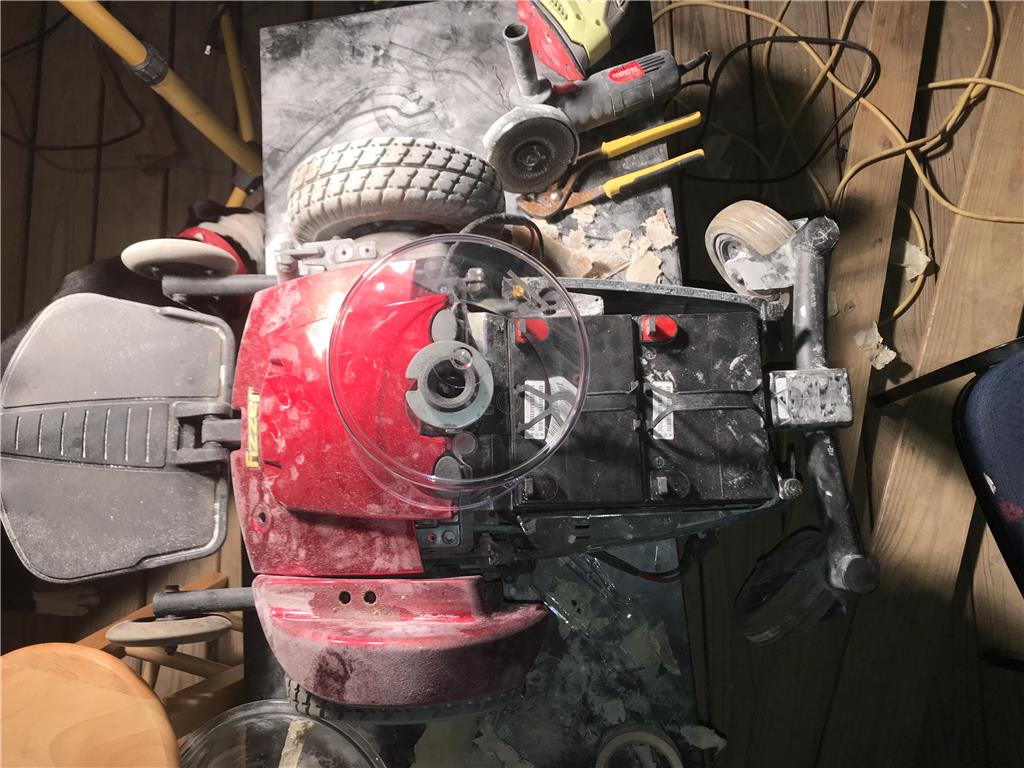
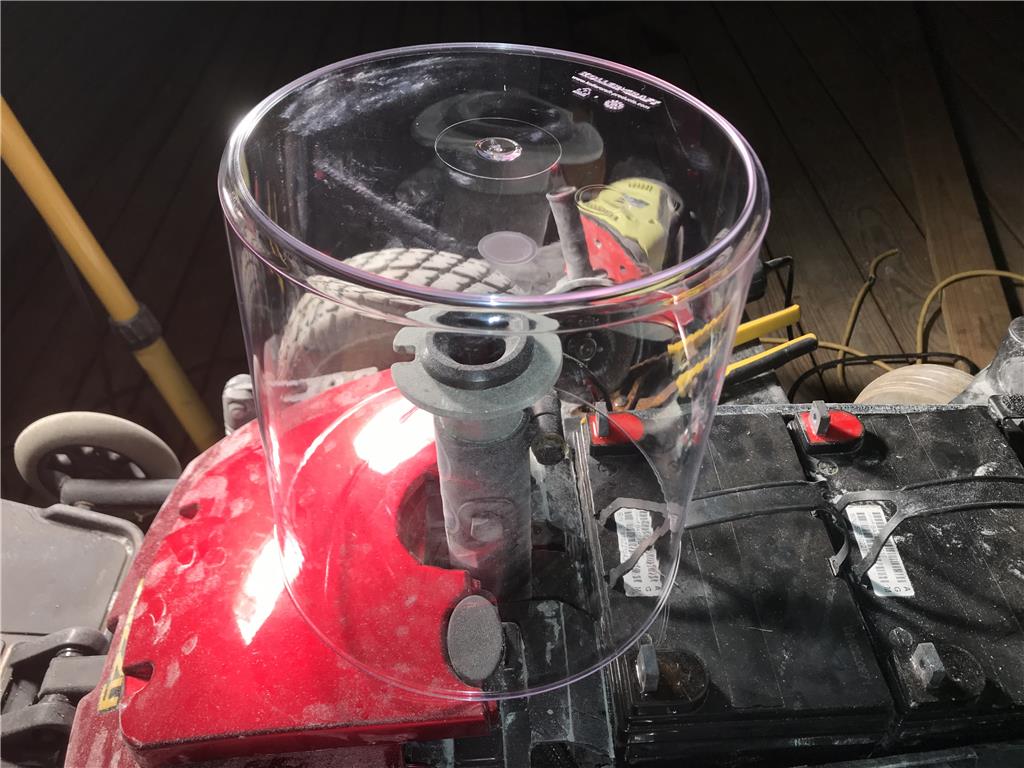
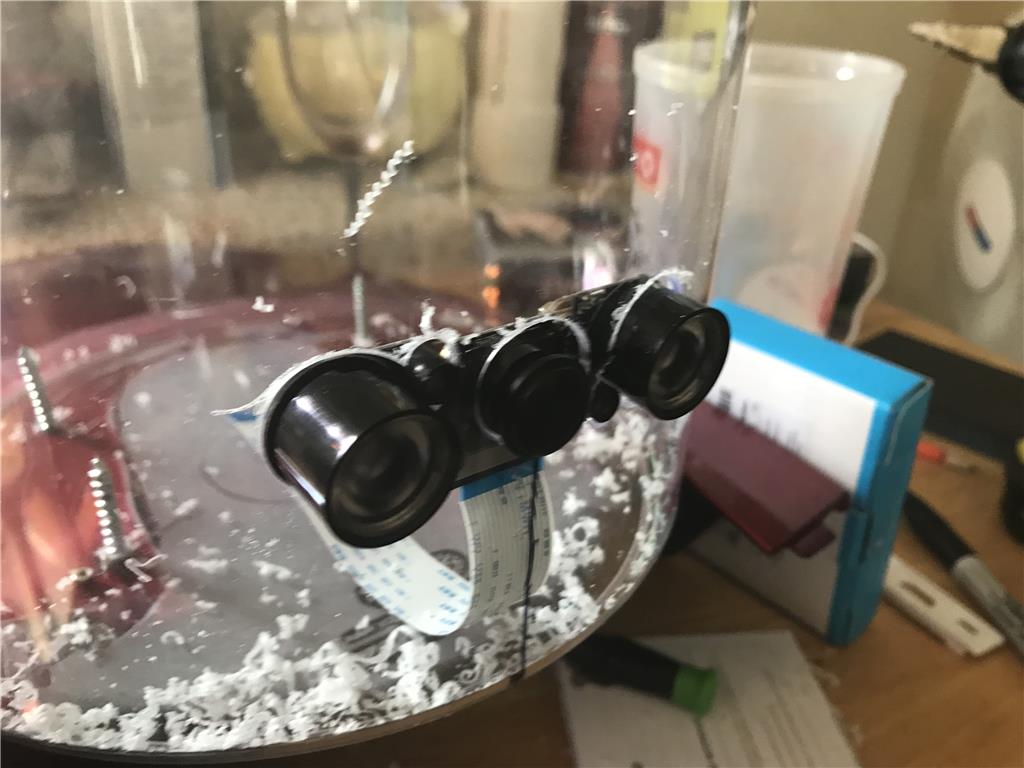
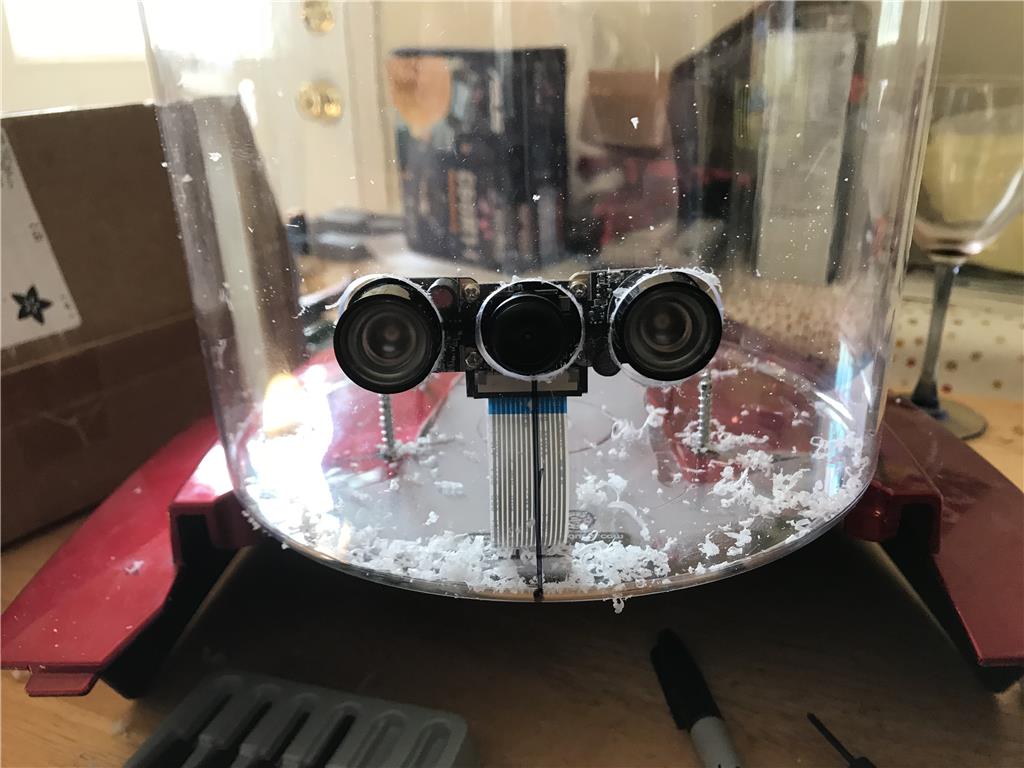
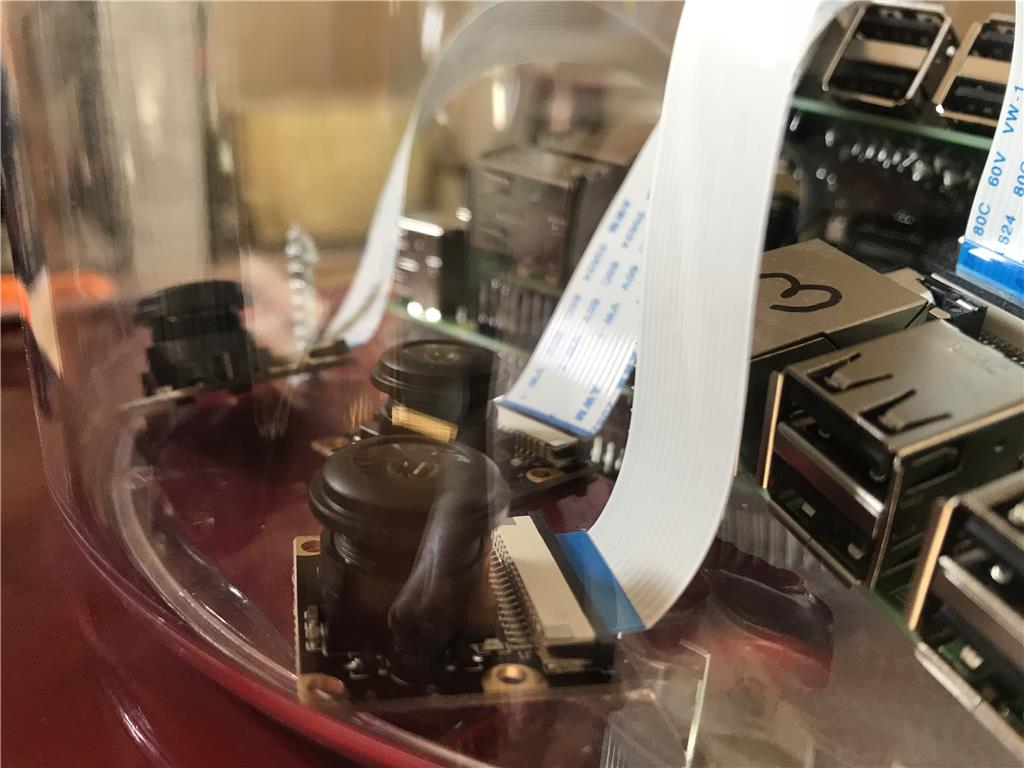
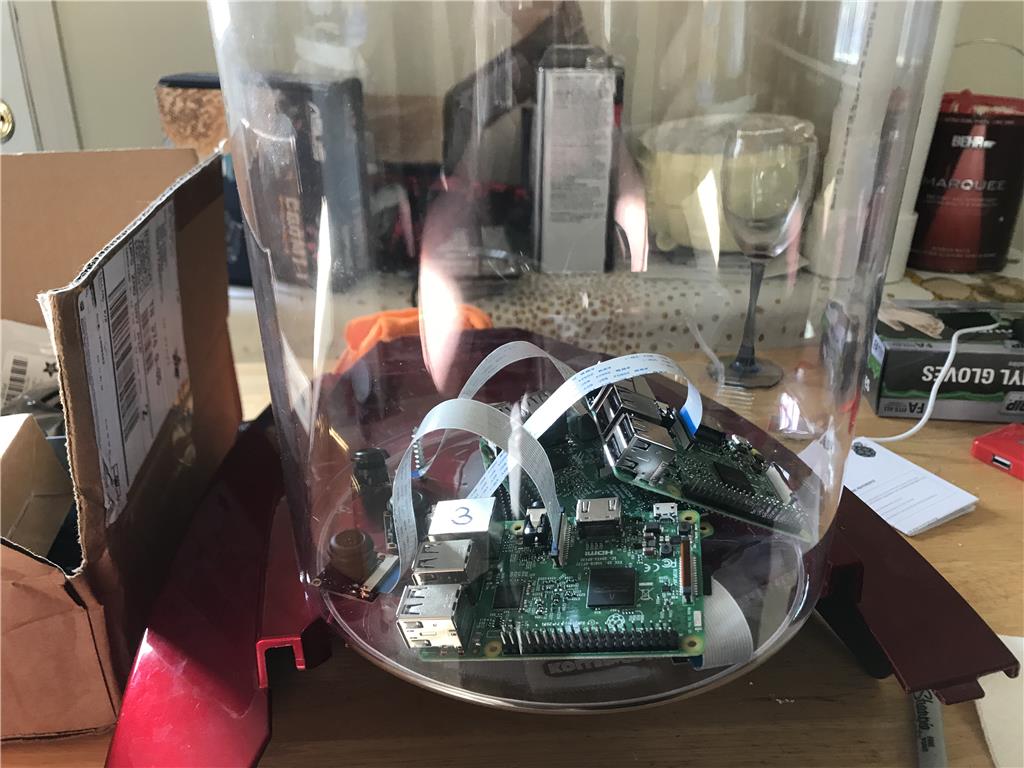
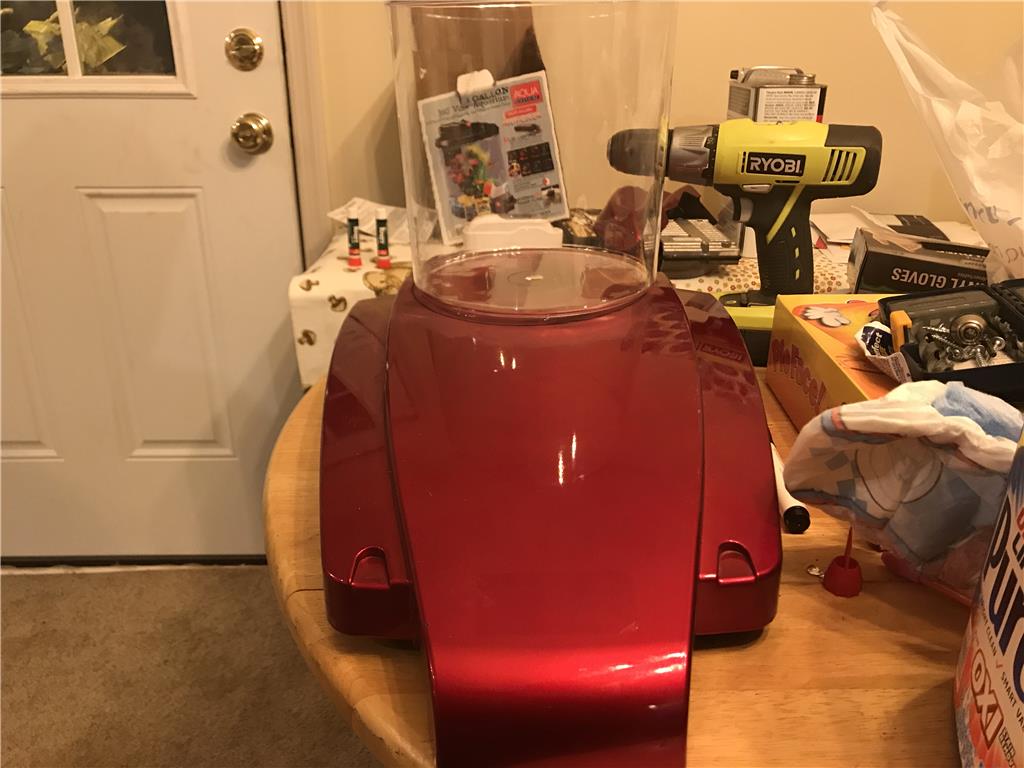
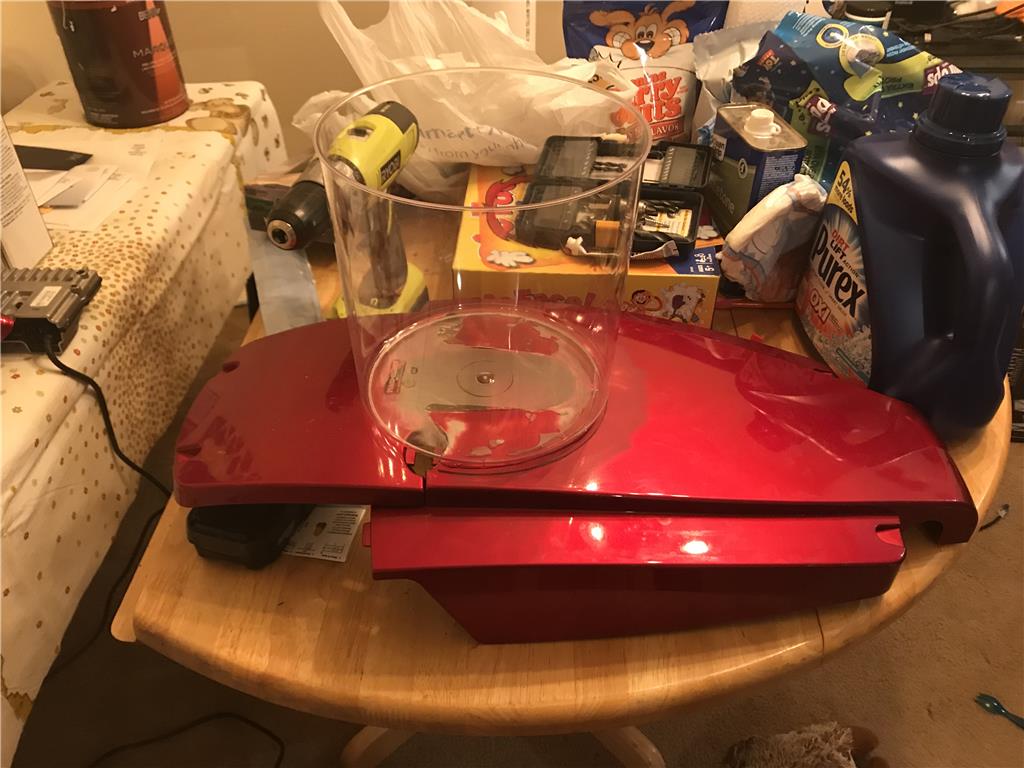
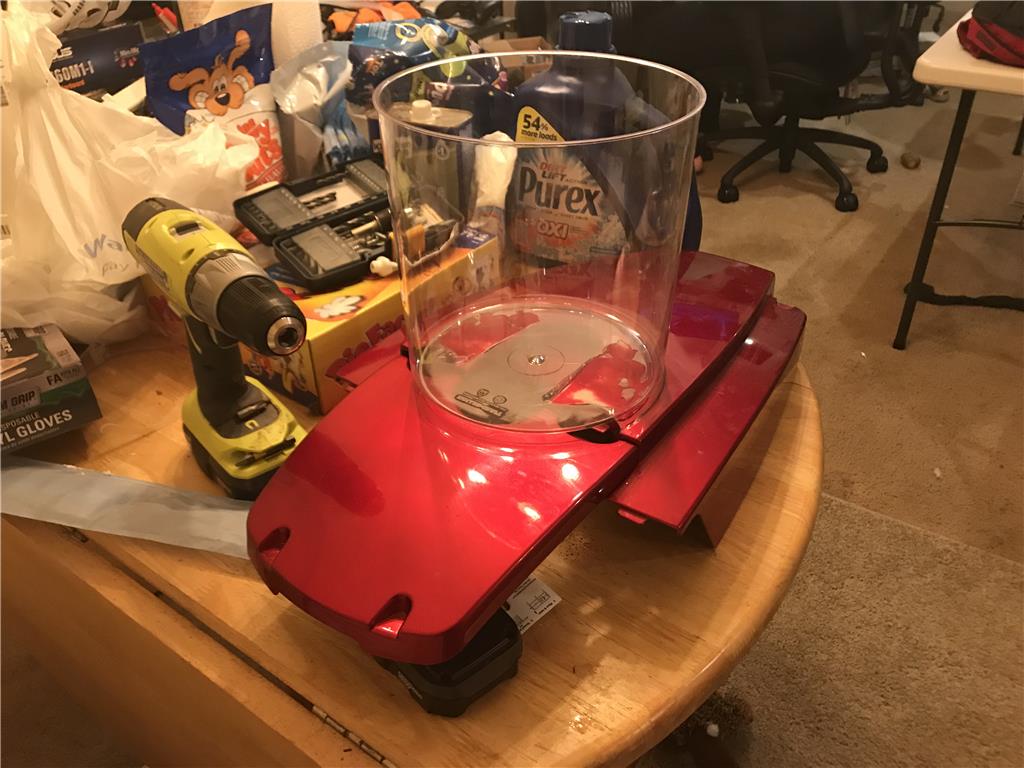
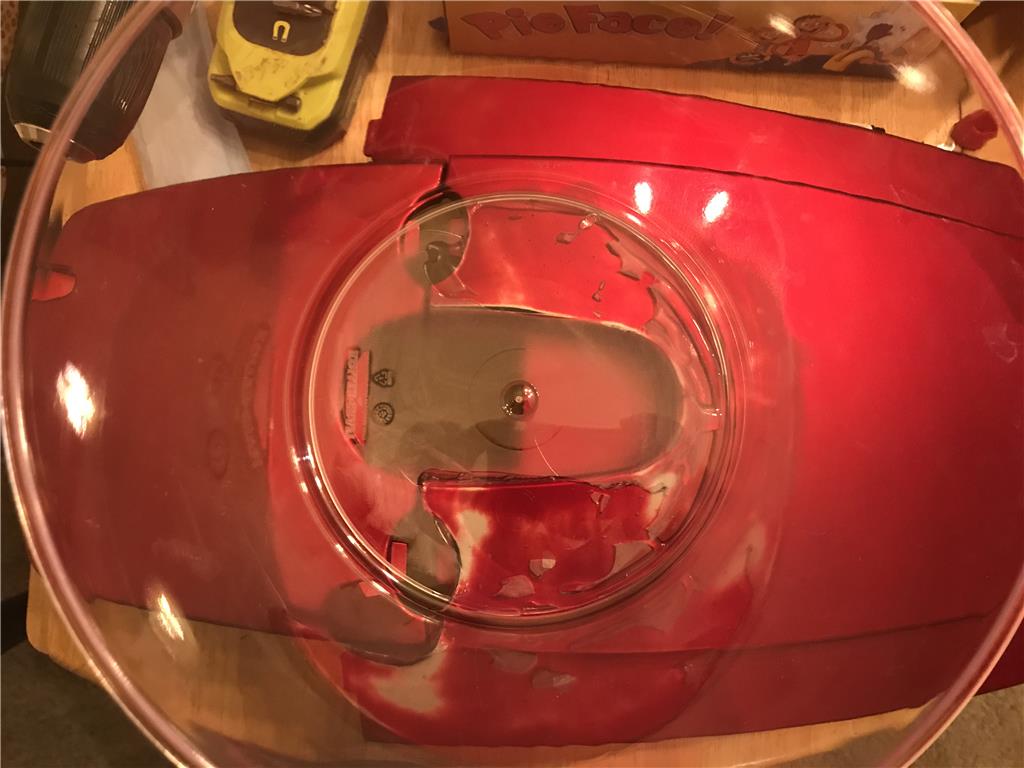

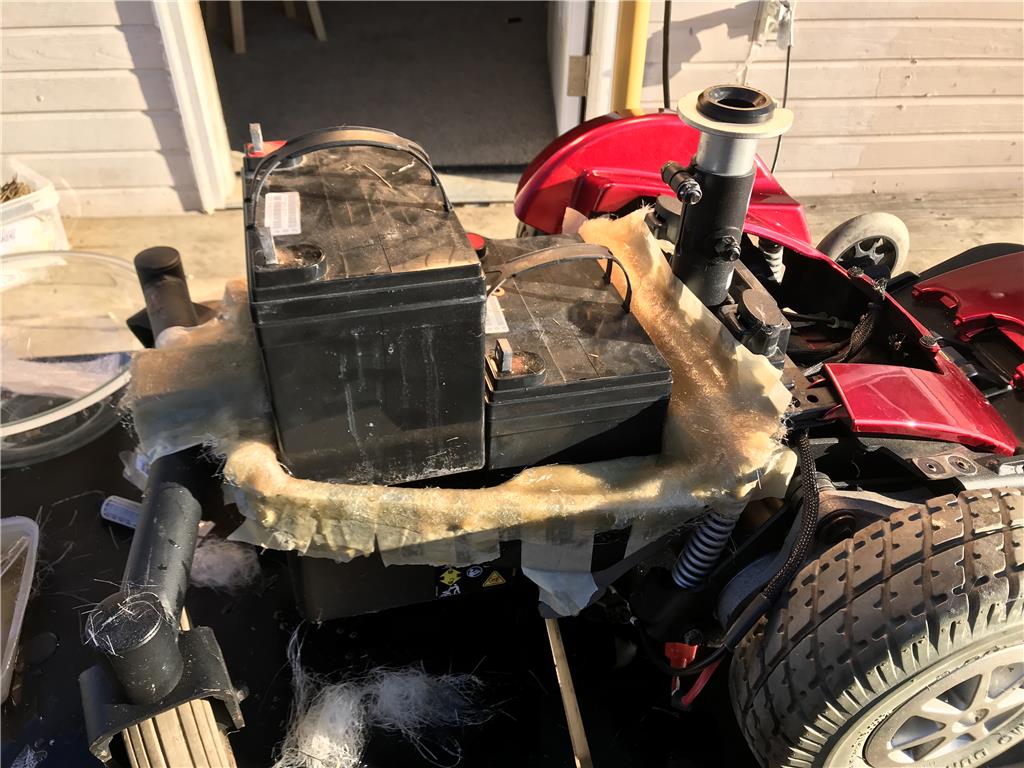
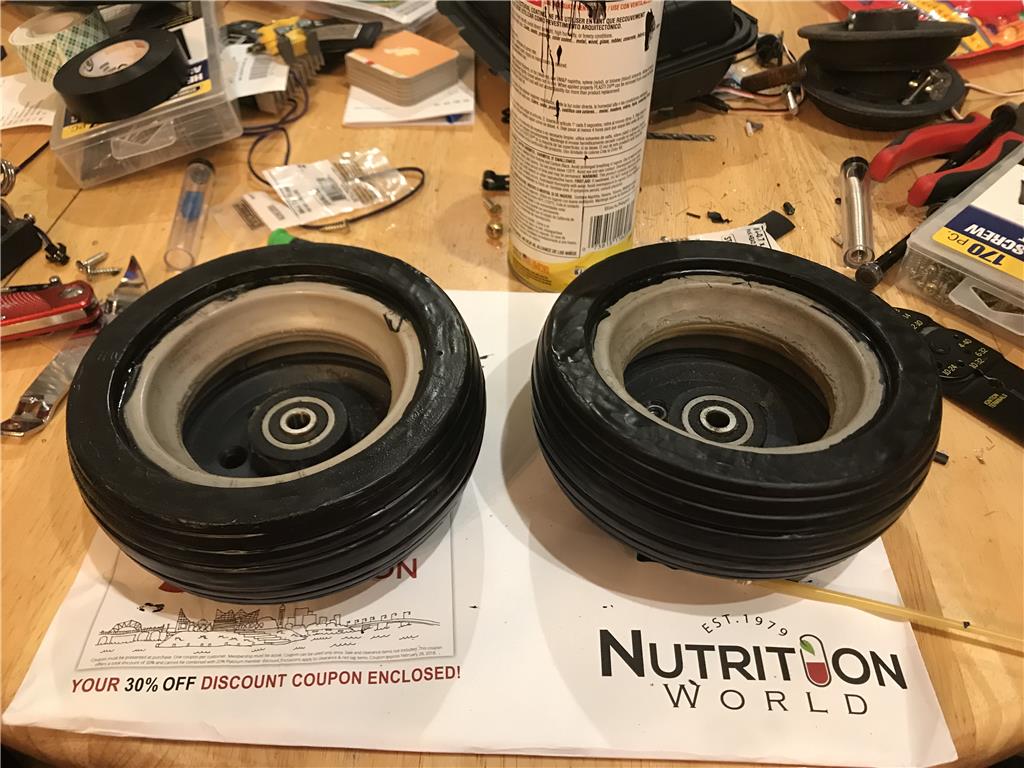
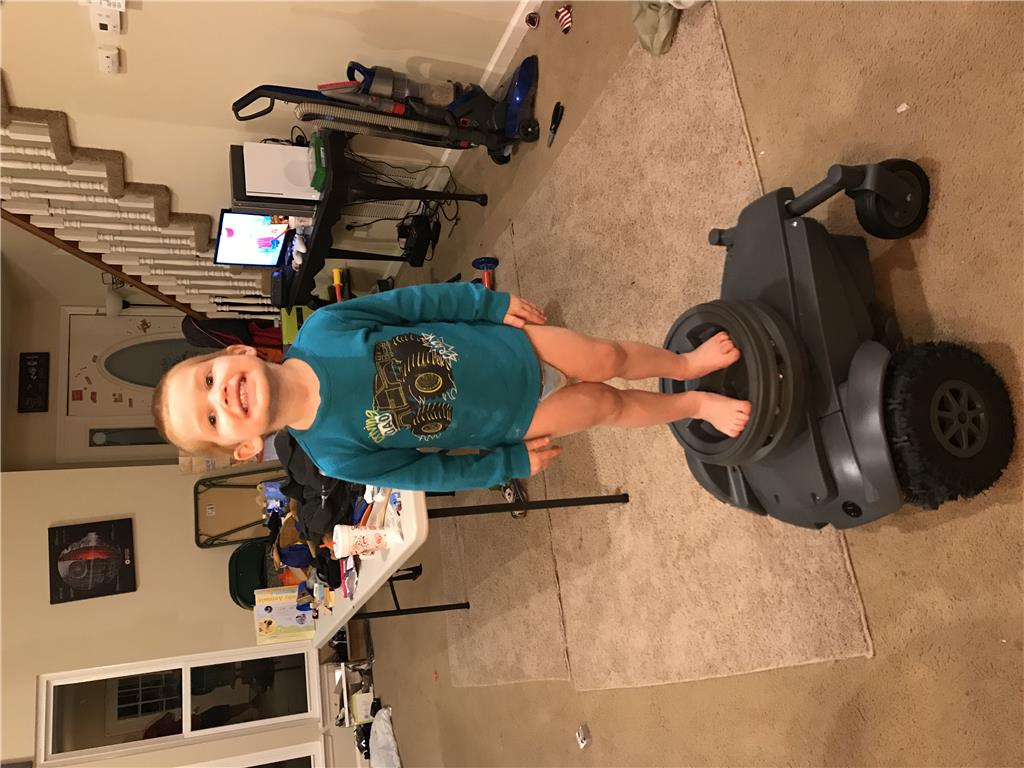
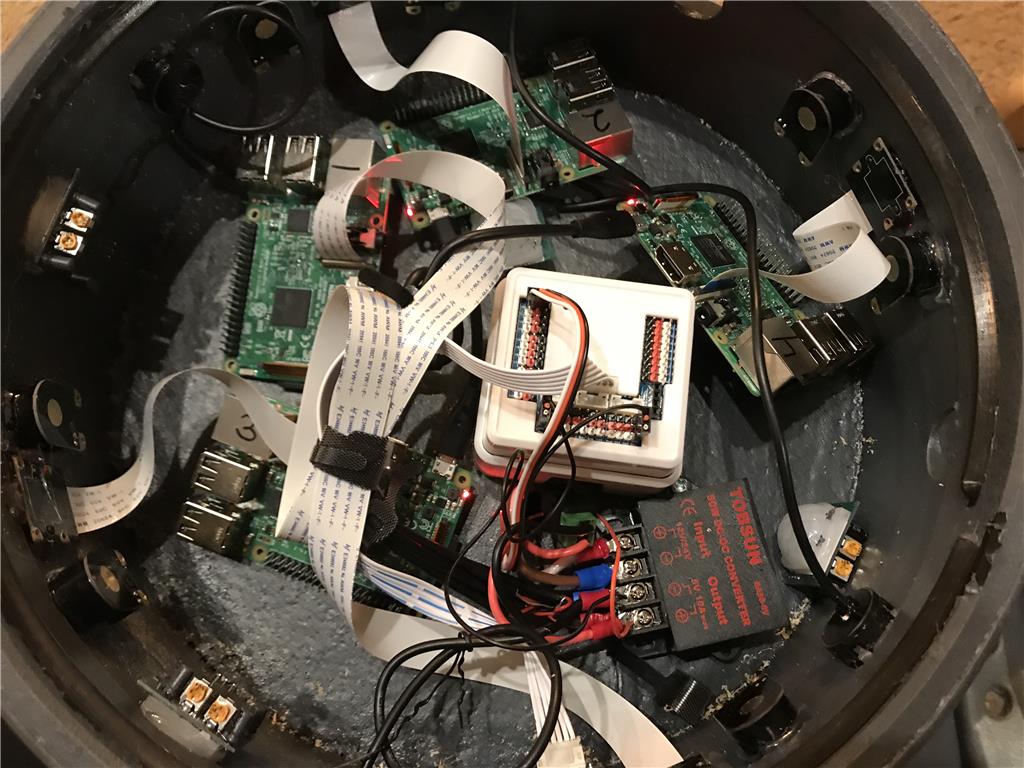
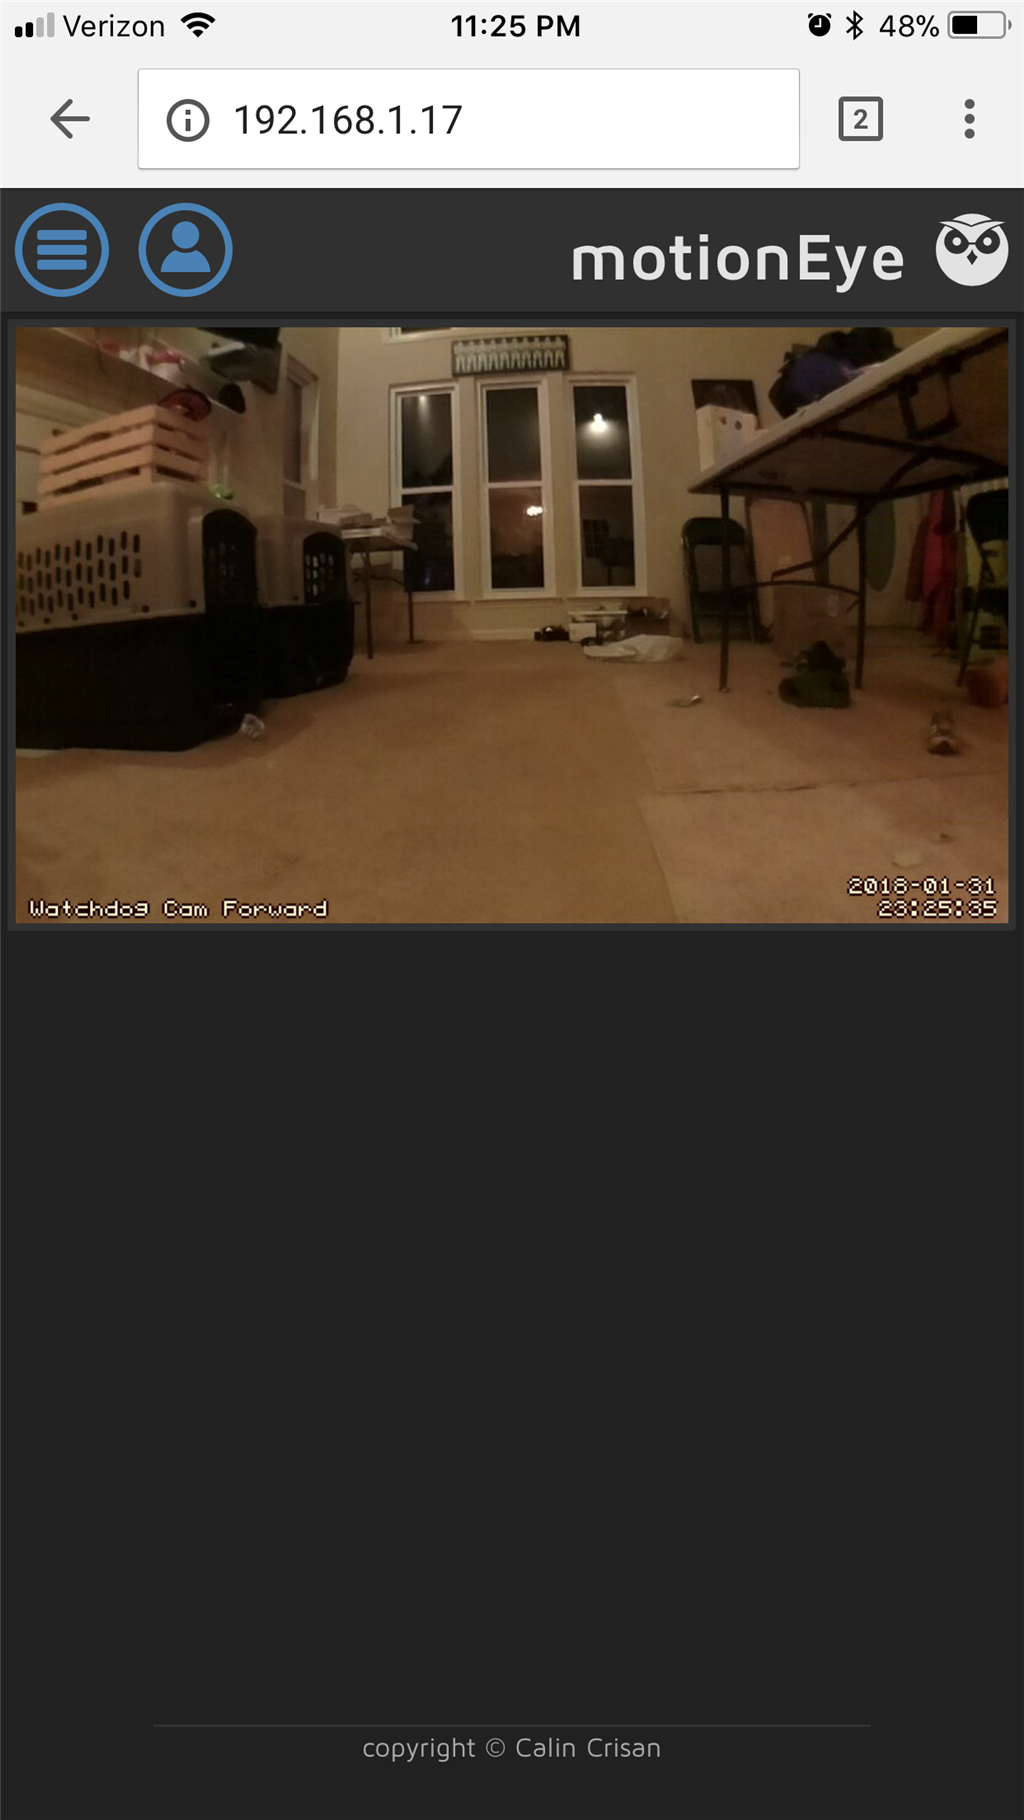
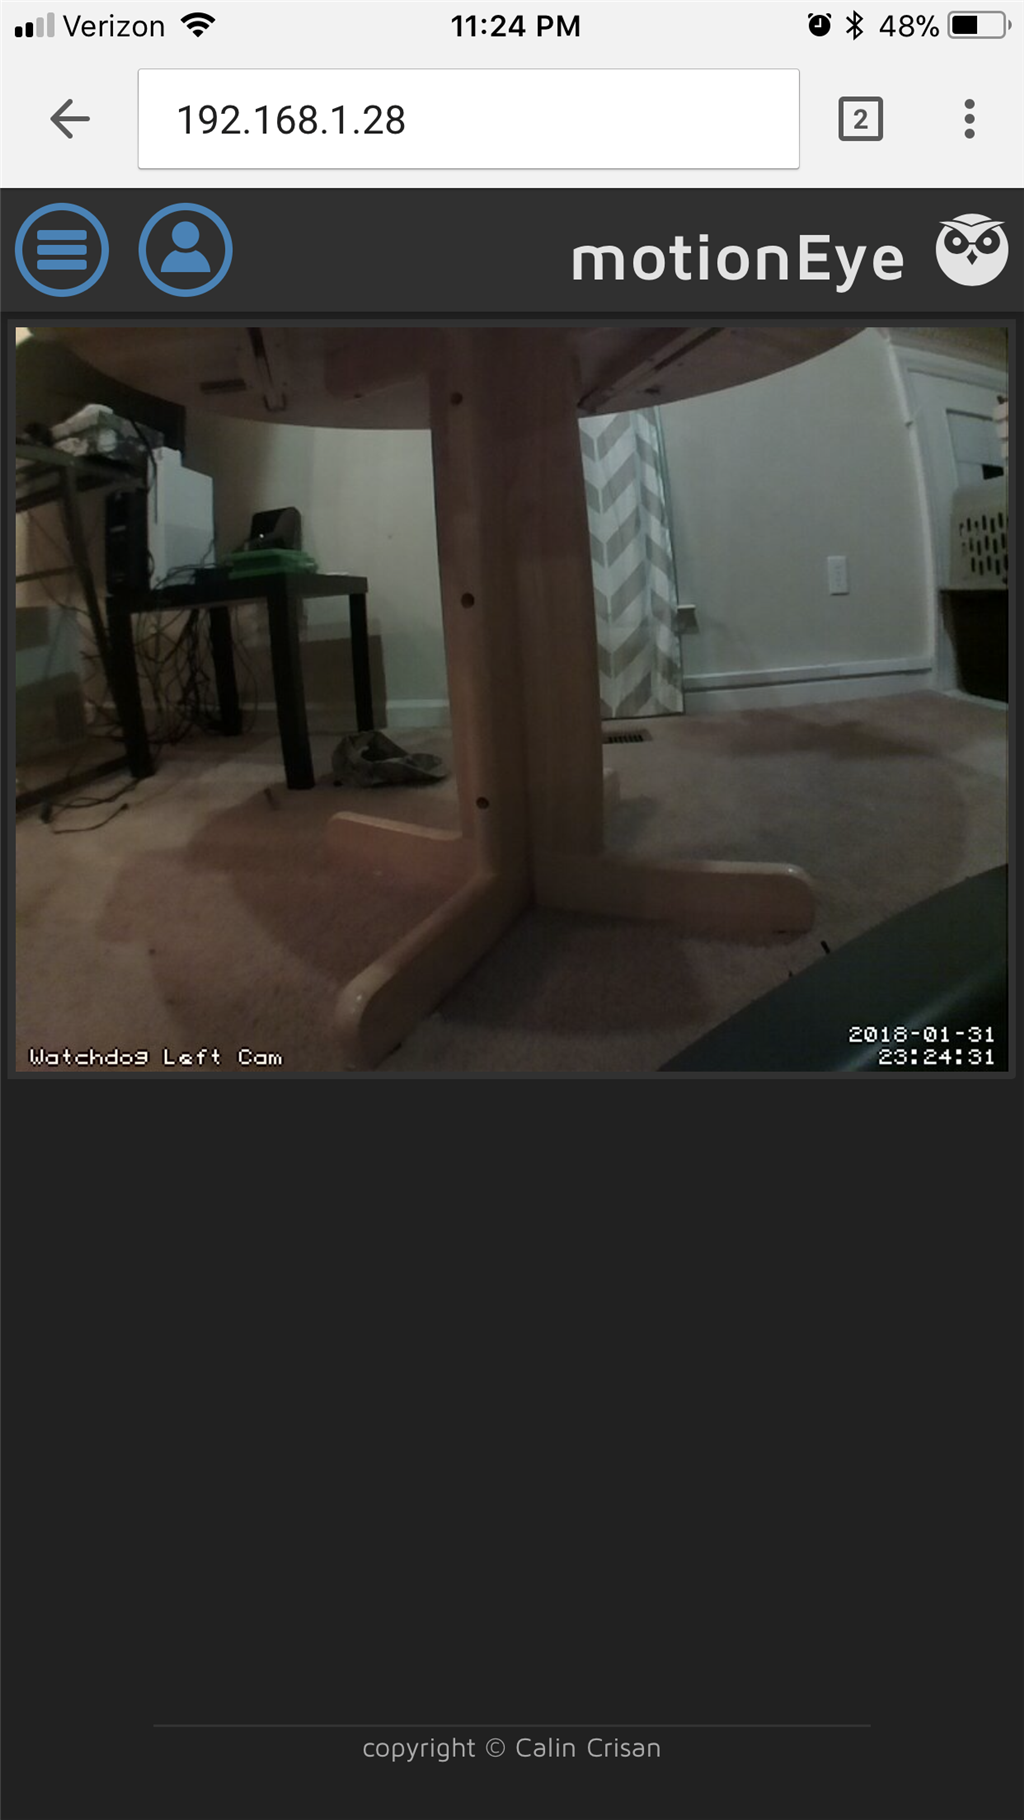
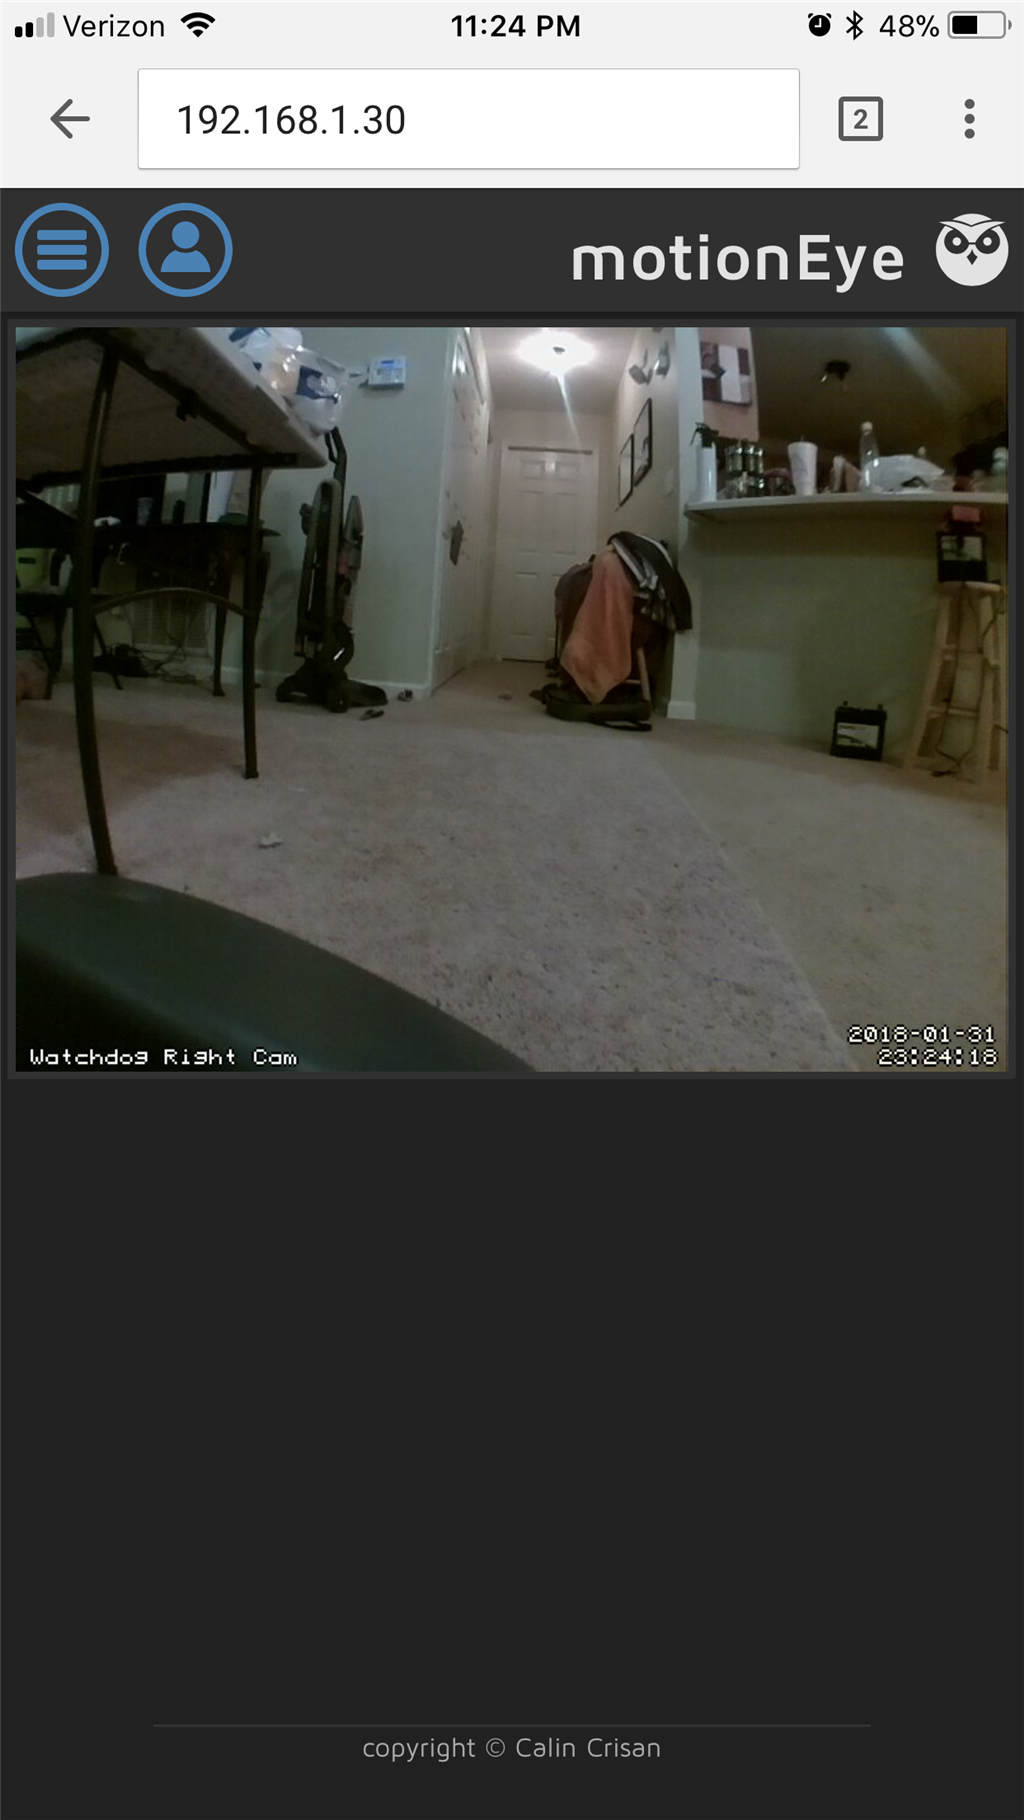
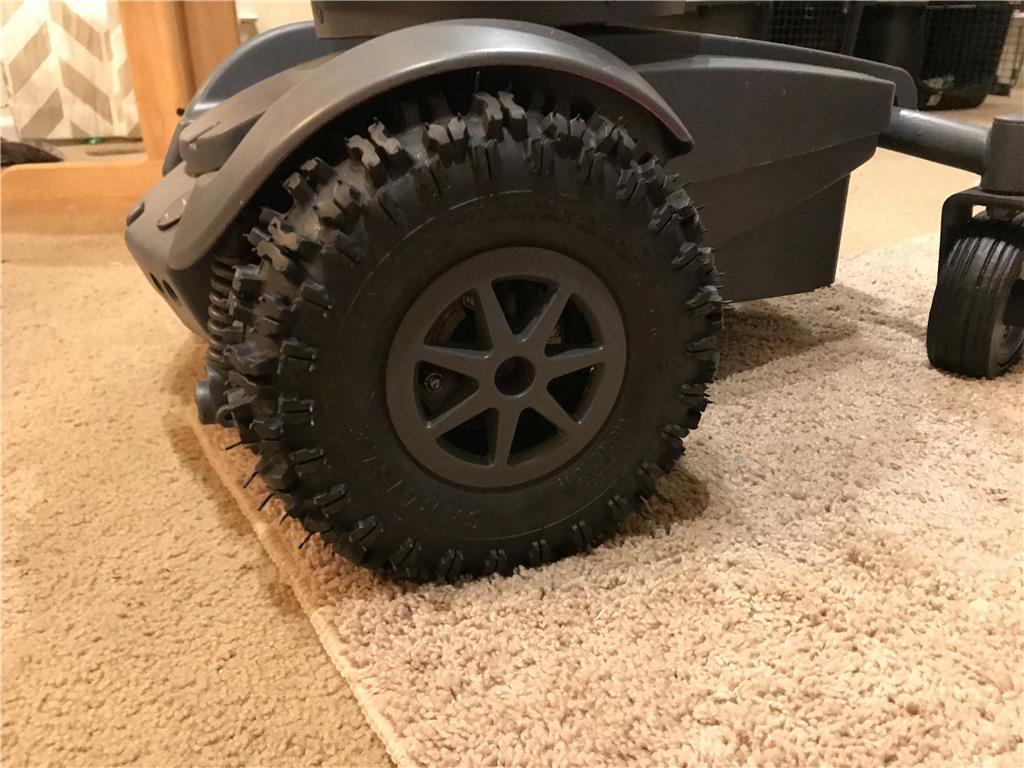
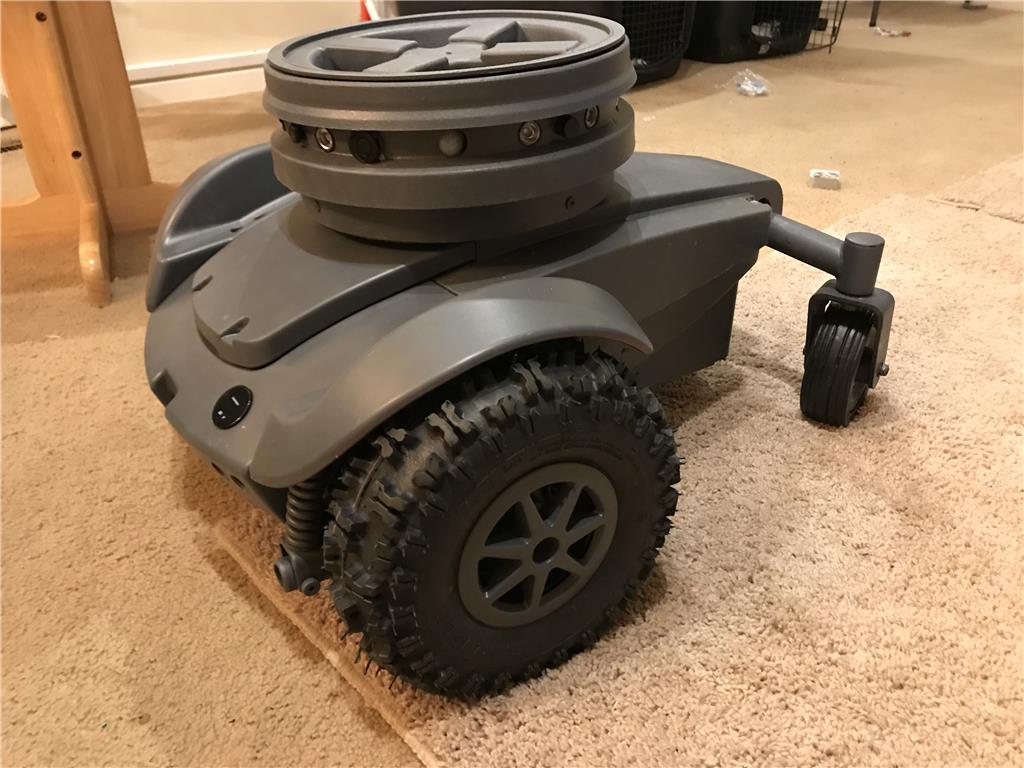
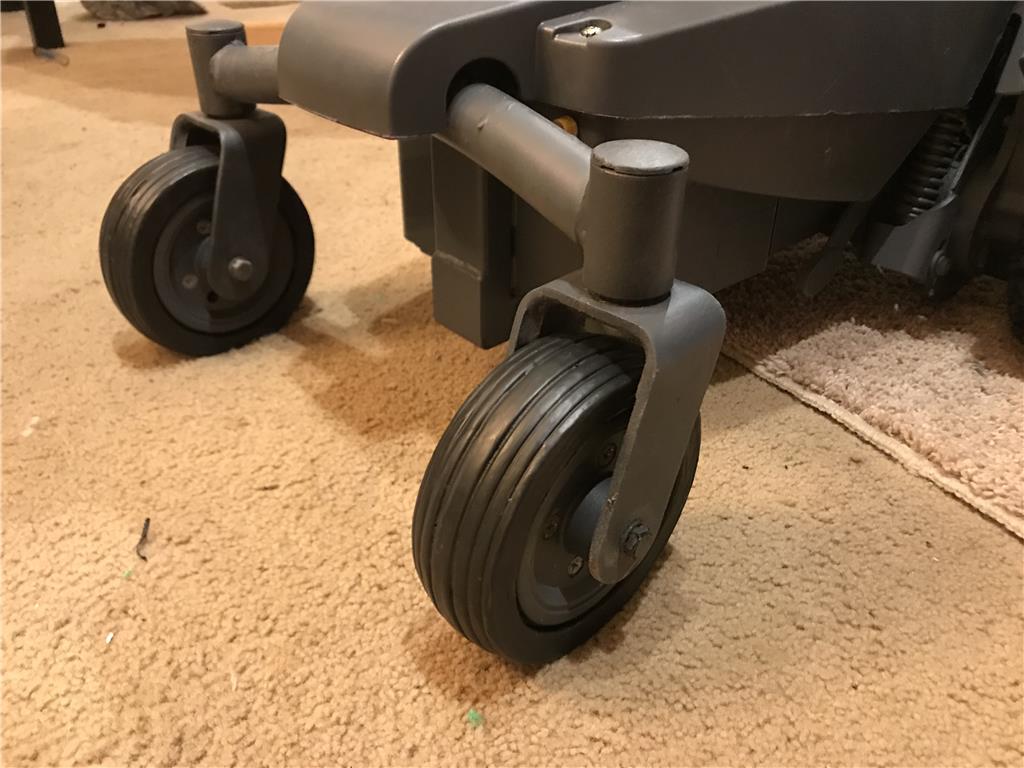
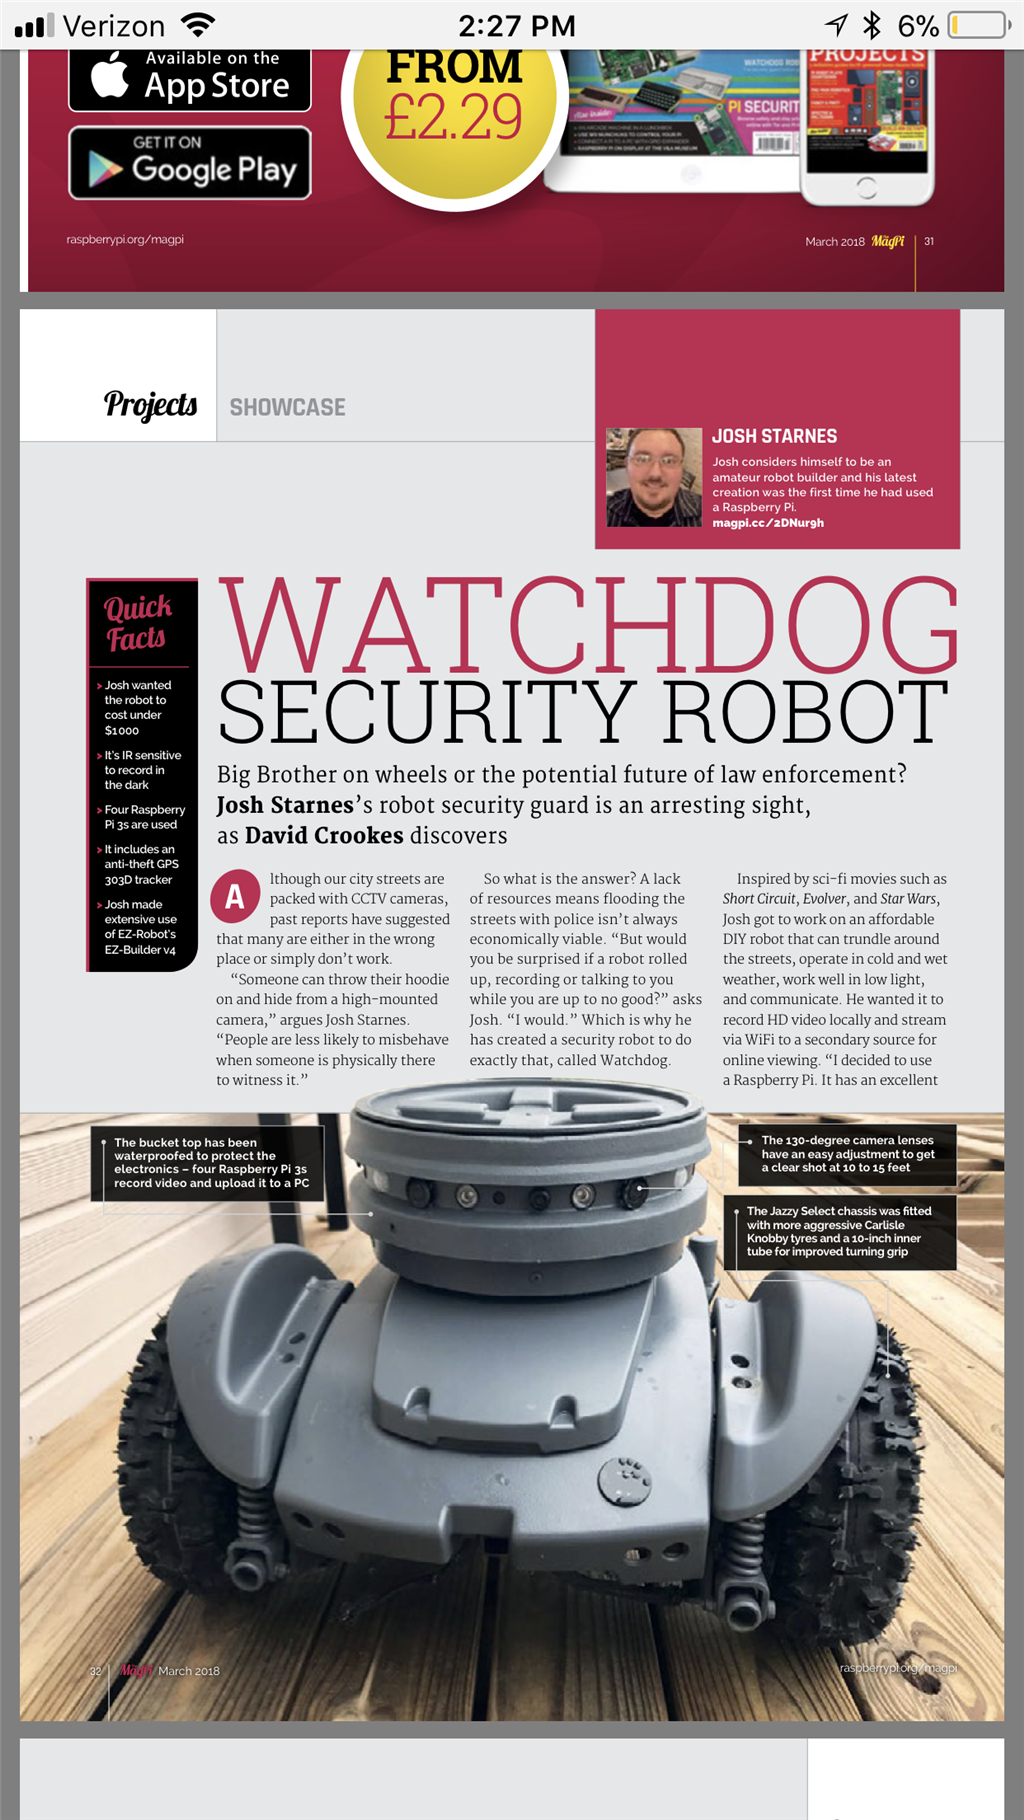
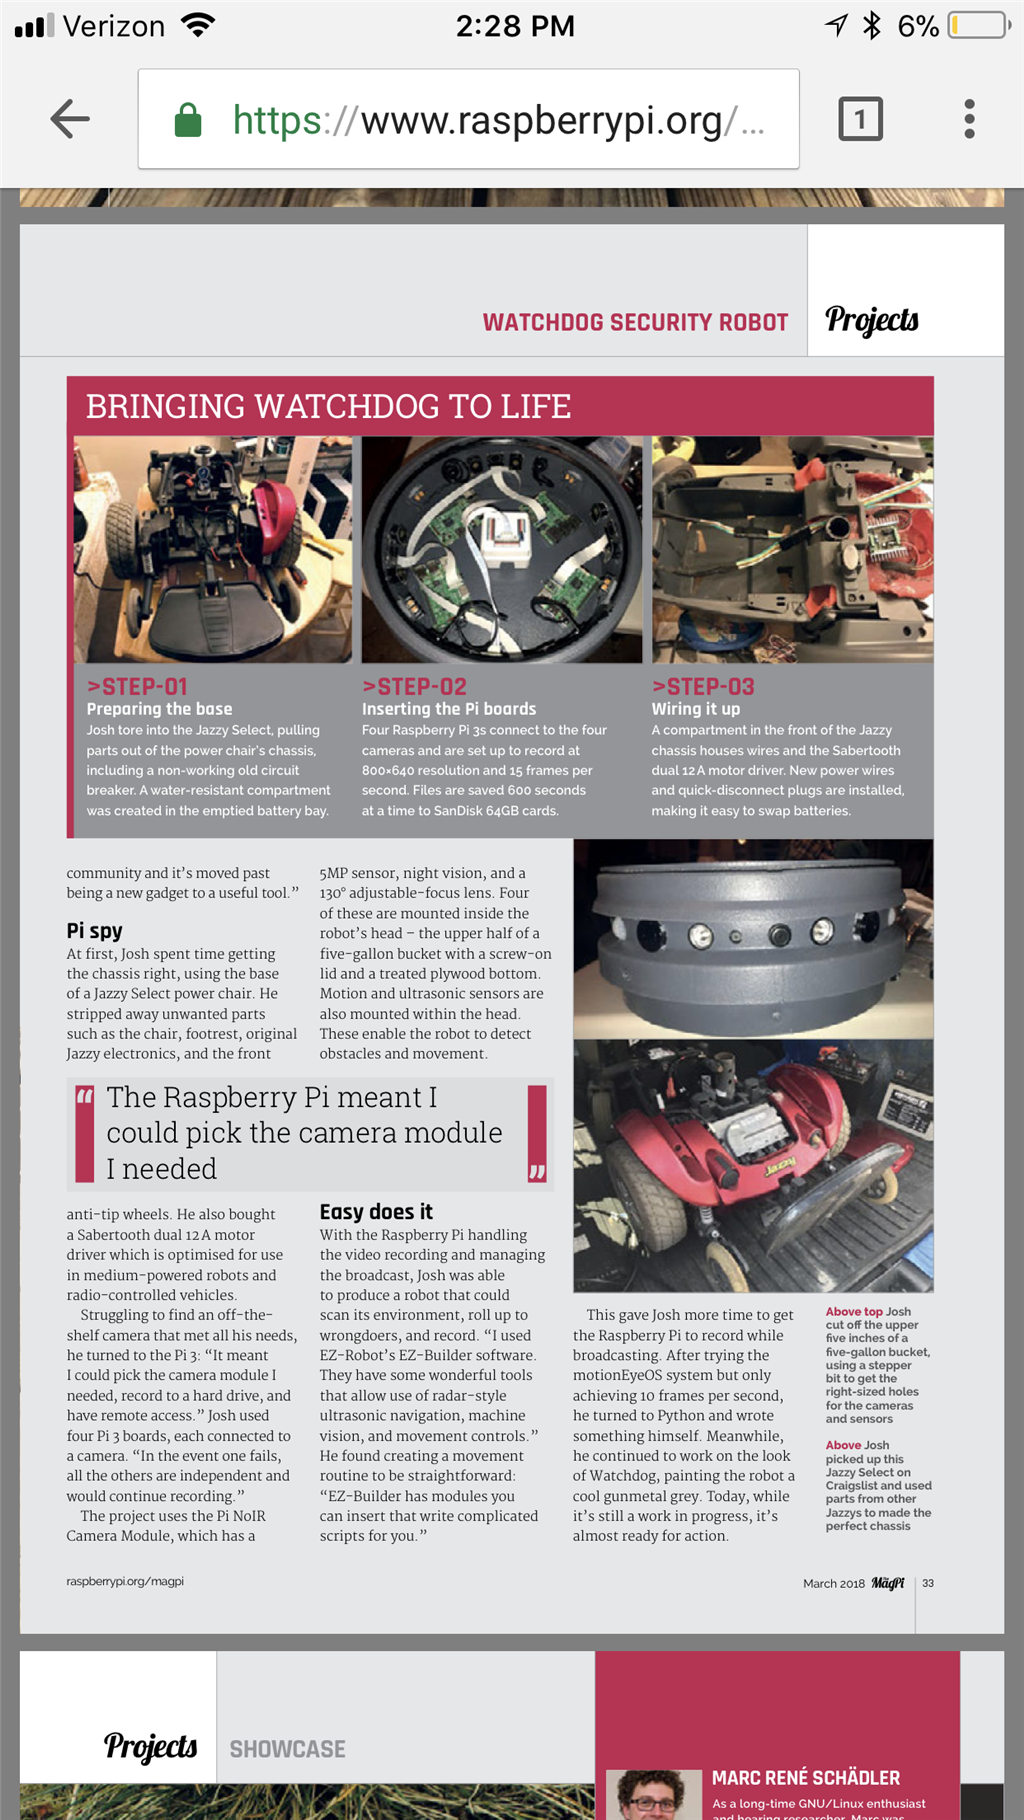
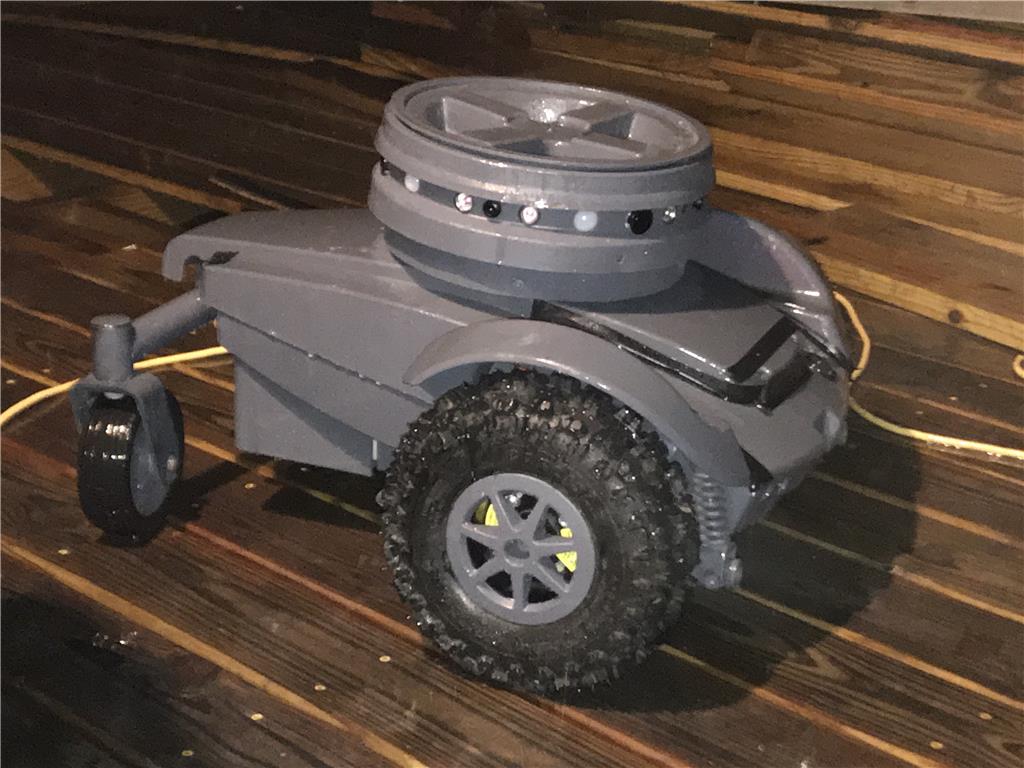
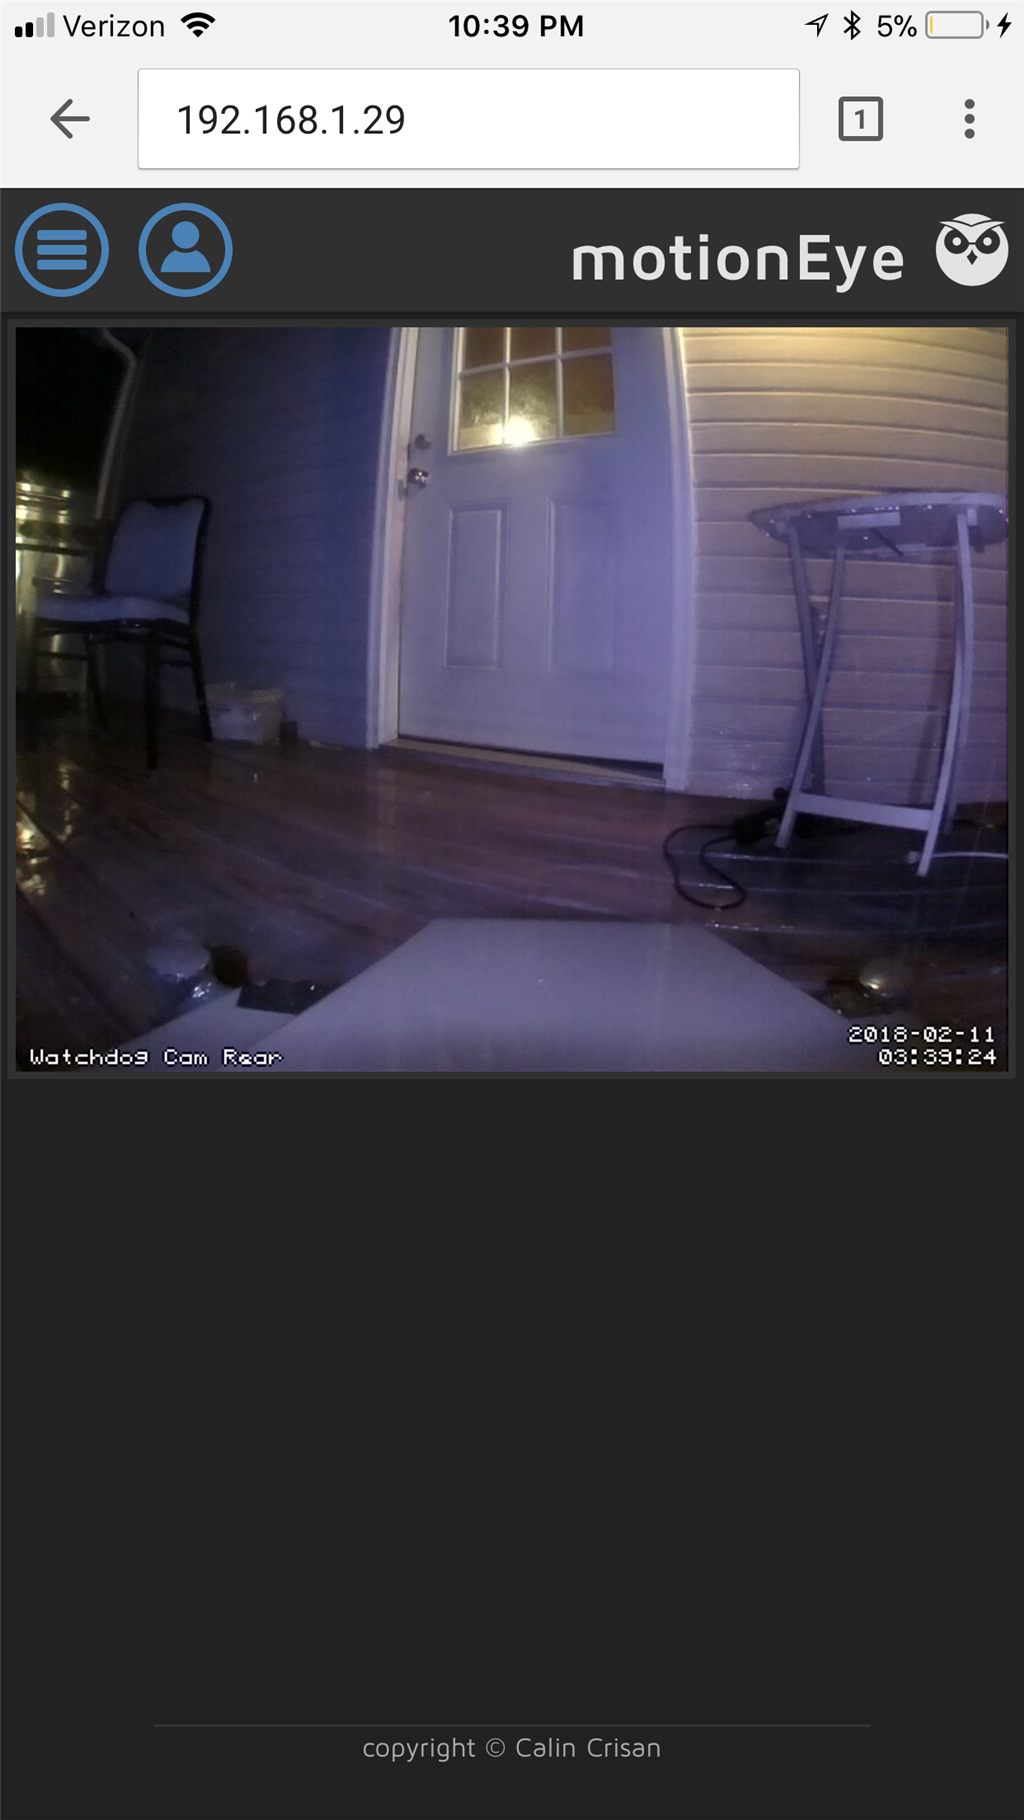
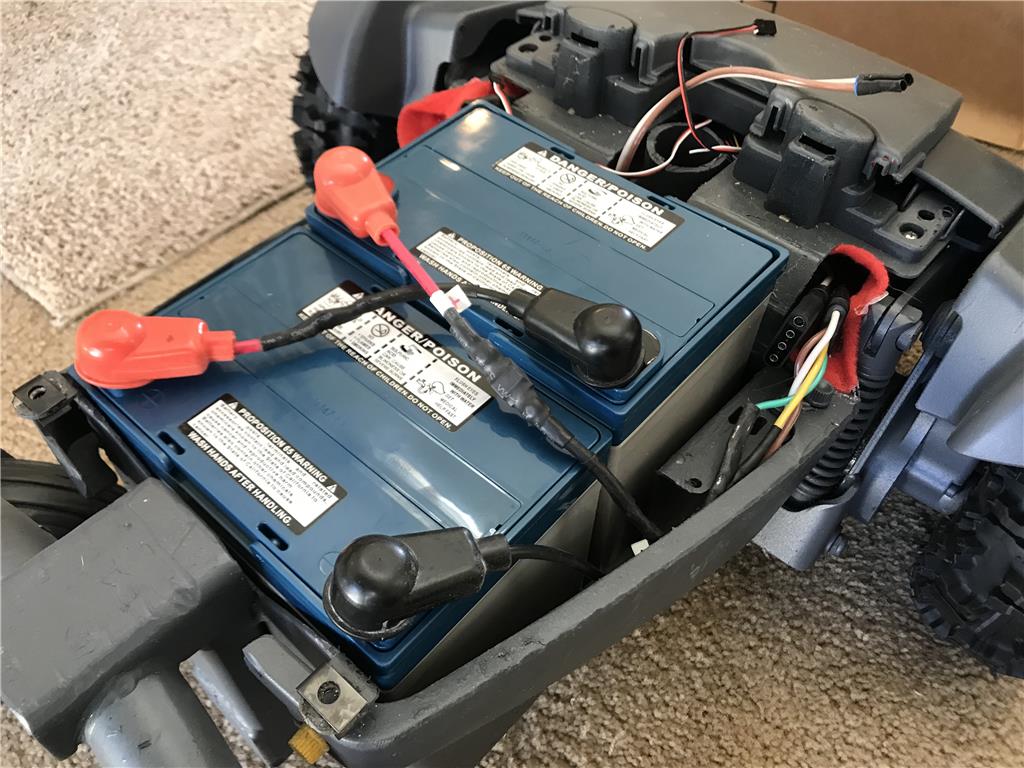
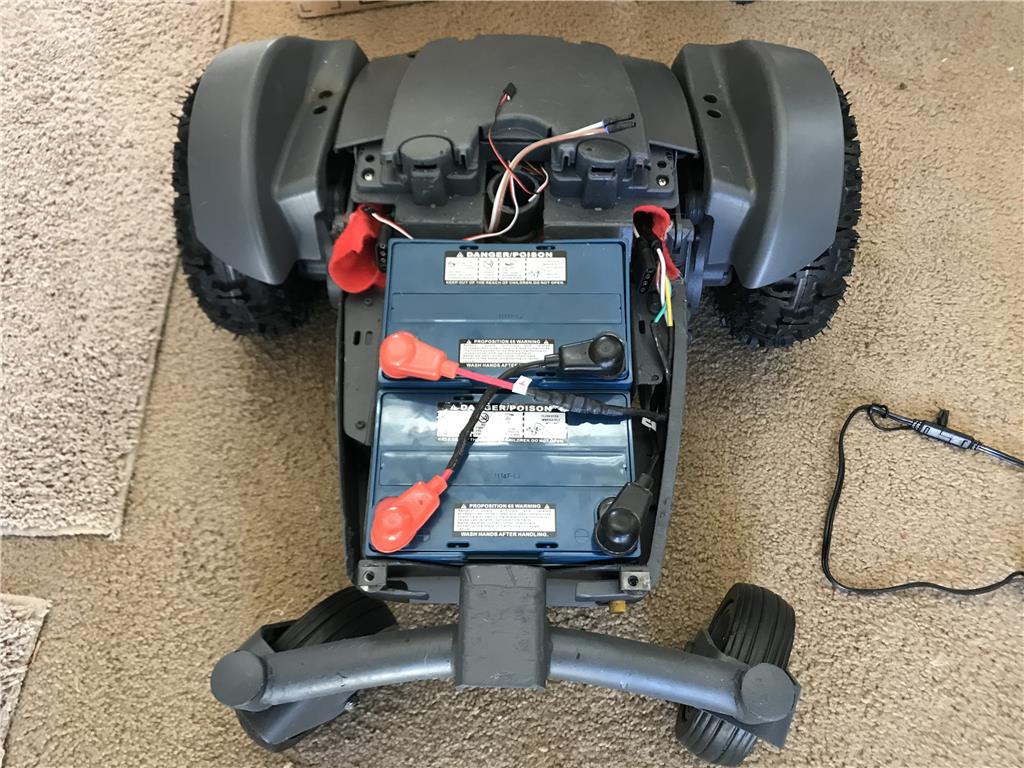
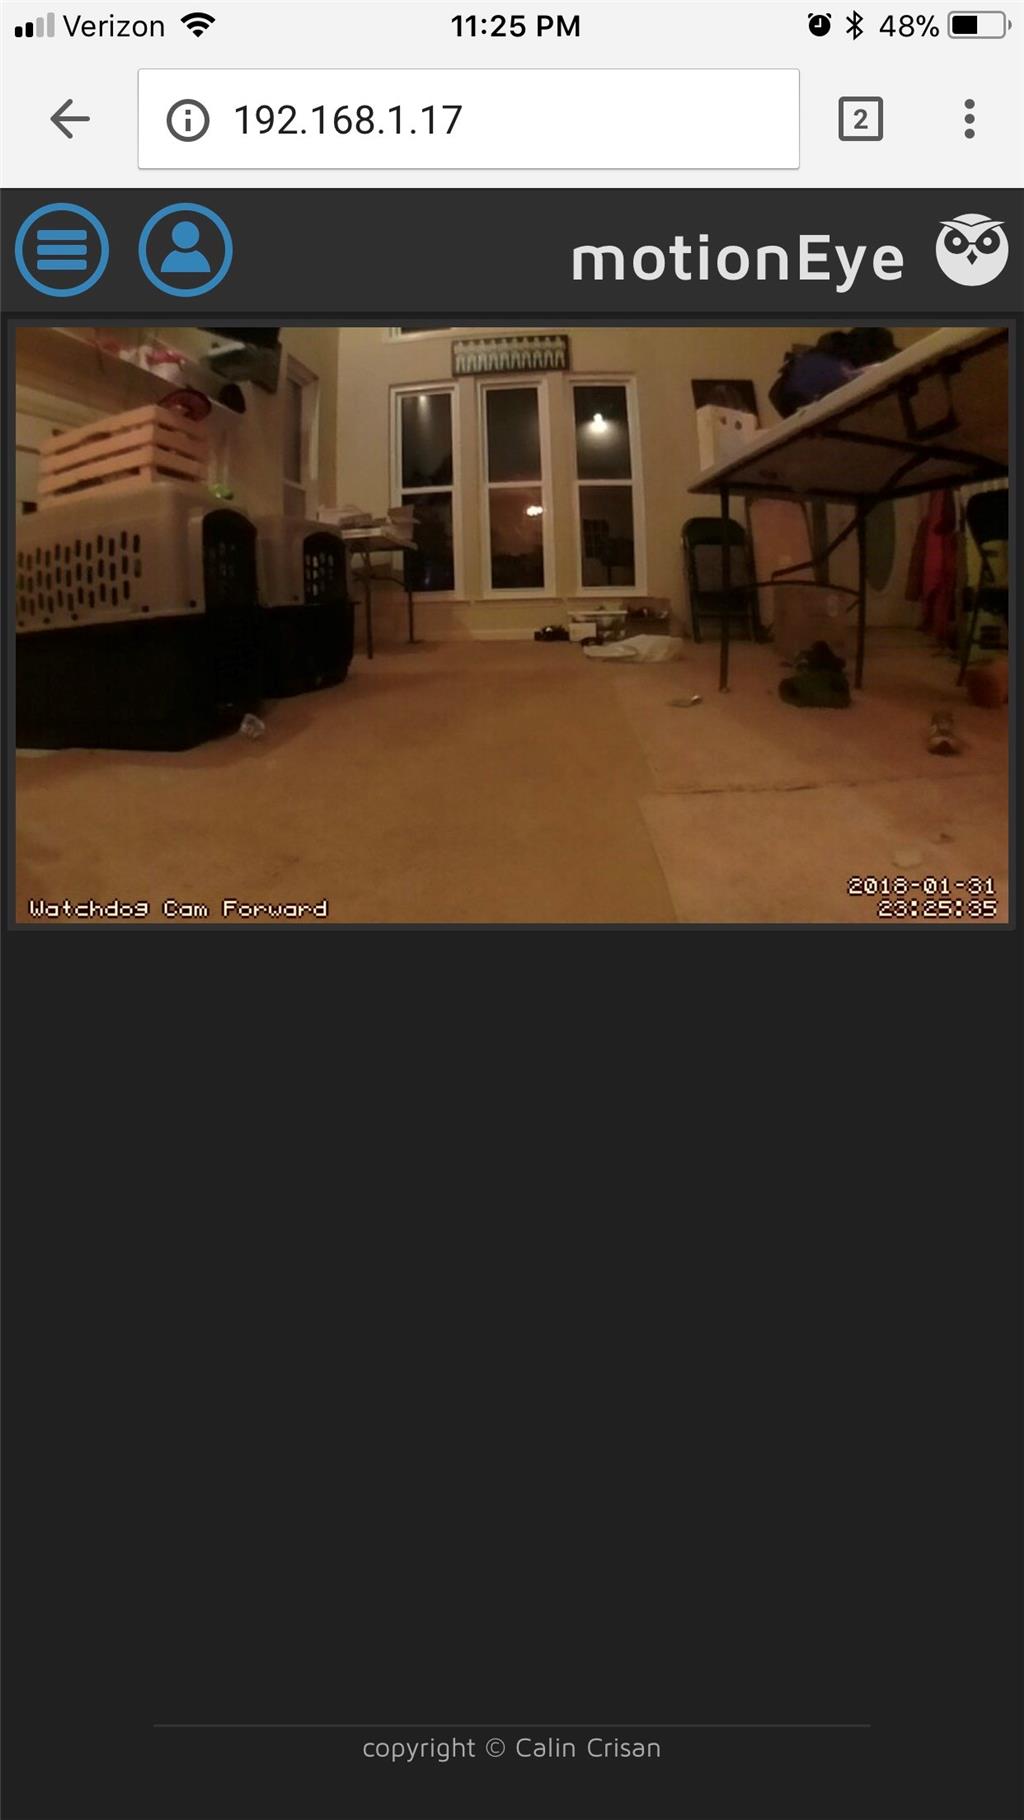
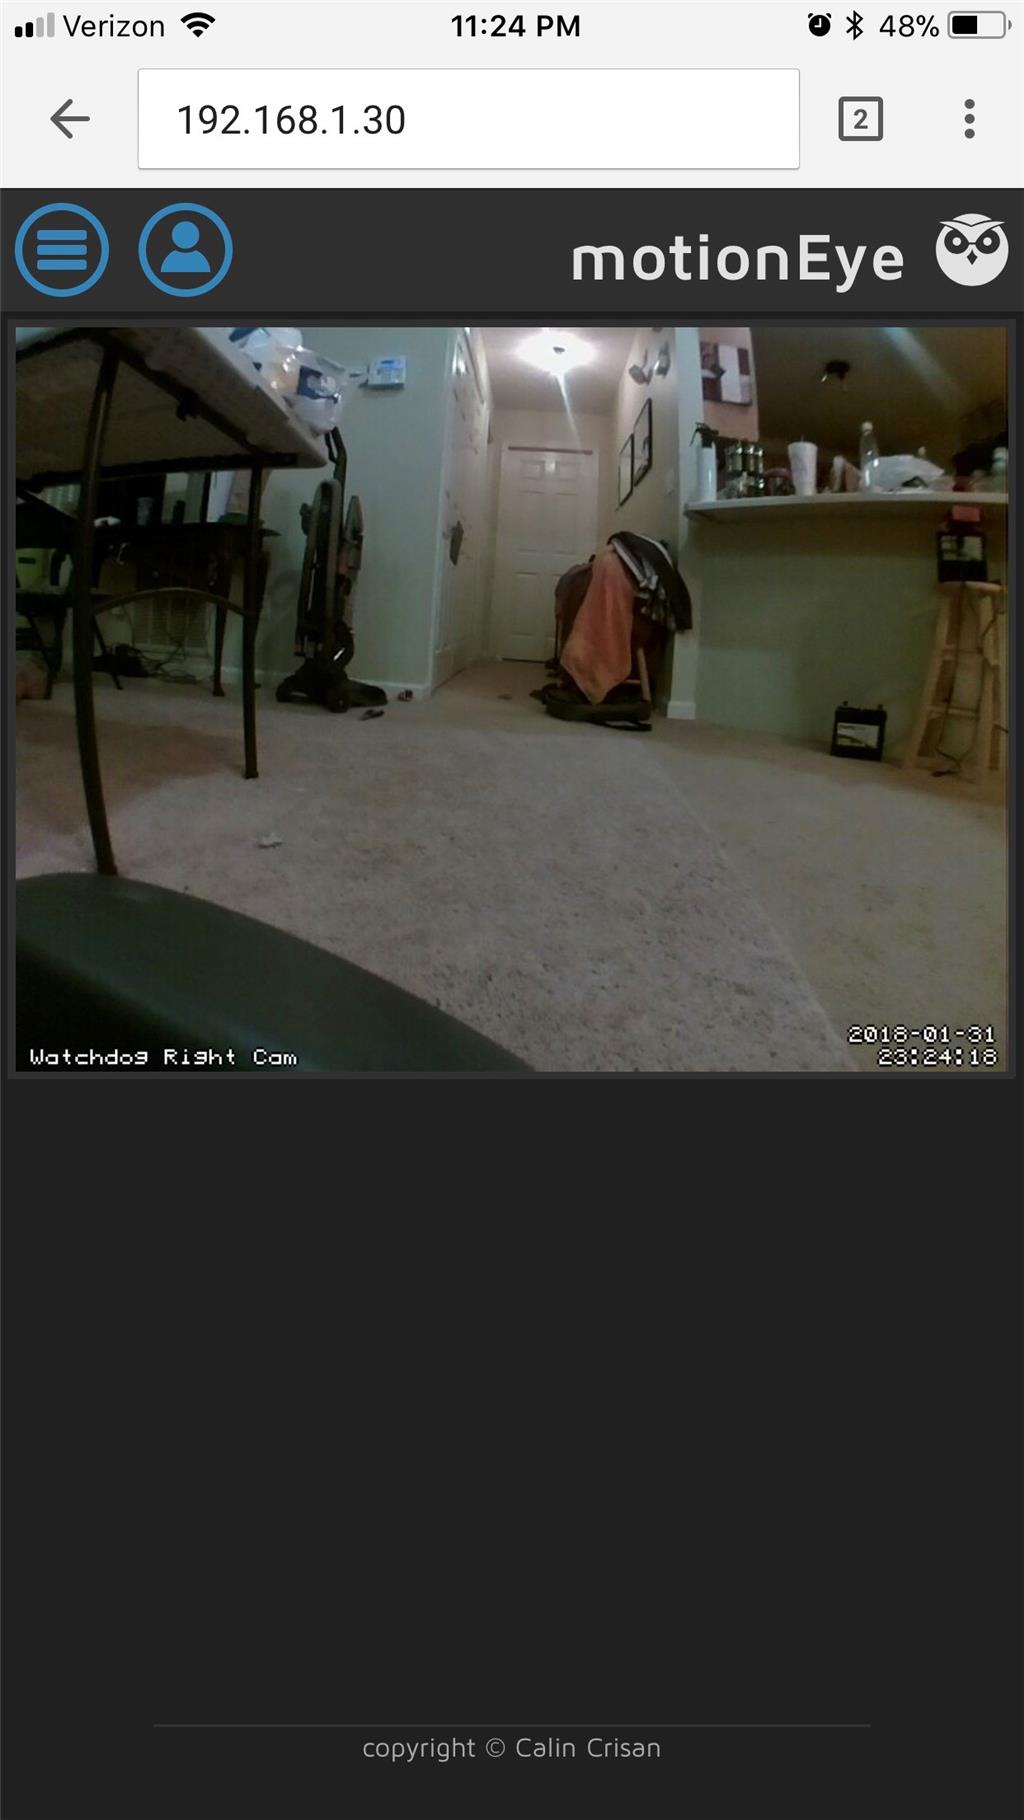
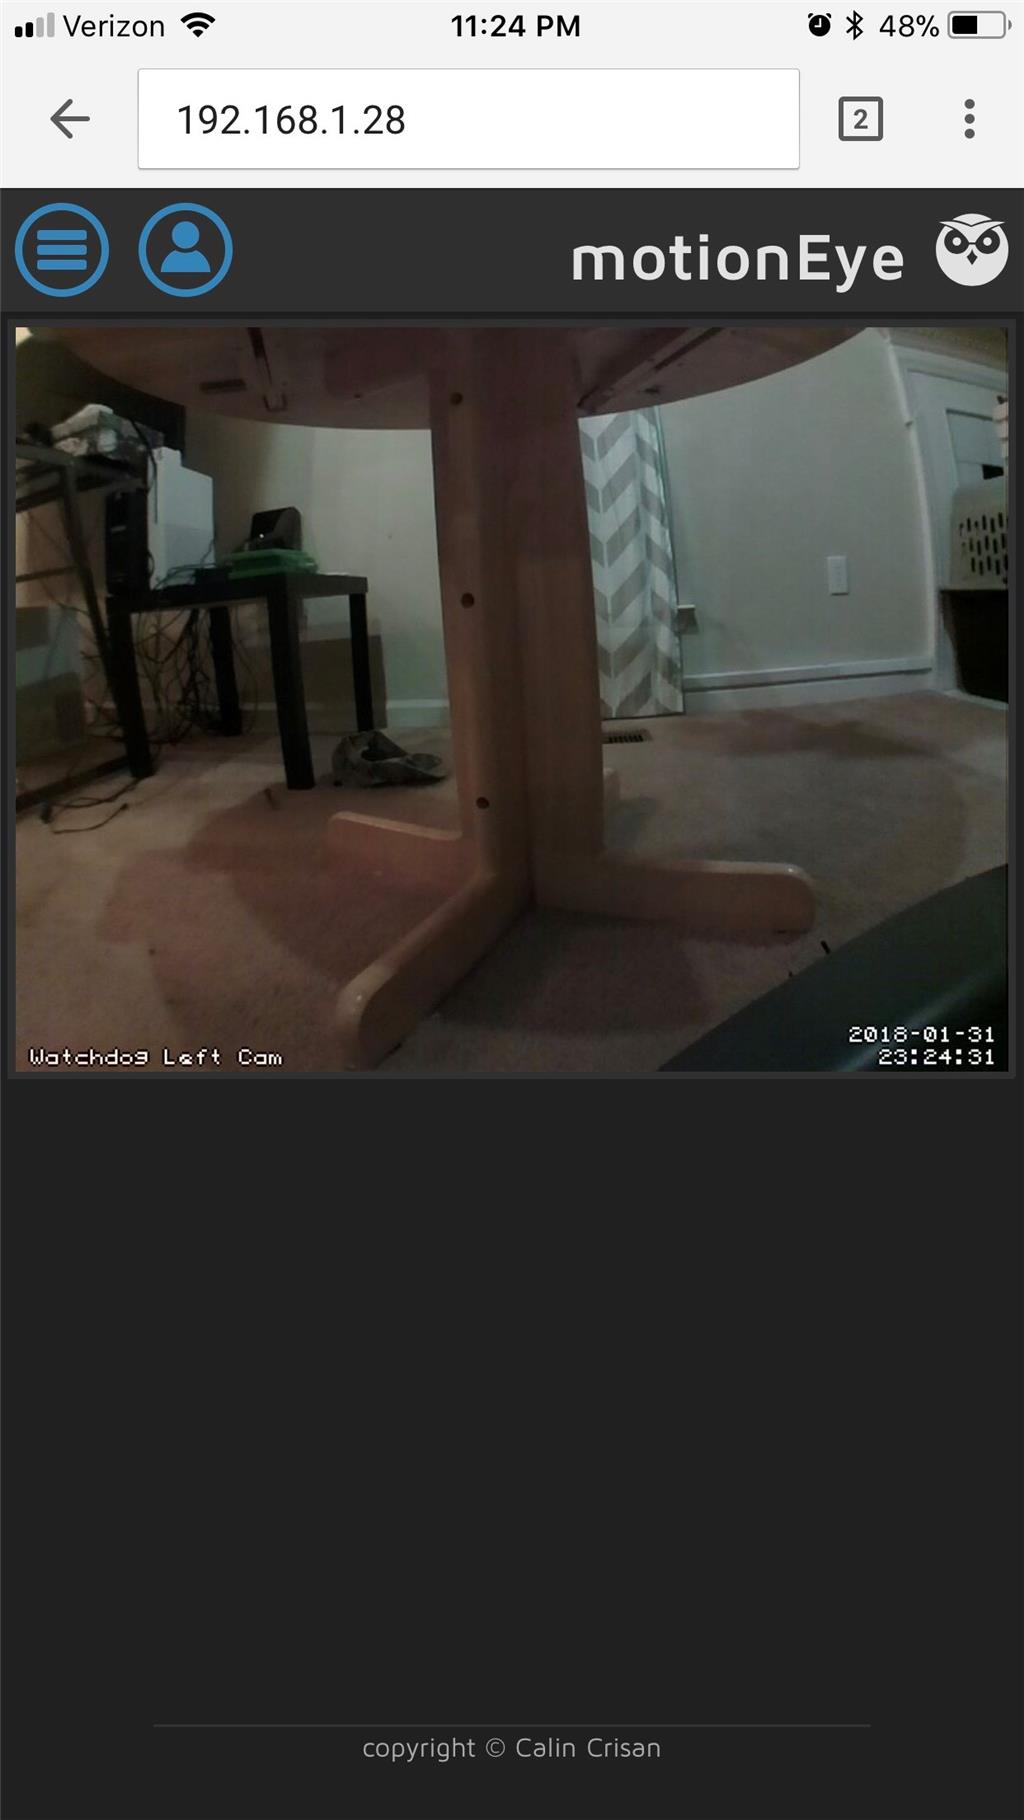
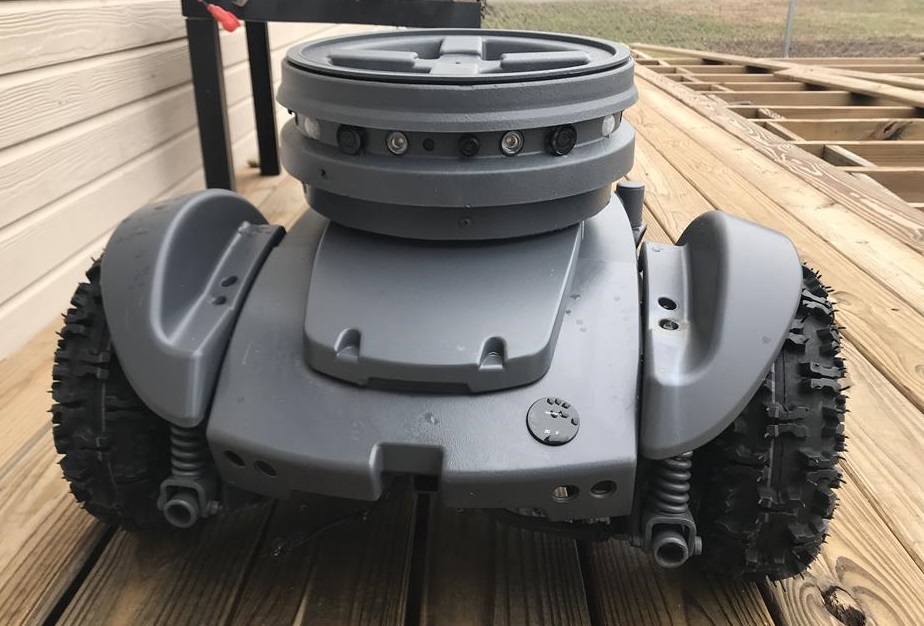
Here is the current look of this project, Super cool update, magpi magazine wants to feature this build with steps how it was done , !
By jstarne1
— Last update

Discover more robots
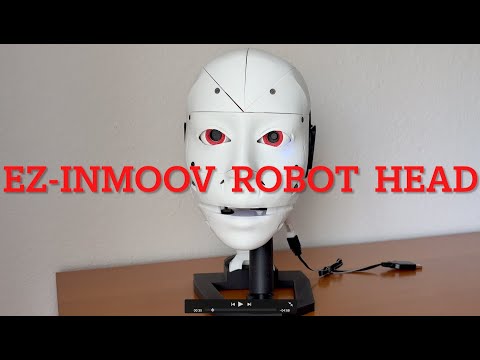
Lsradets's EZ-Inmoov Robot Head
EZ-InMoov robot head with Synthiam 3D-printed parts and EZ-Robot electronics, programmable via Synthiam ARC for...
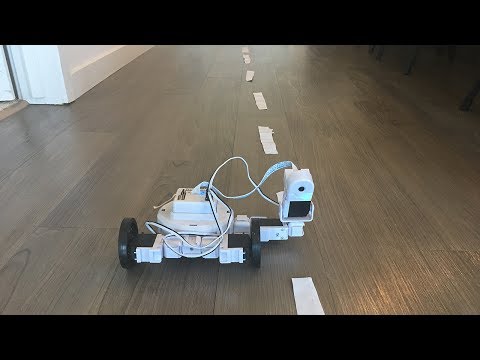
DJ's Autonomous Robocar
Synthiam ARC enables a lane-following AdventureBot using multi-color profiles for rapid lane navigation, quick...

Lumpy's Lumpy's Omnibot(S) - Spy Vs Spy
Omnibot restoration in Spy vs Spy black/white theme with front switches retained, Mr T and Pee-wee audio, wet-sanded...
Pictures or it didn’t happen!
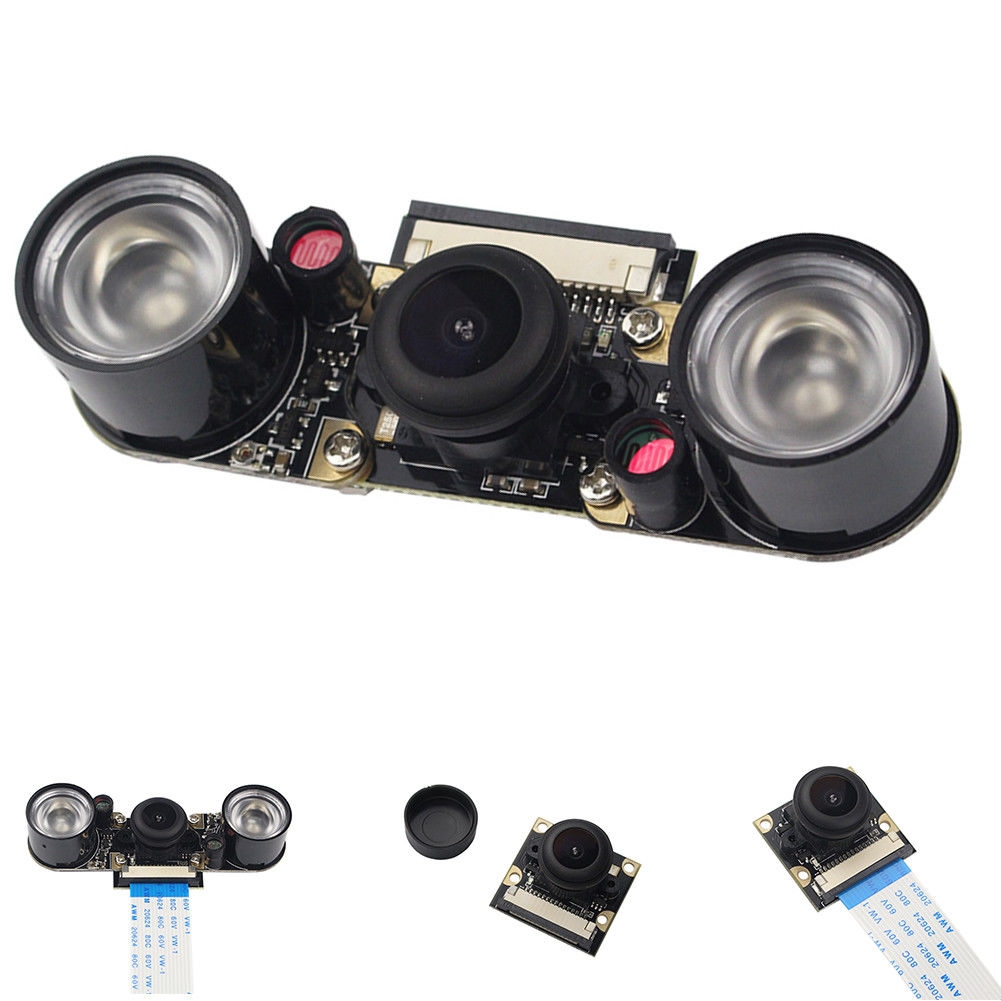
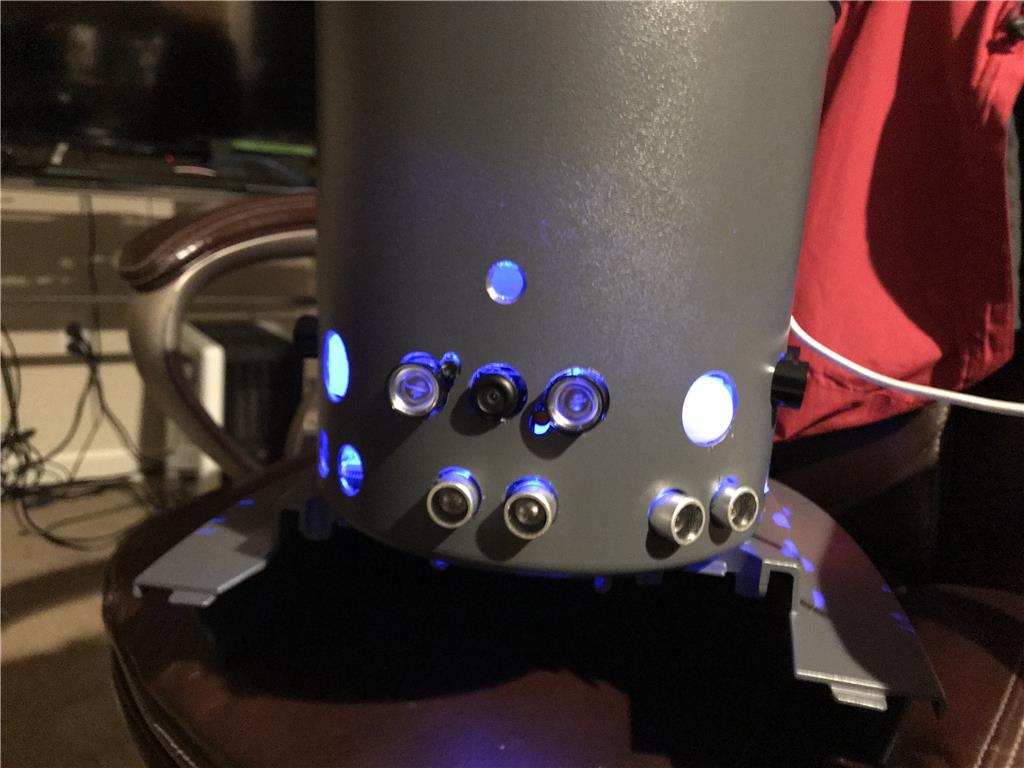
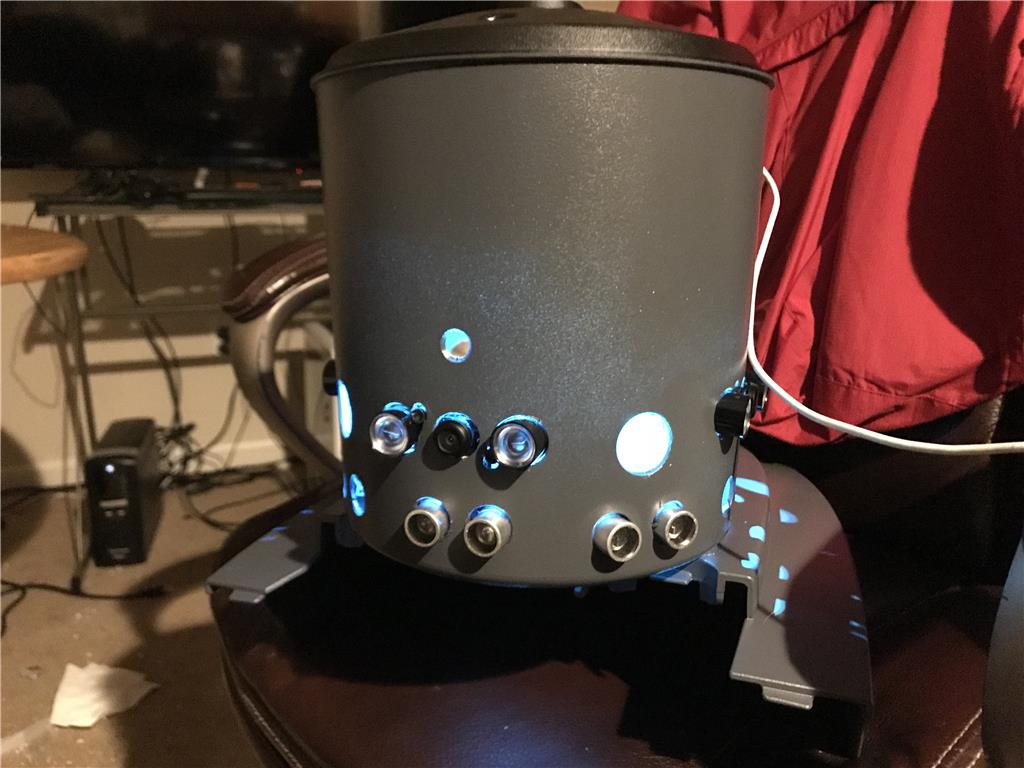
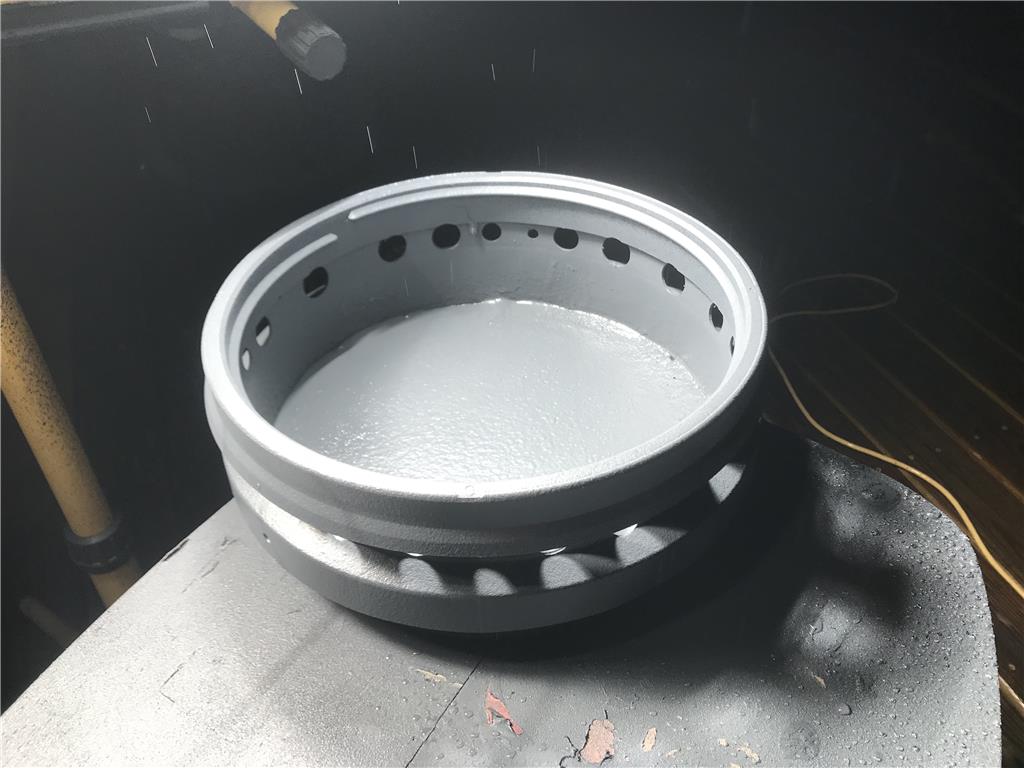
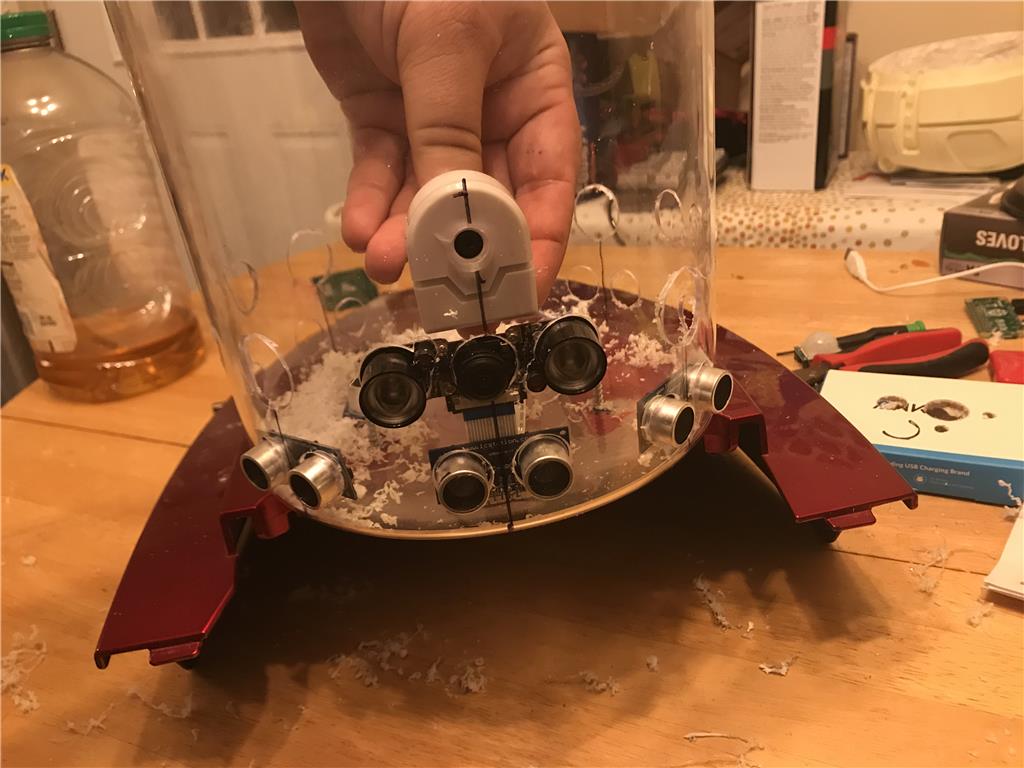
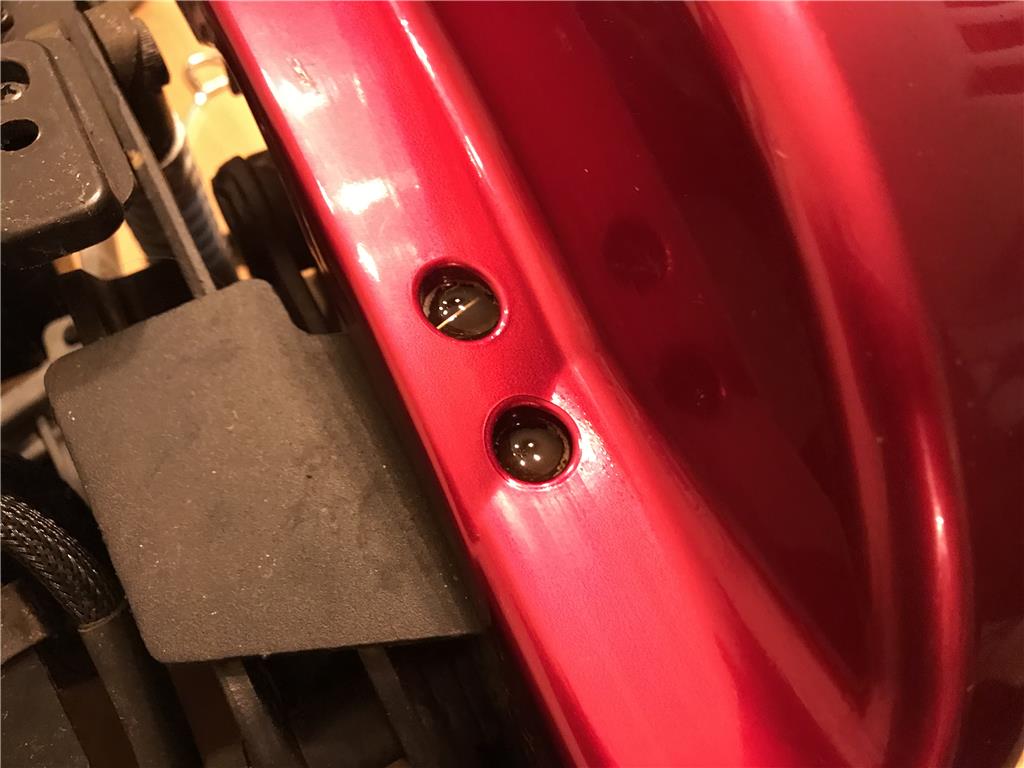
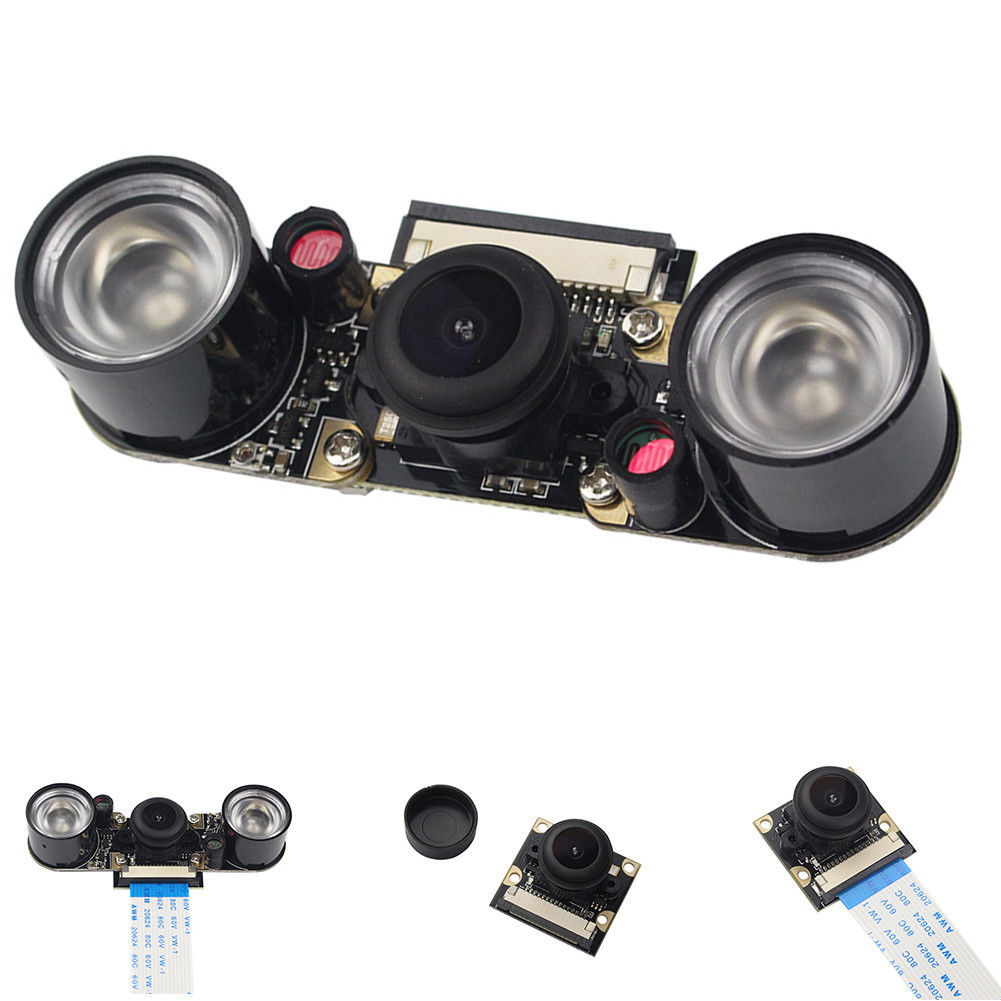
4 hole sets for the cameras and IR leds
8 hole sets for ultrasonic range finders
4 hole sets for Pyro Motion Detectors
1 EZ CAM hole
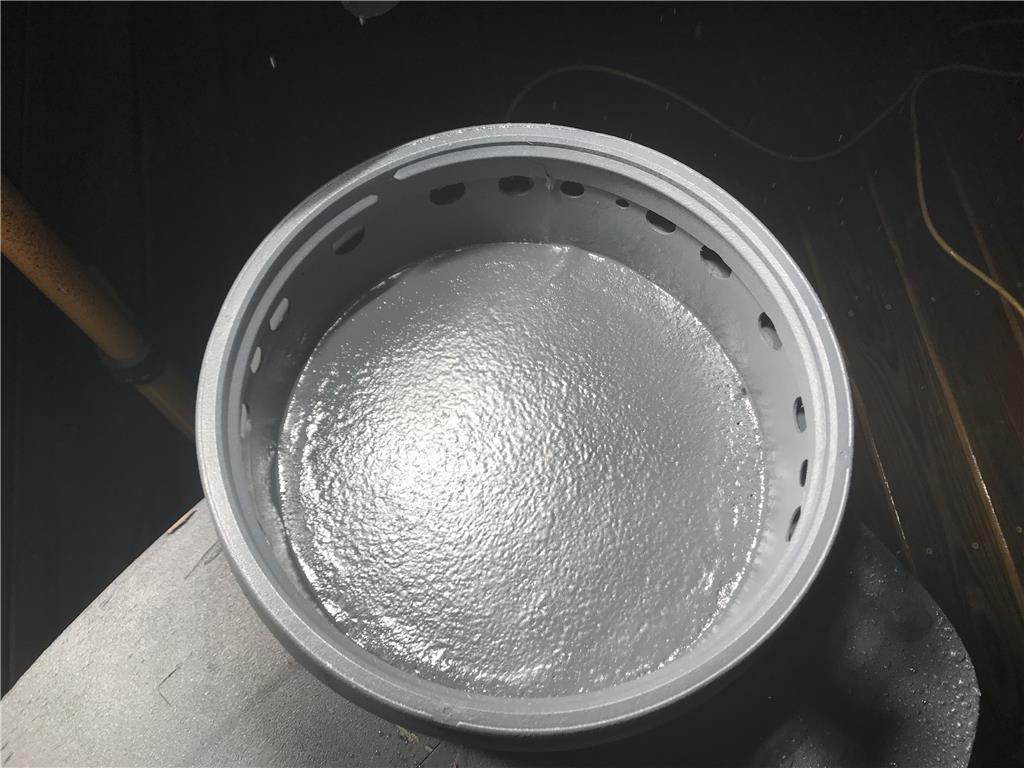
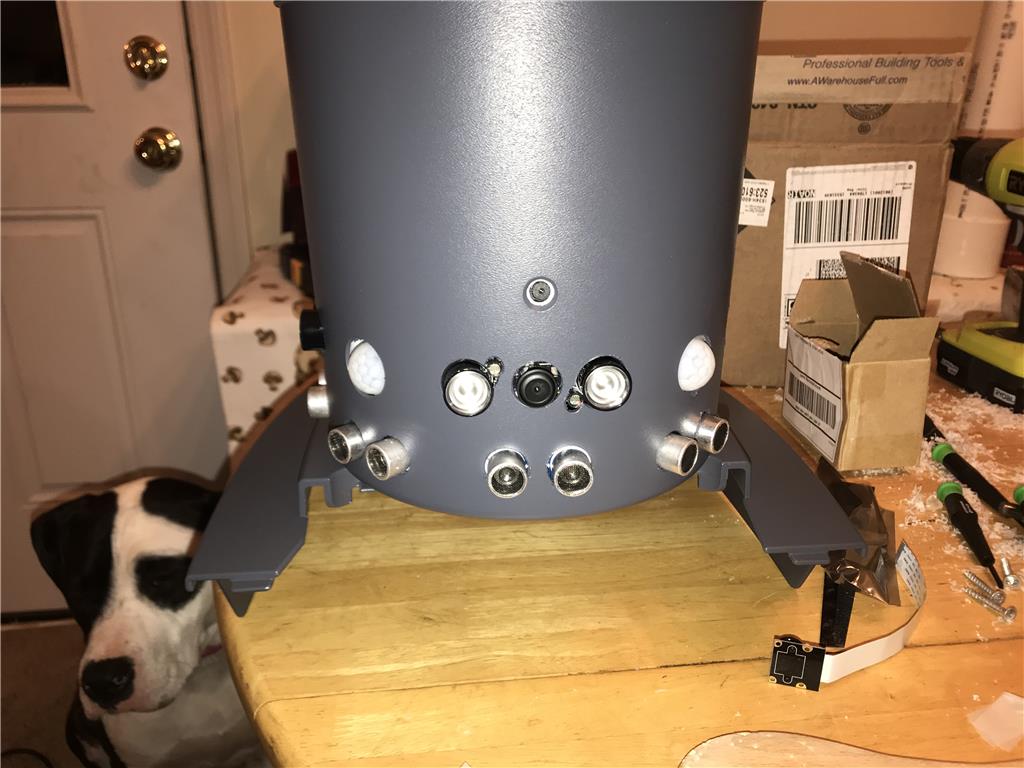
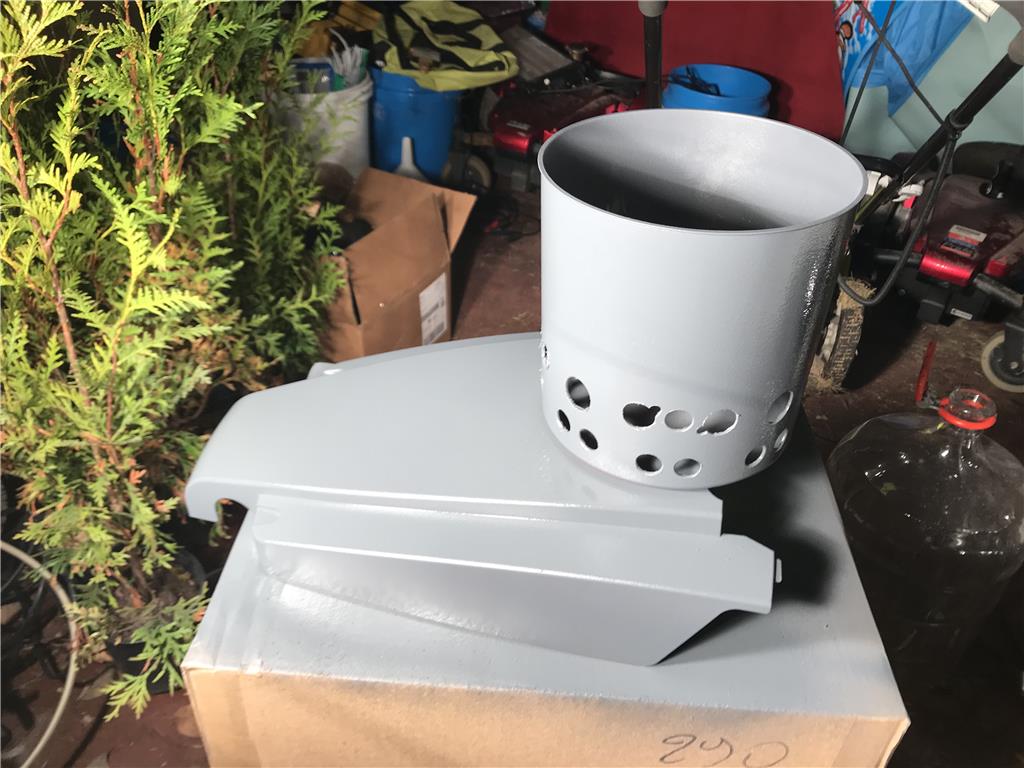
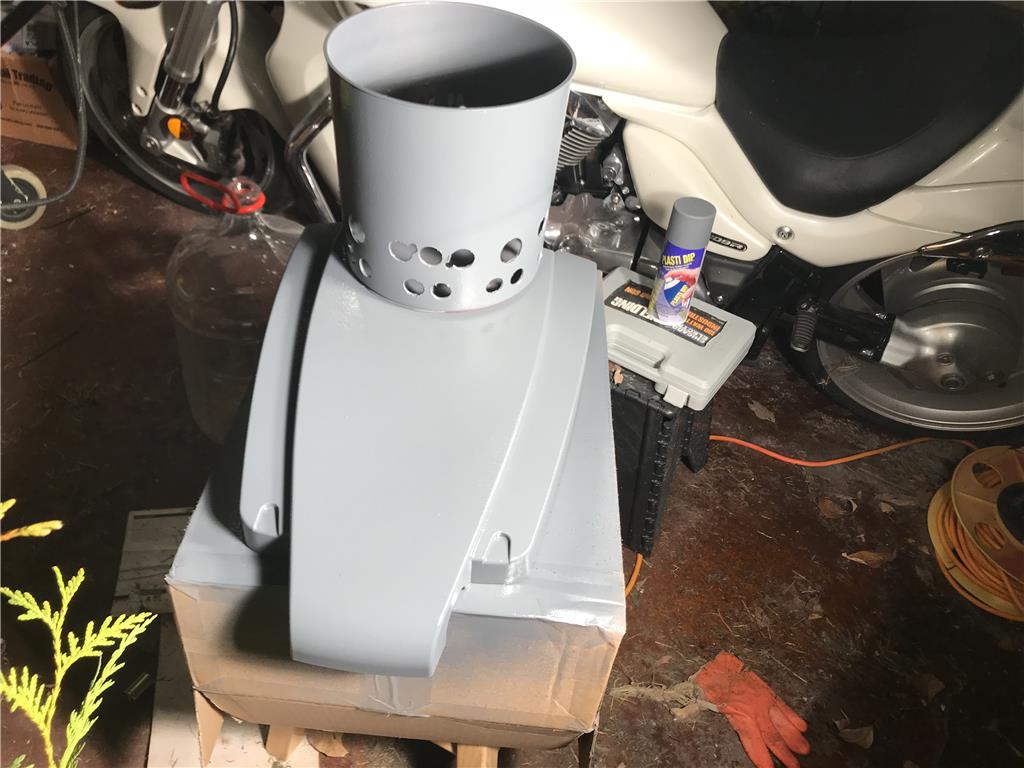
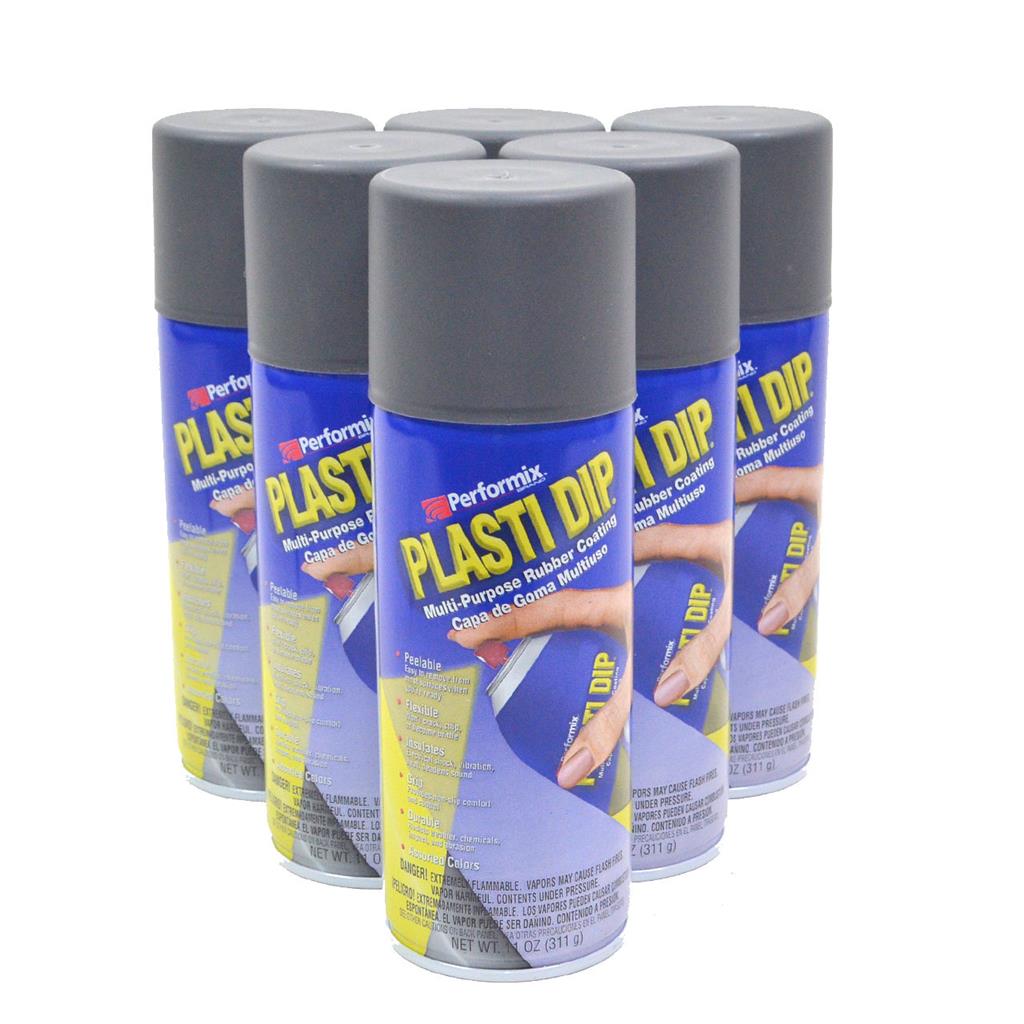
I’m testing out the grey plastidip now that all the holes for cameras and the sensors are made. Once you paint something all the little mistakes and rough edges really show, but this is all a trial run anyways
The dip is still wet , I misted 5 coats about 2 to 3 min close together under a 1000 watt lamp. I expect to have some texture but I’m checking out the color right now.
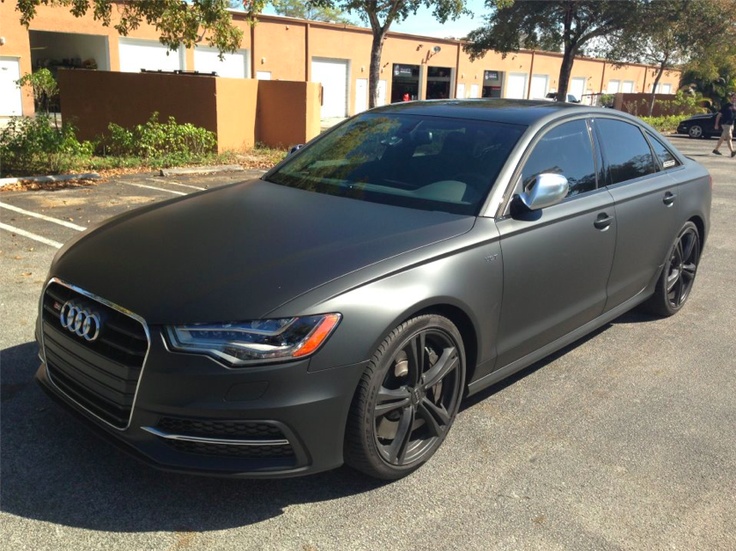
Plastidip is way darker after it cured.
So I descided to see what one RGB led in the top of the tower could produce.... I think I will keep it
It's starting to look like a Dalek! eek
Dalek, Yup that does sound menacing !
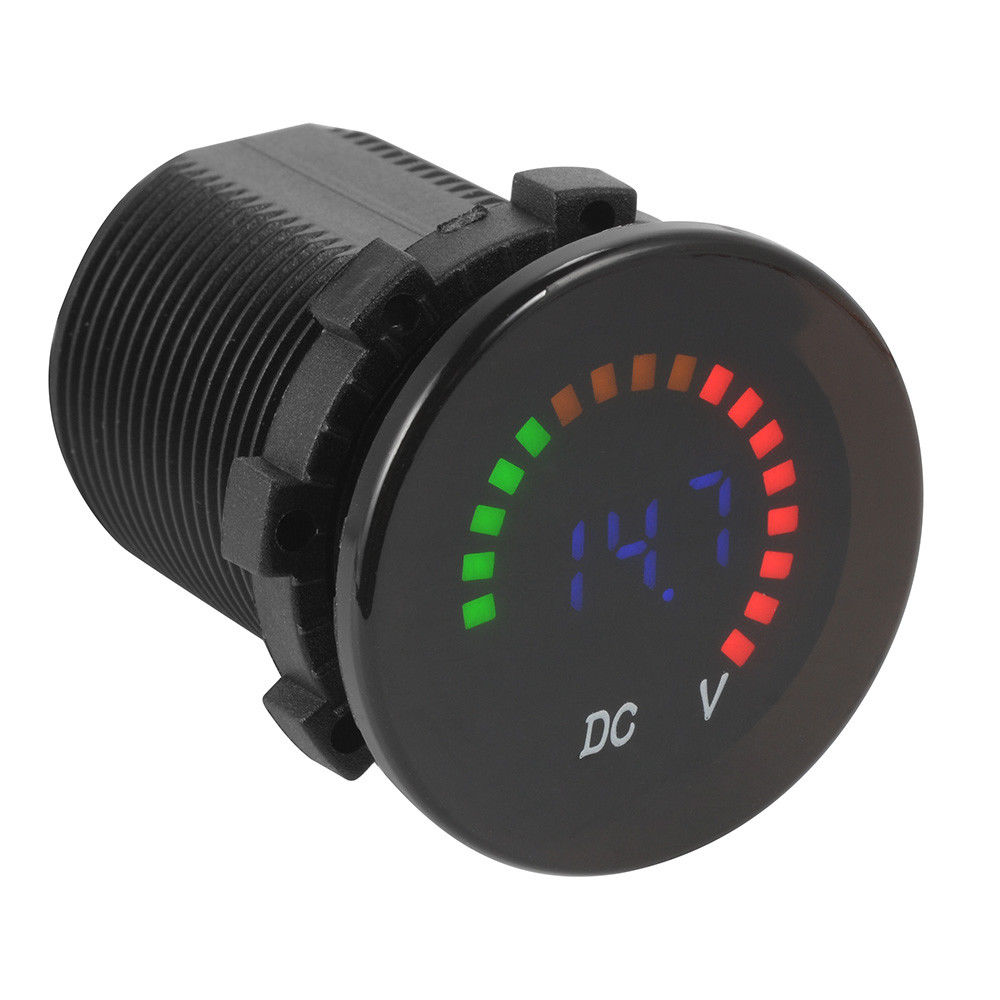
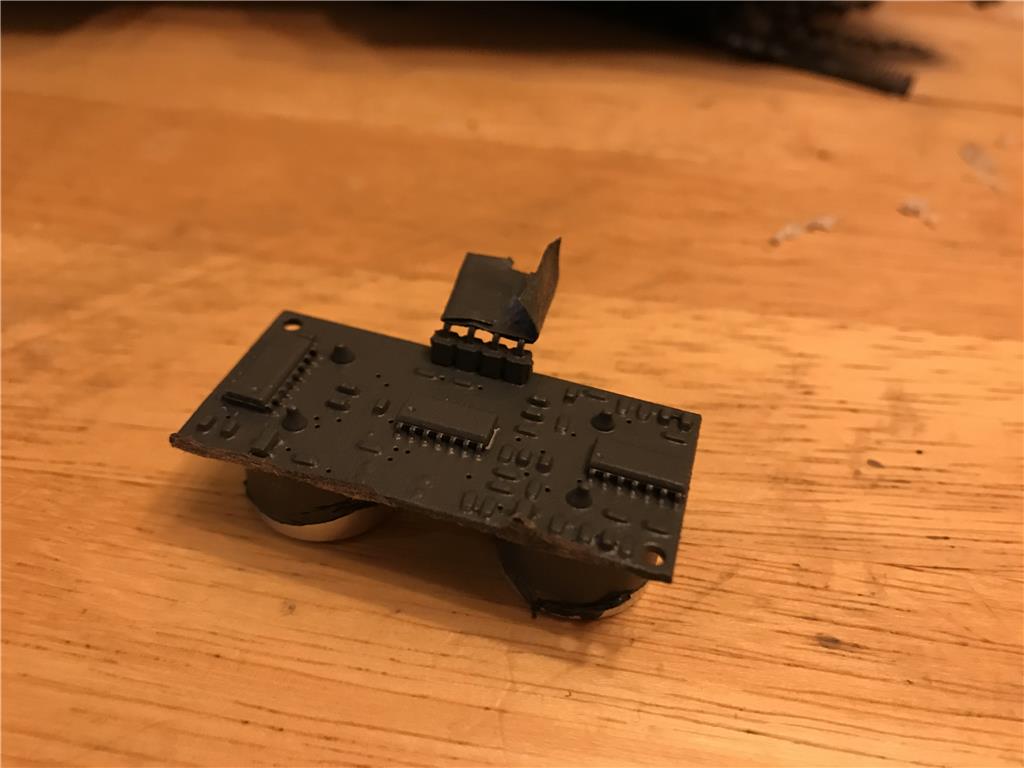
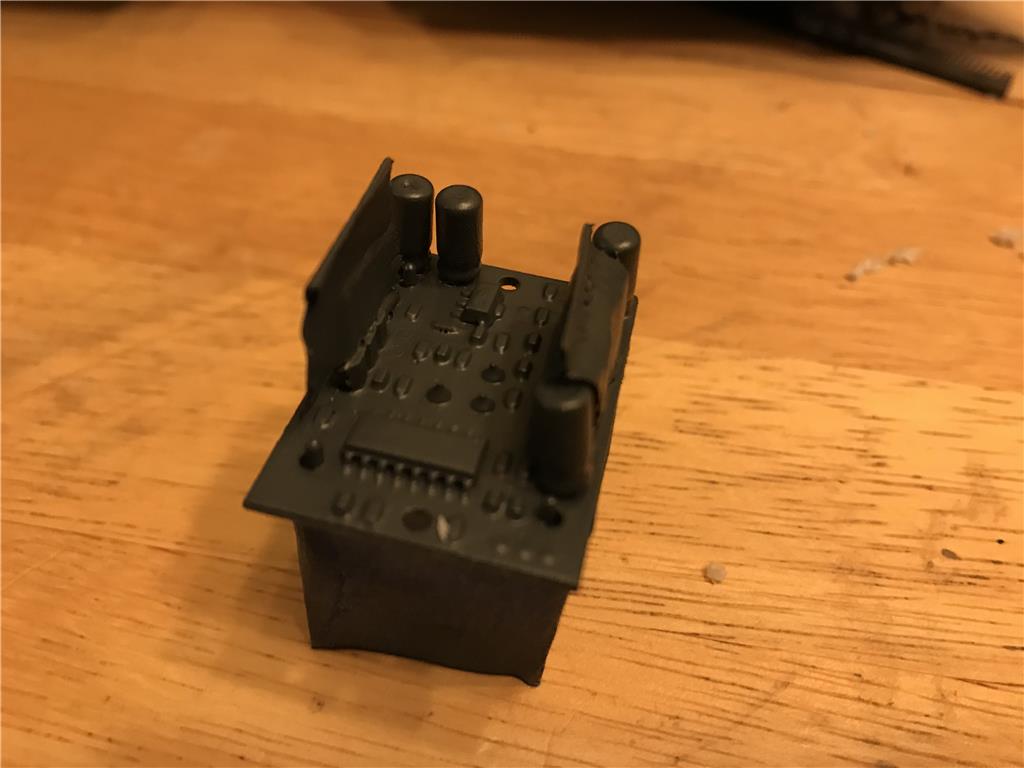
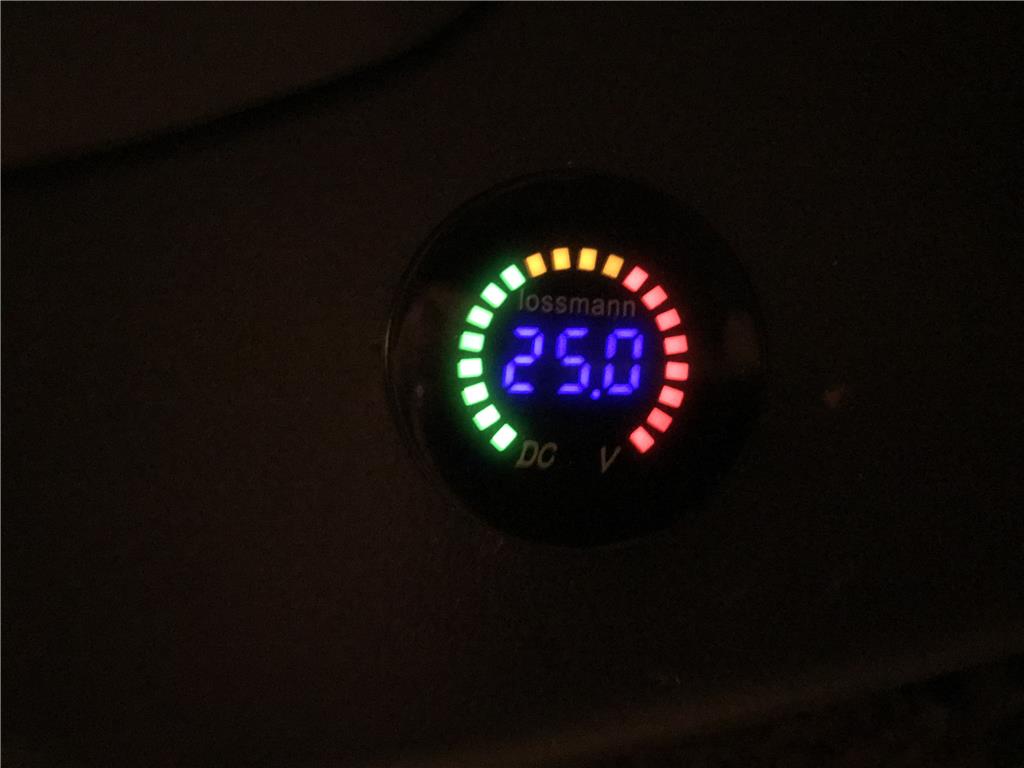
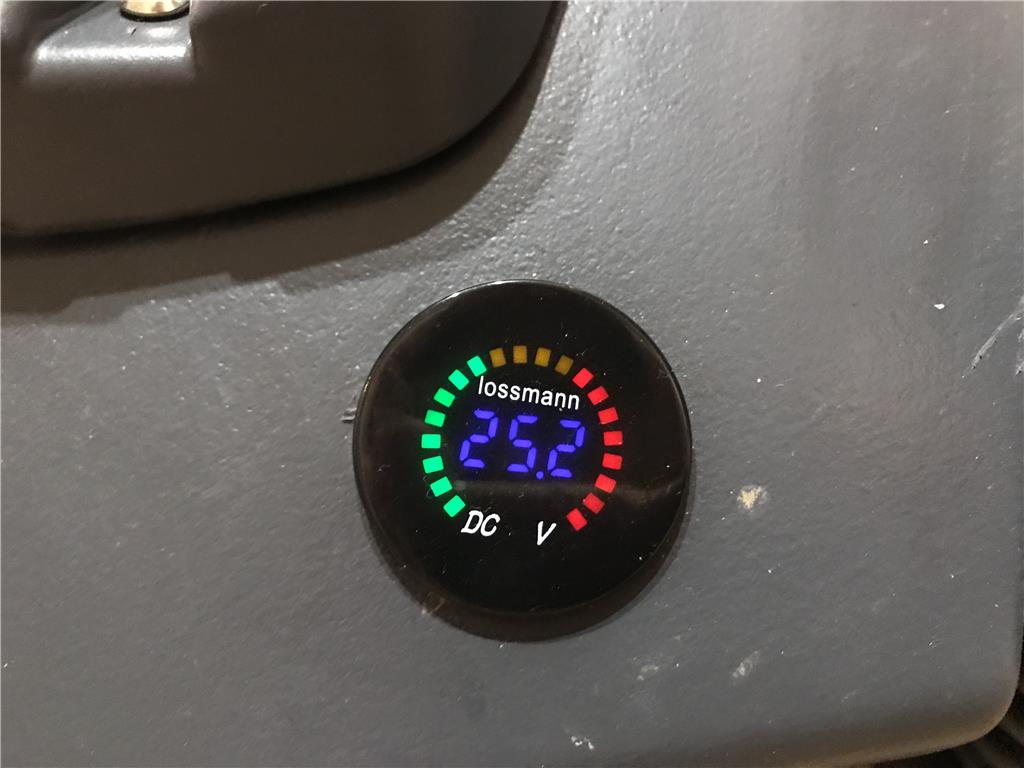
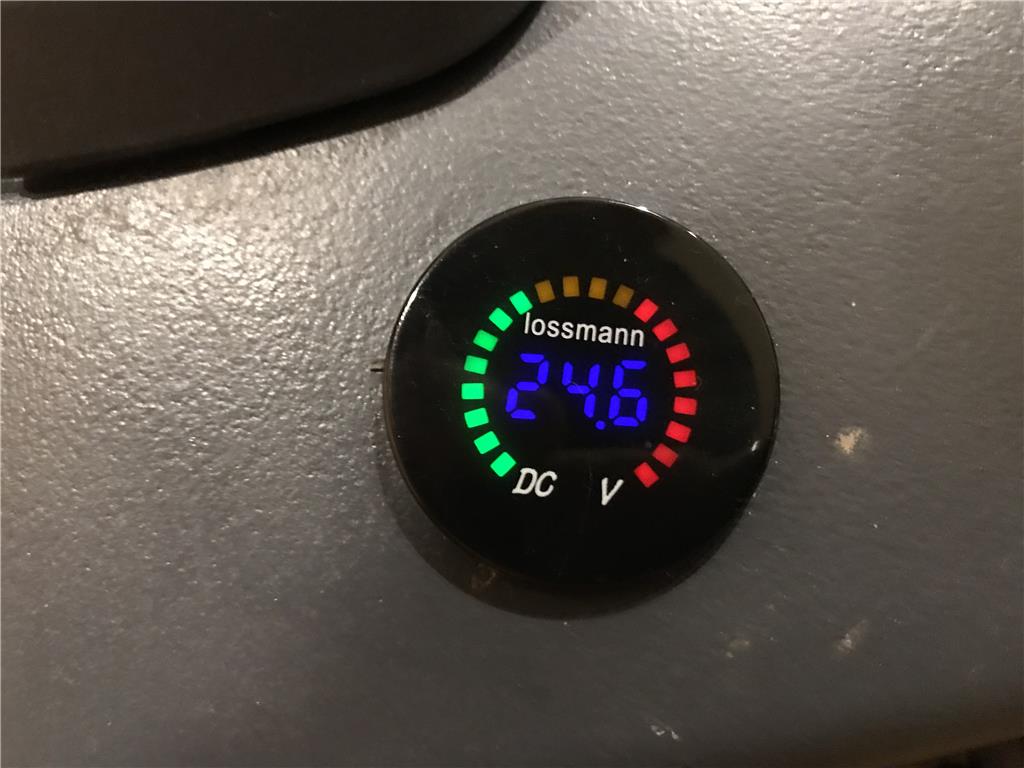
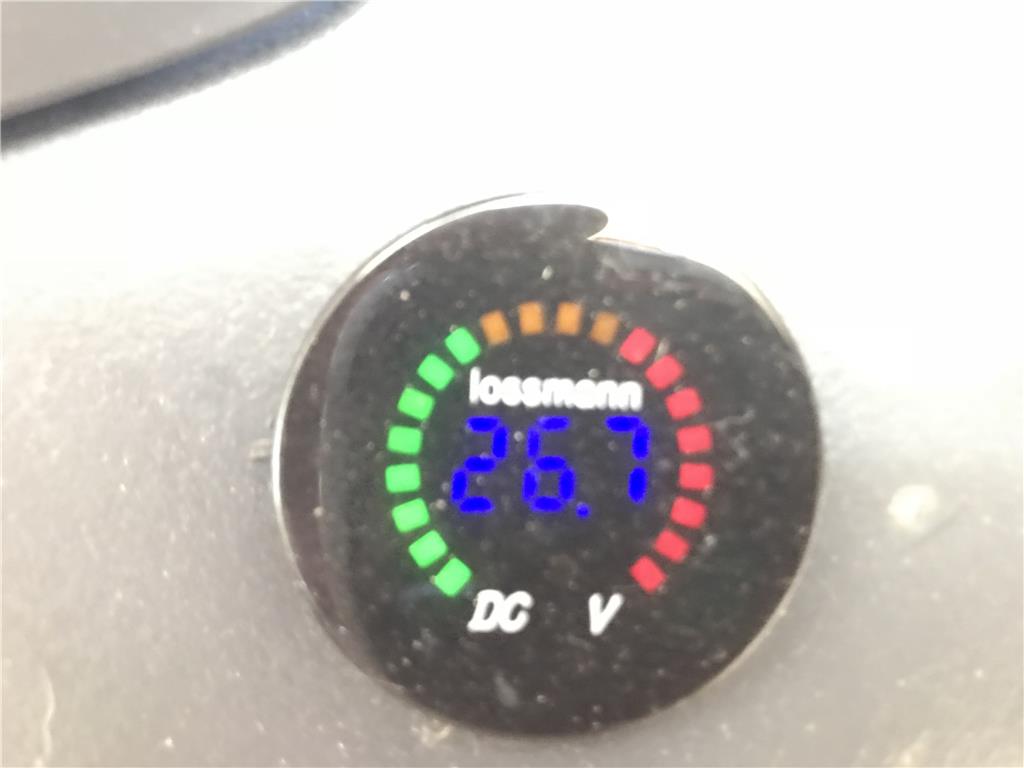
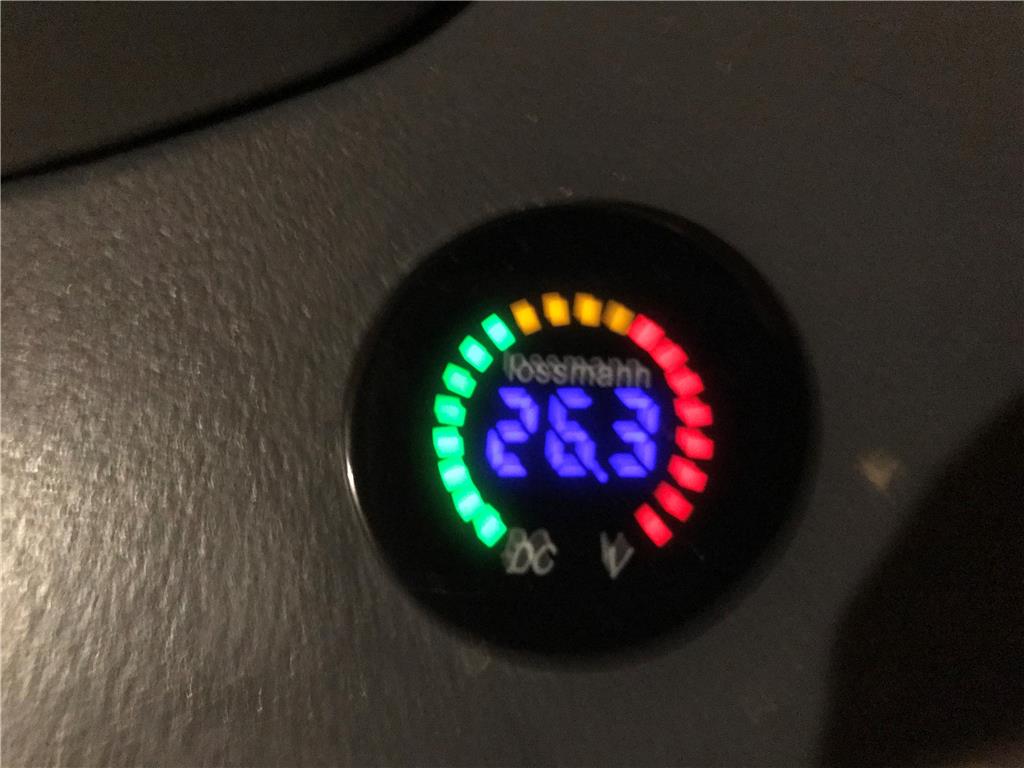
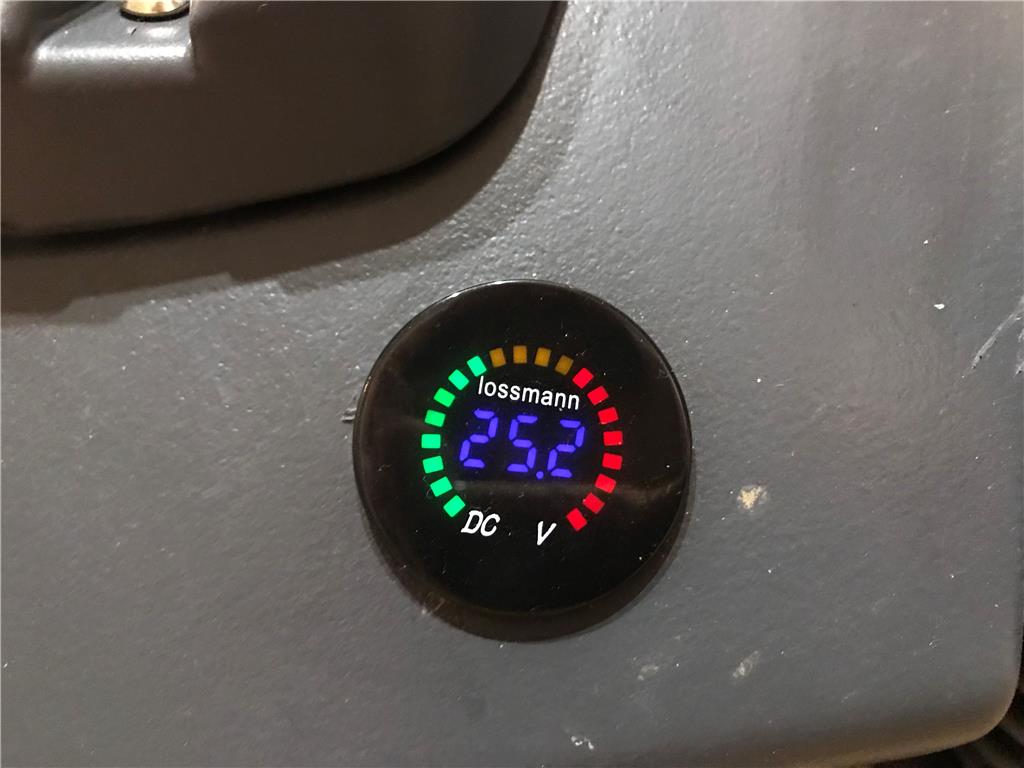
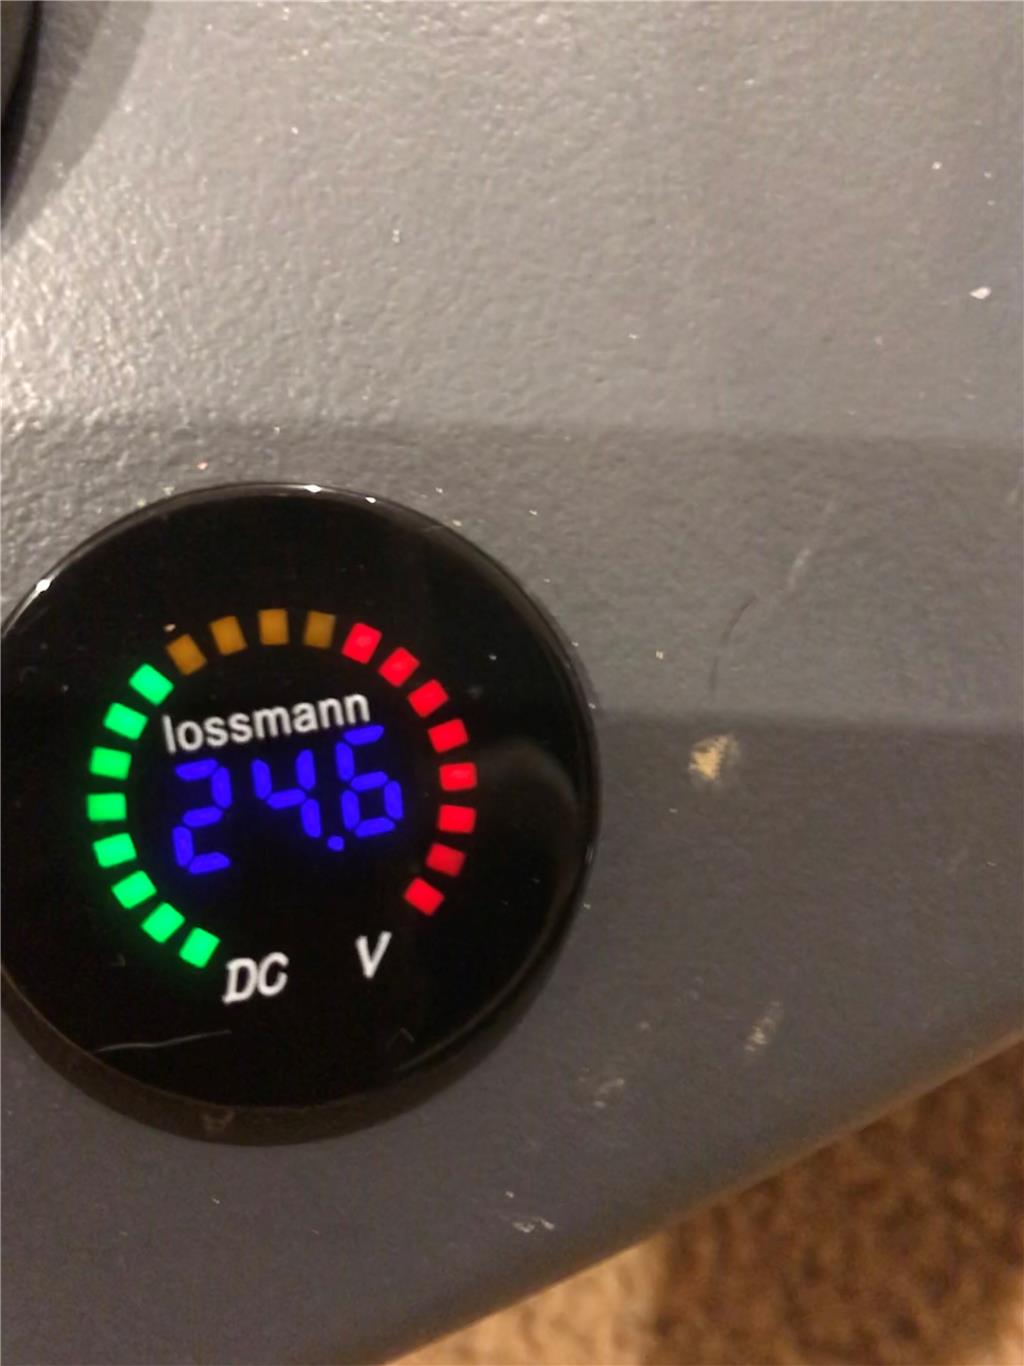
I installed the voltage meter on the front fairing and coated some sensors with plastidip to make them moisture resistant.
I think you should name the droid Ned Kelly.