
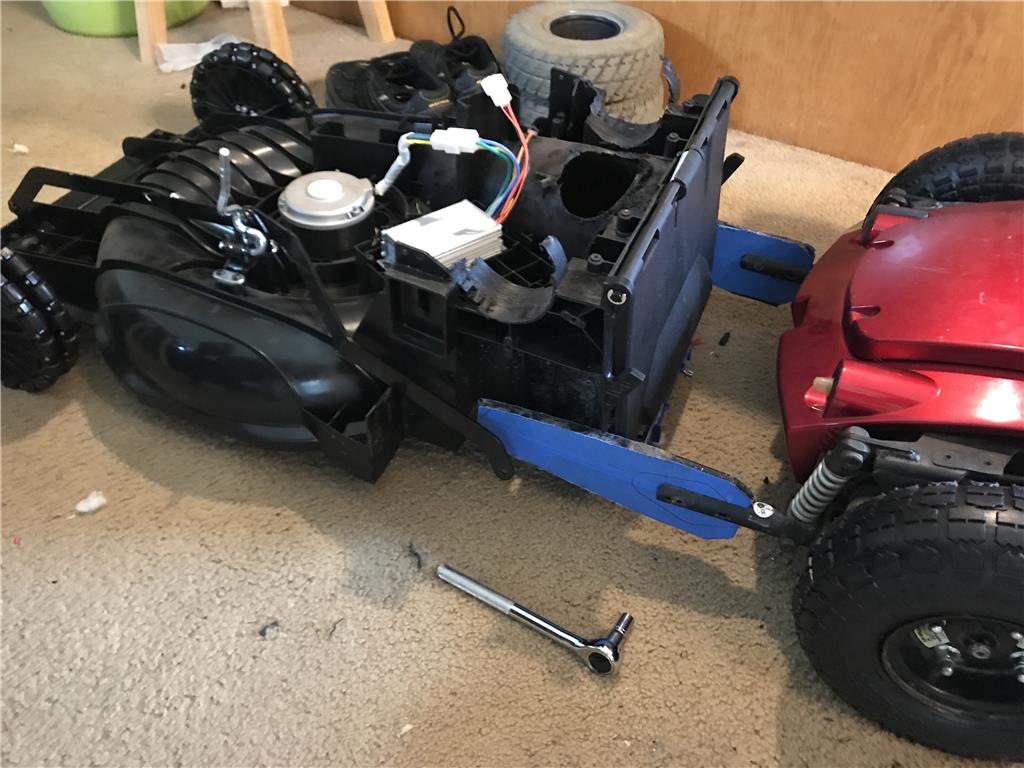
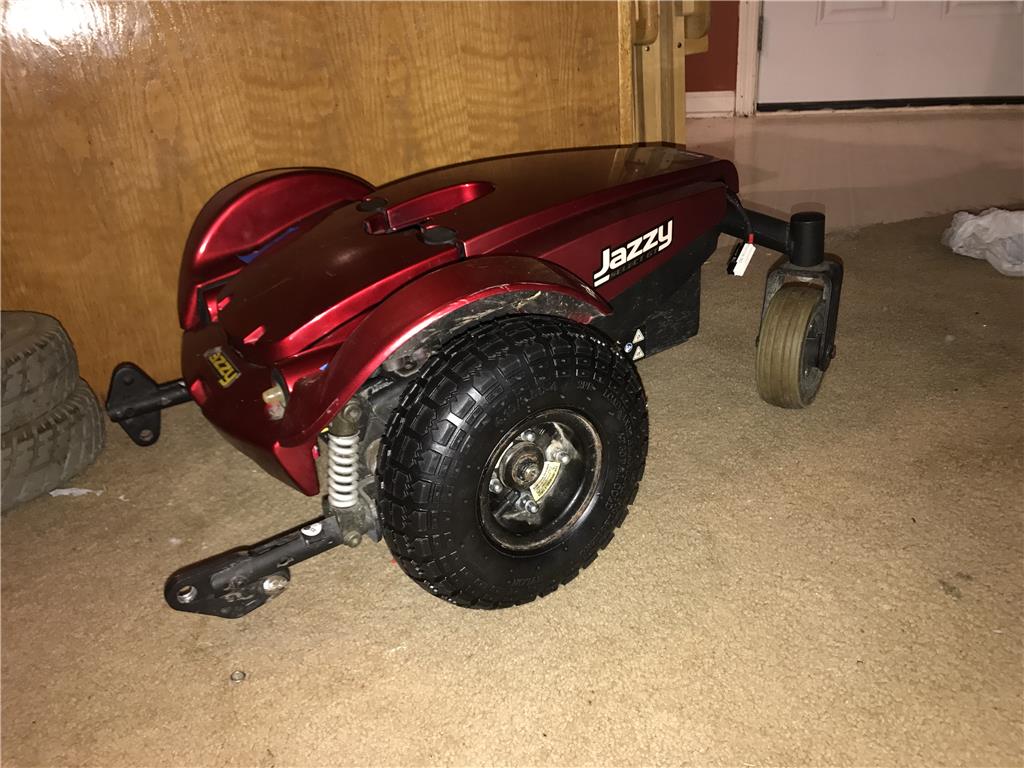
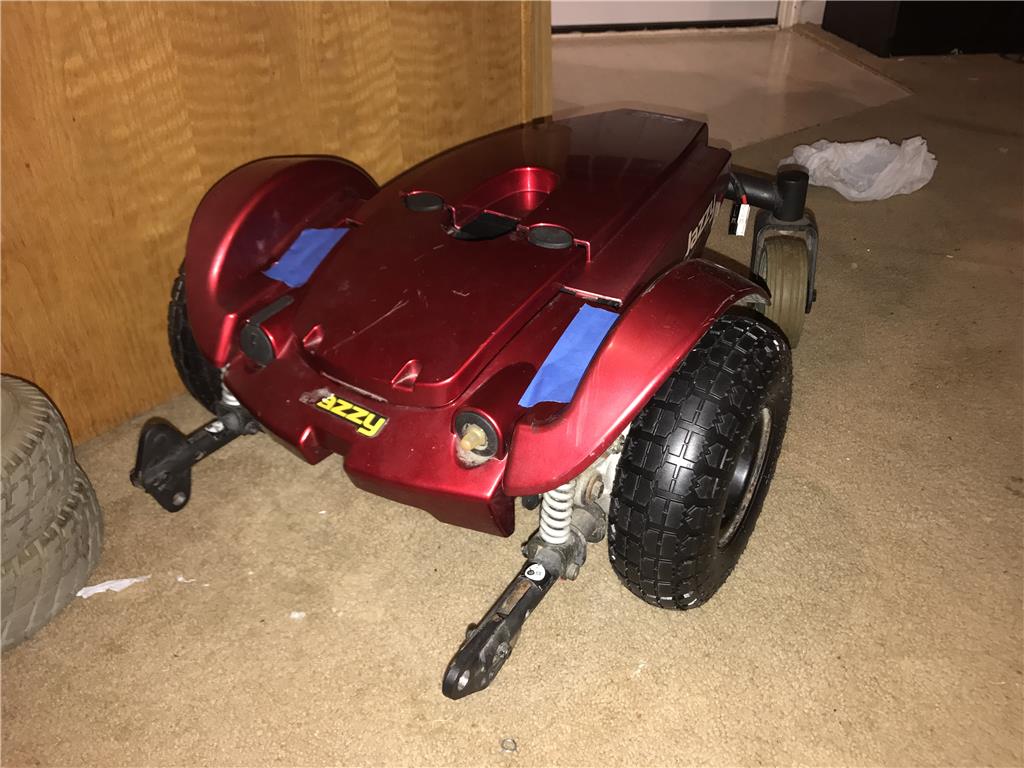
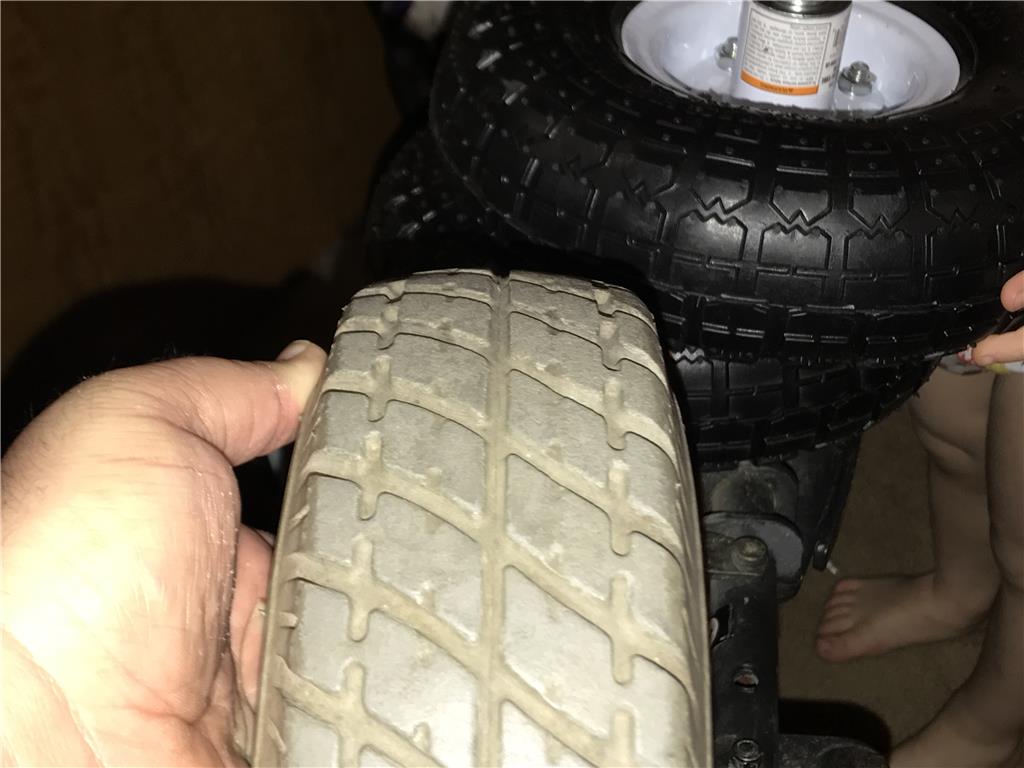
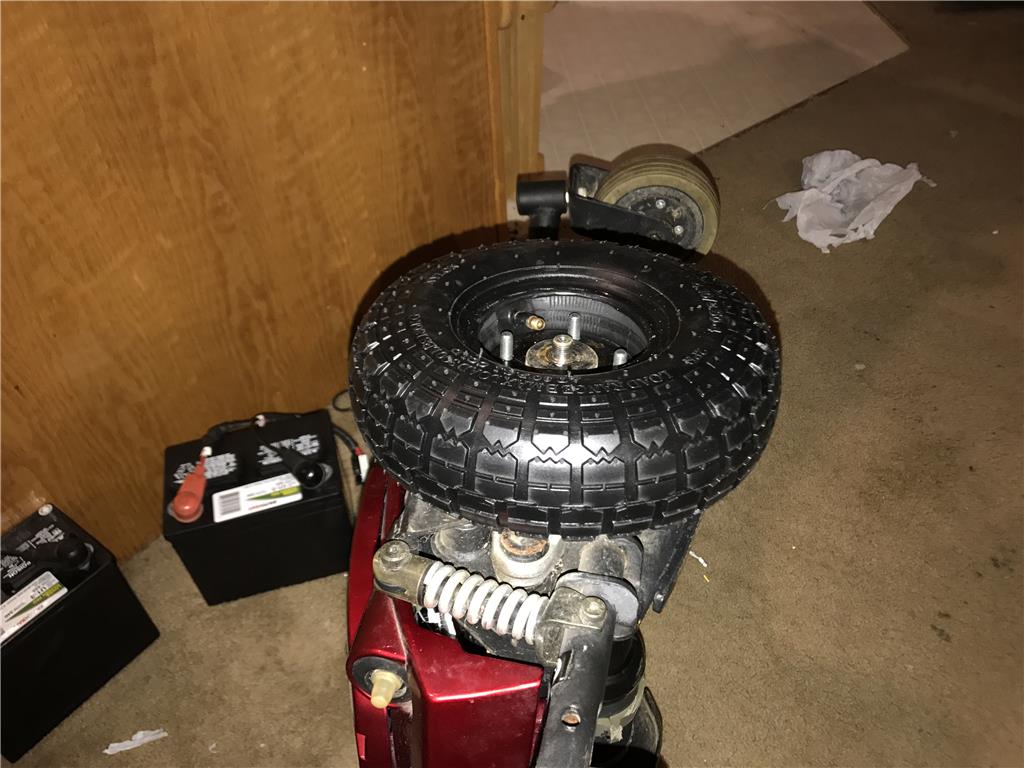
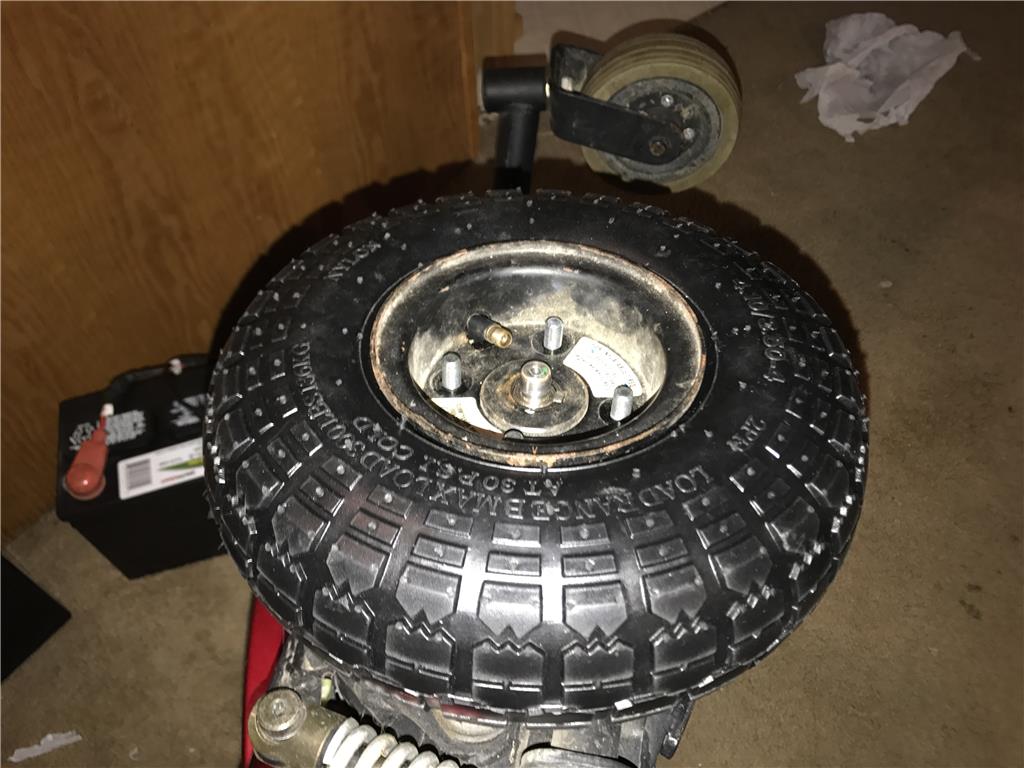
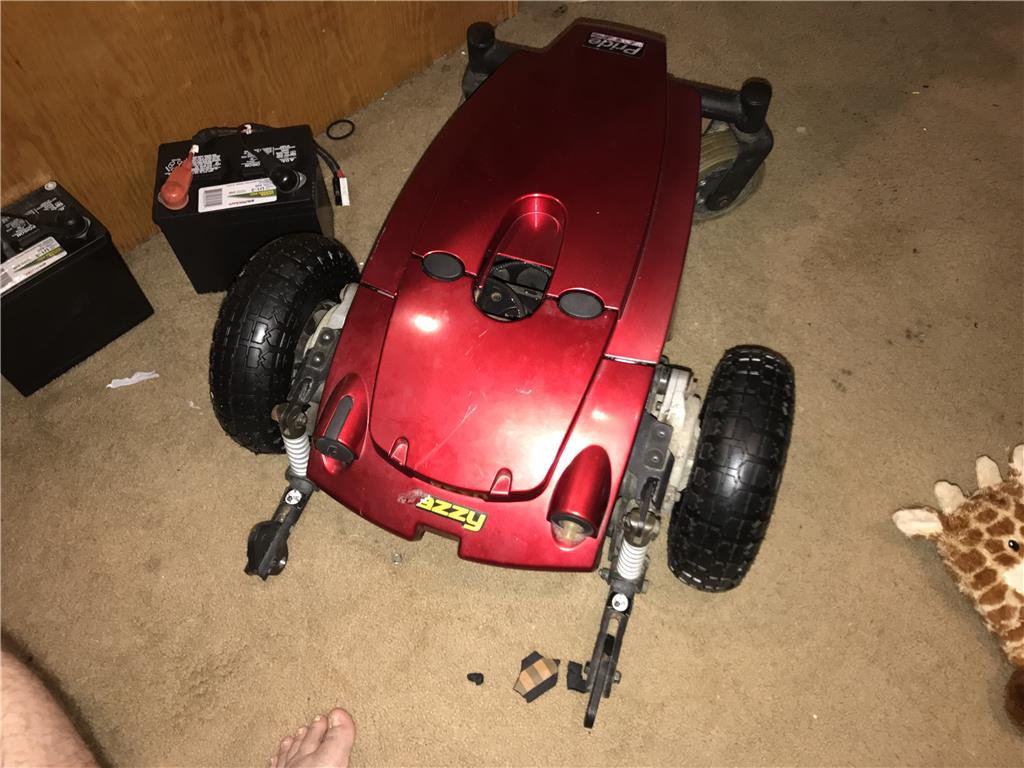
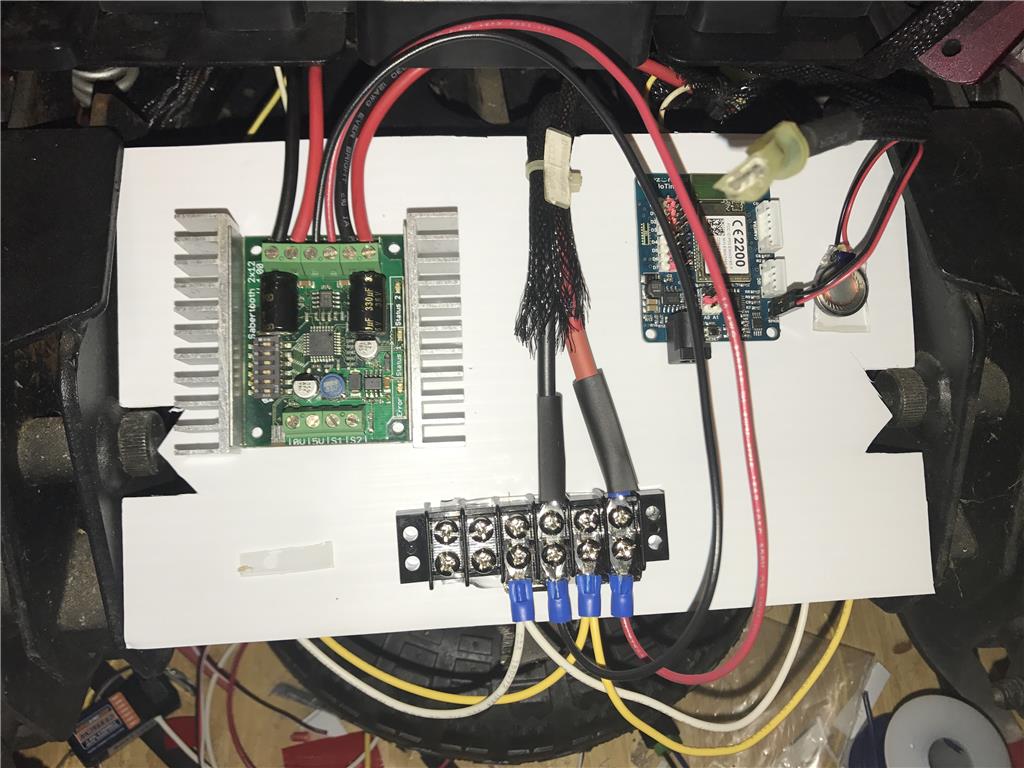
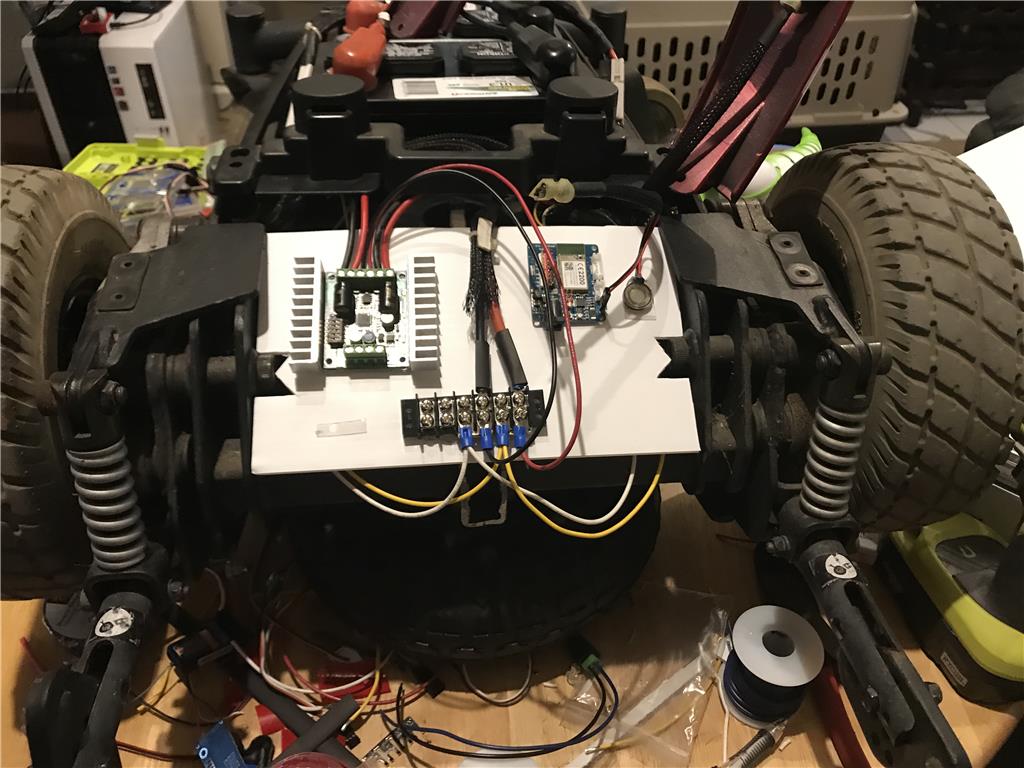
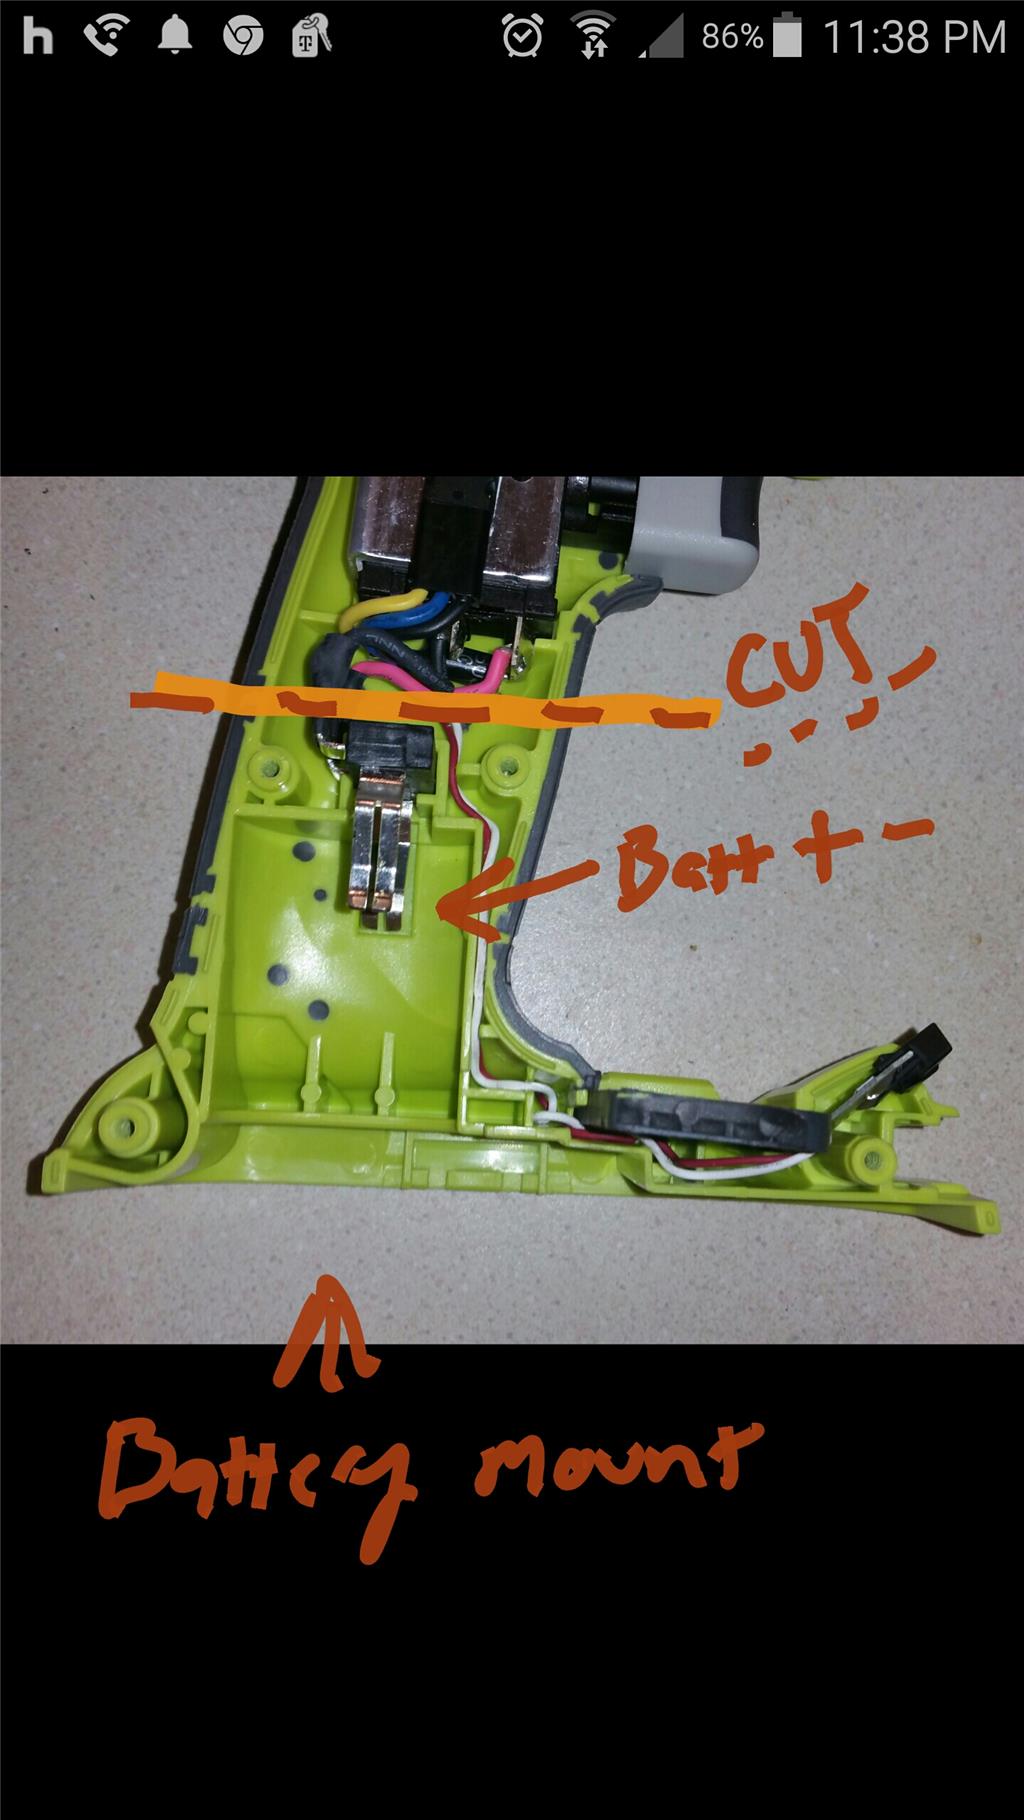
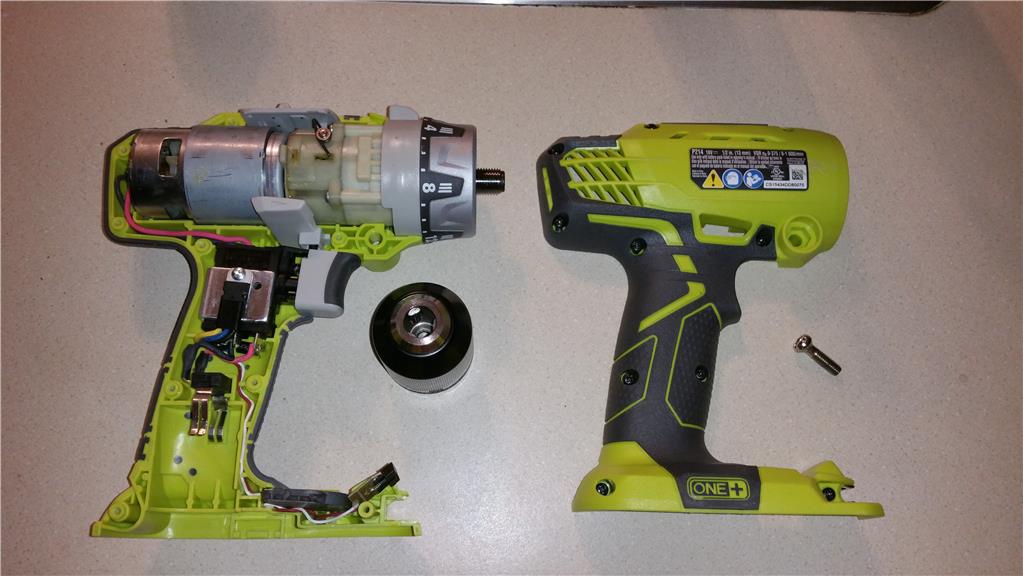
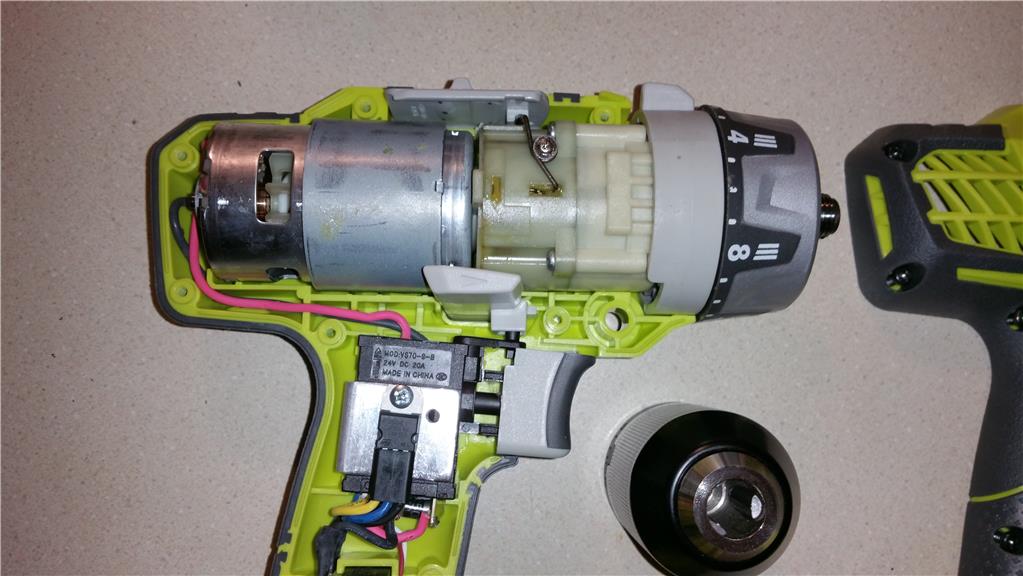
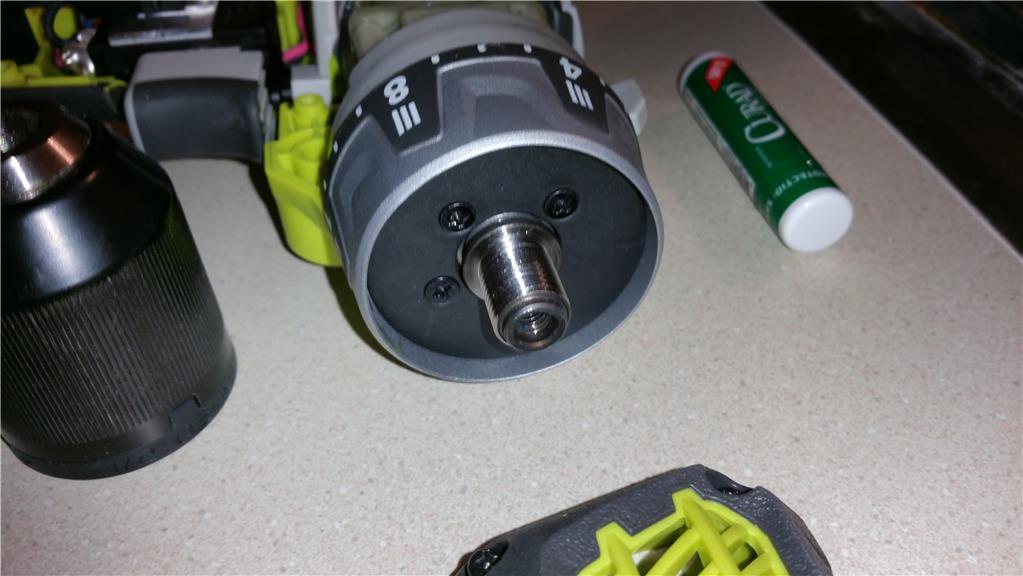
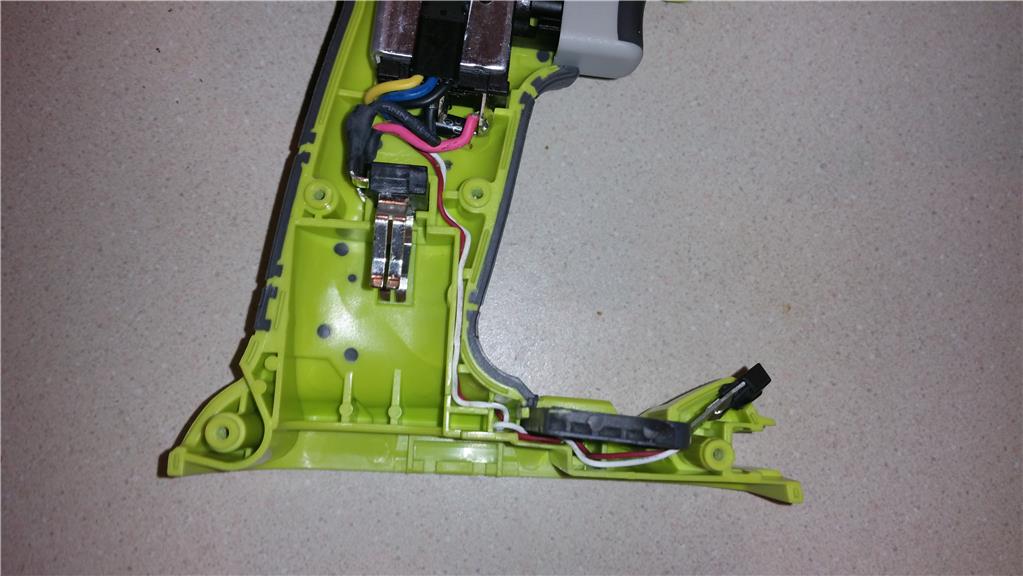
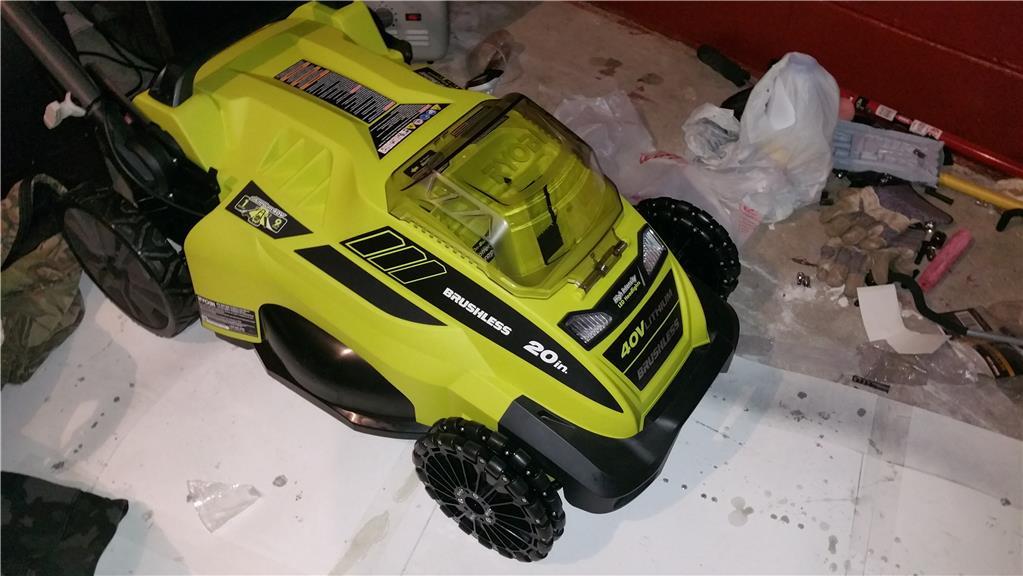
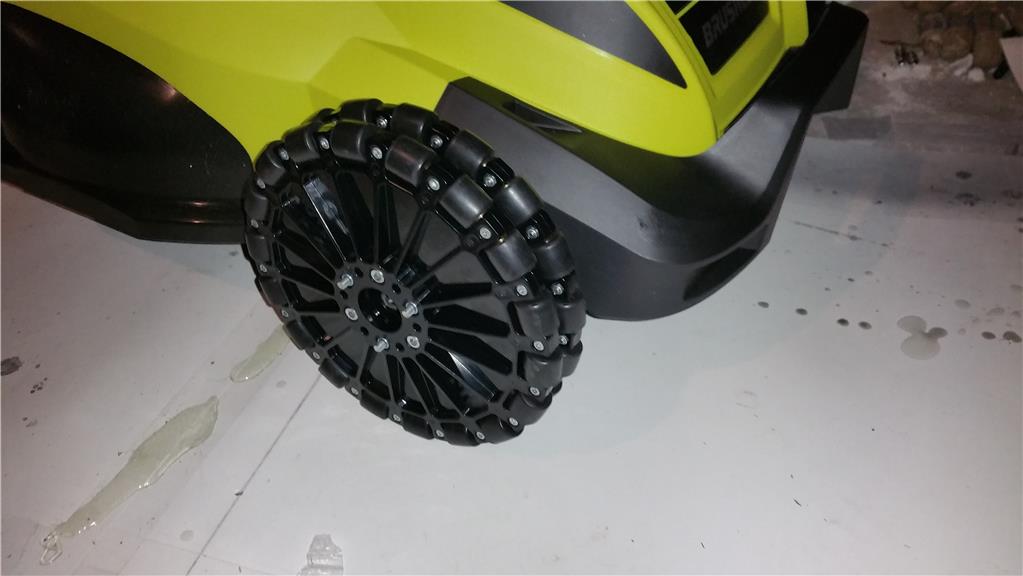
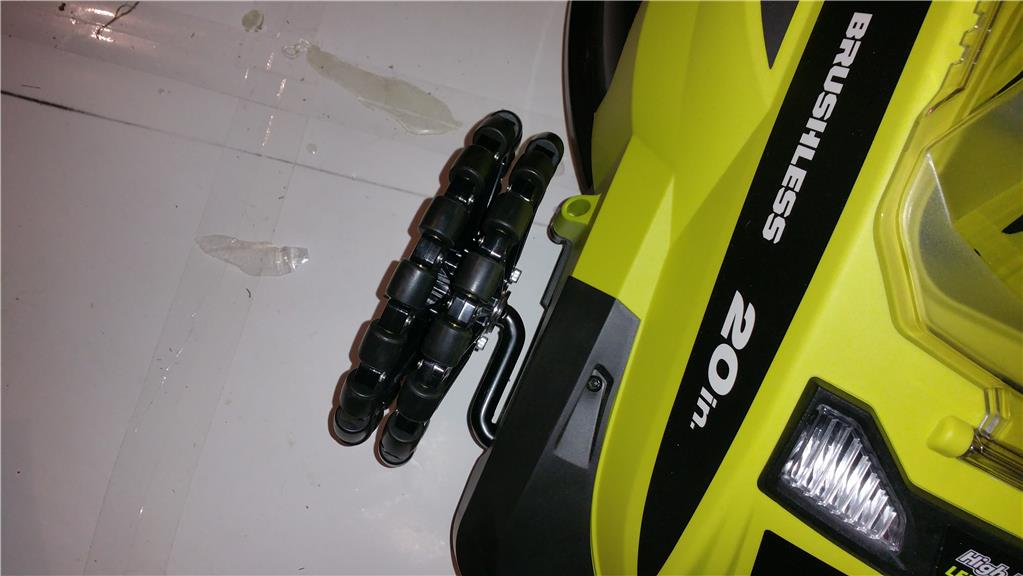
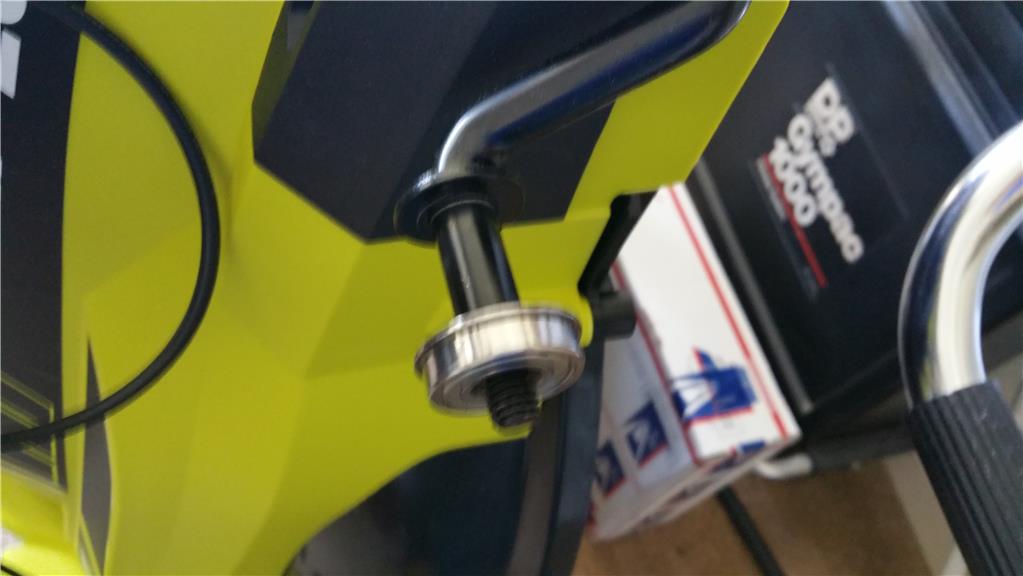
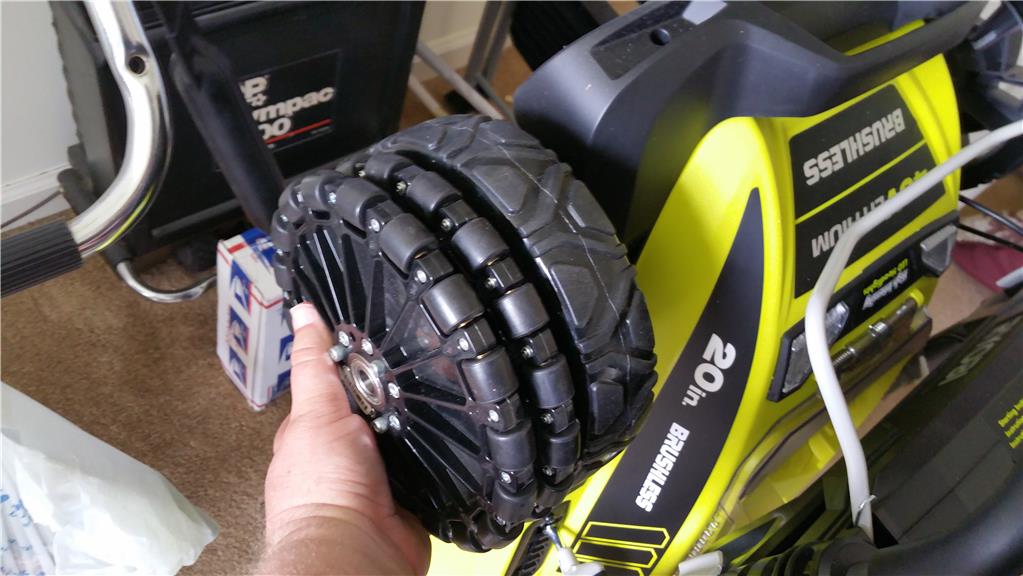
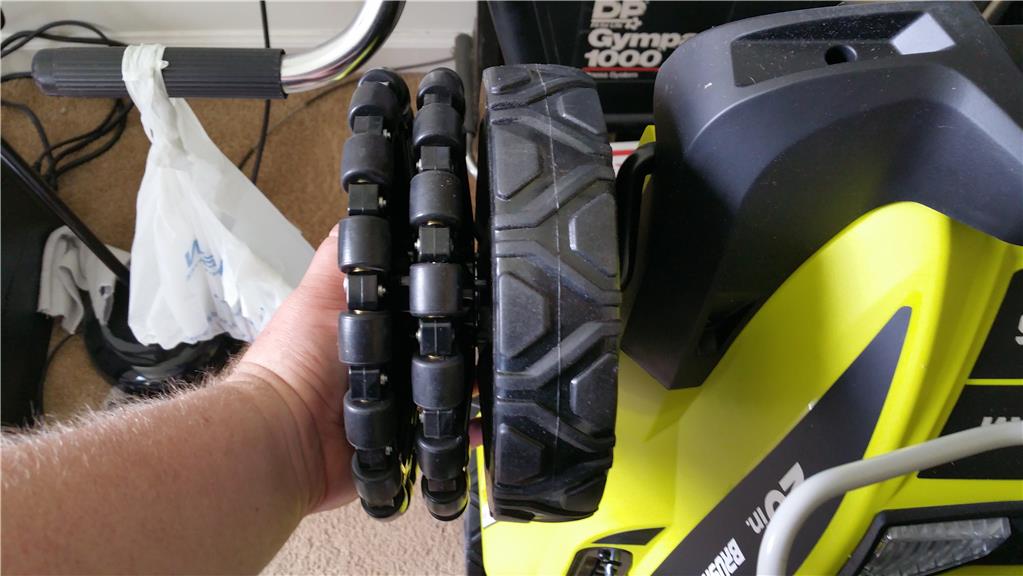
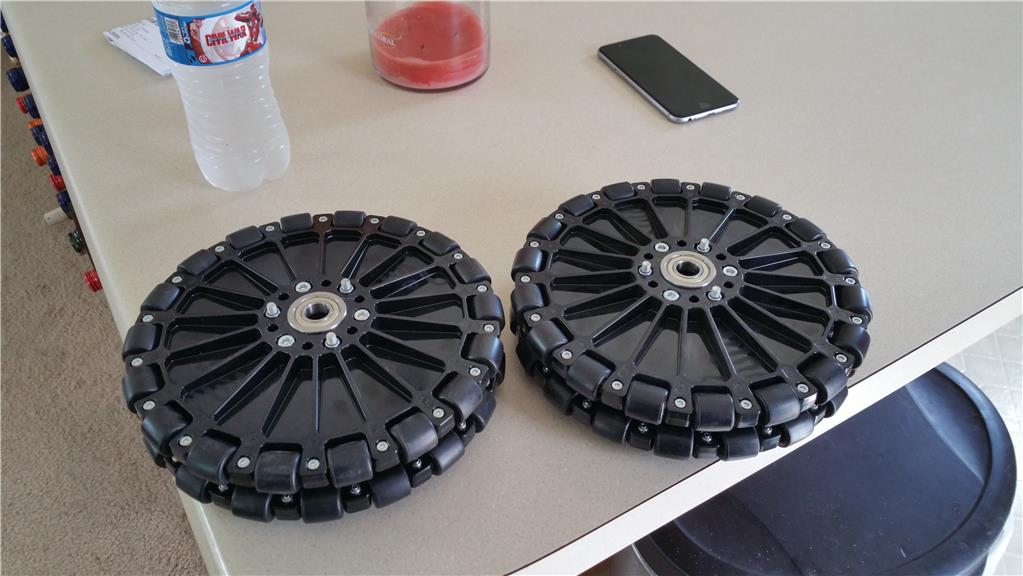
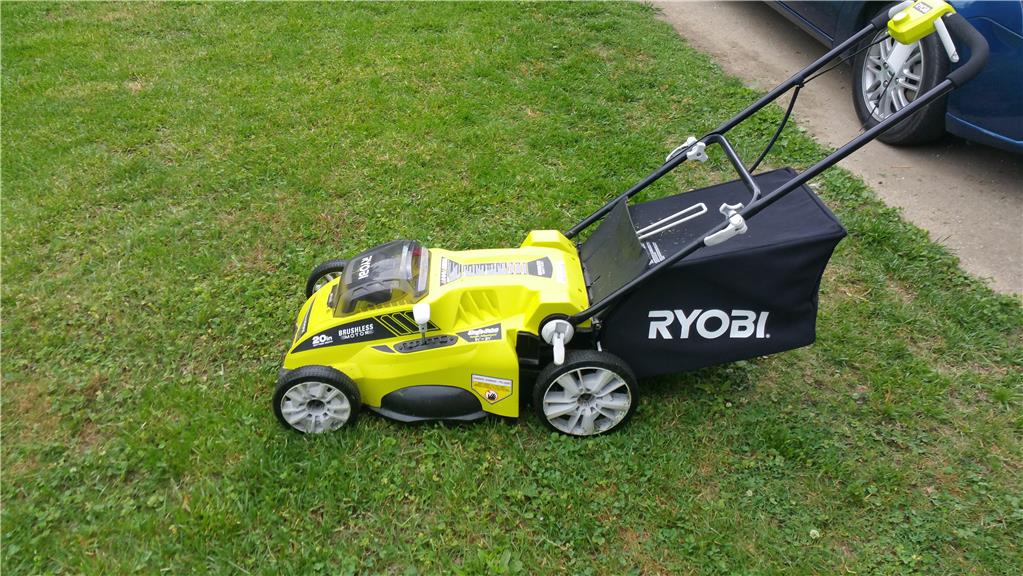
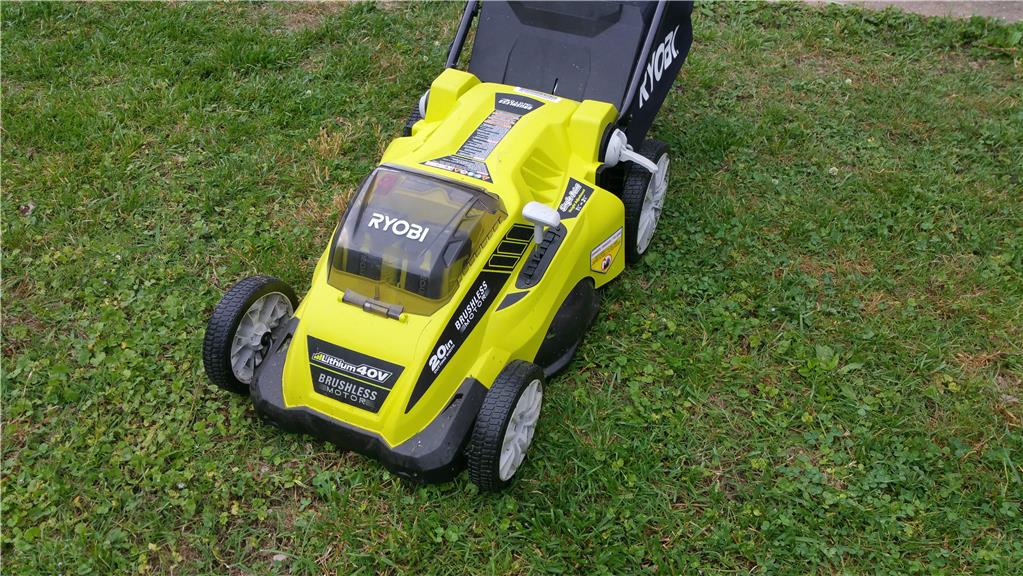
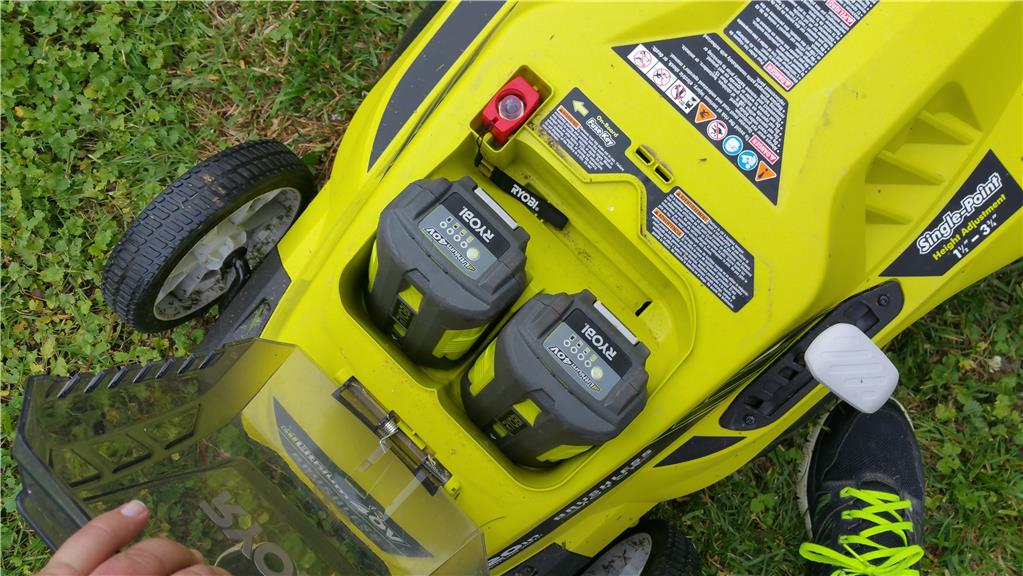
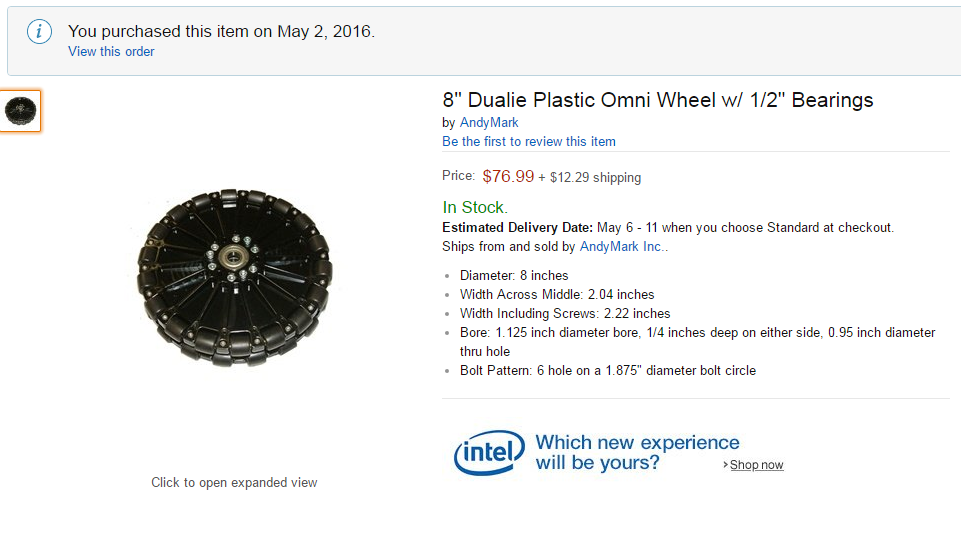
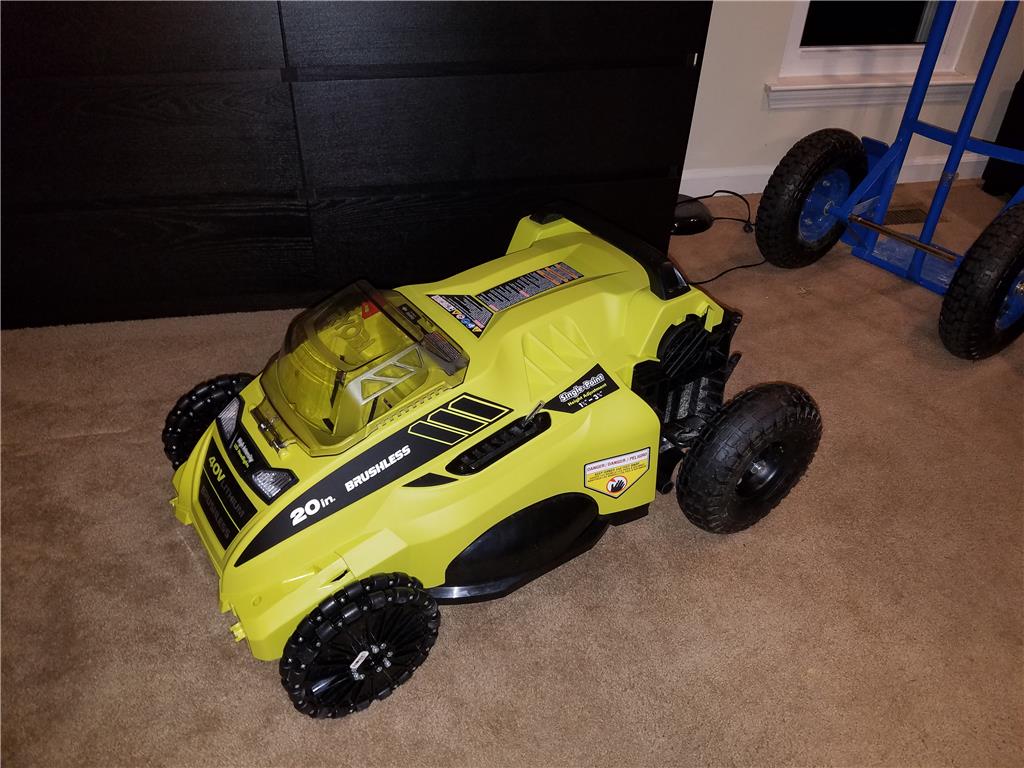
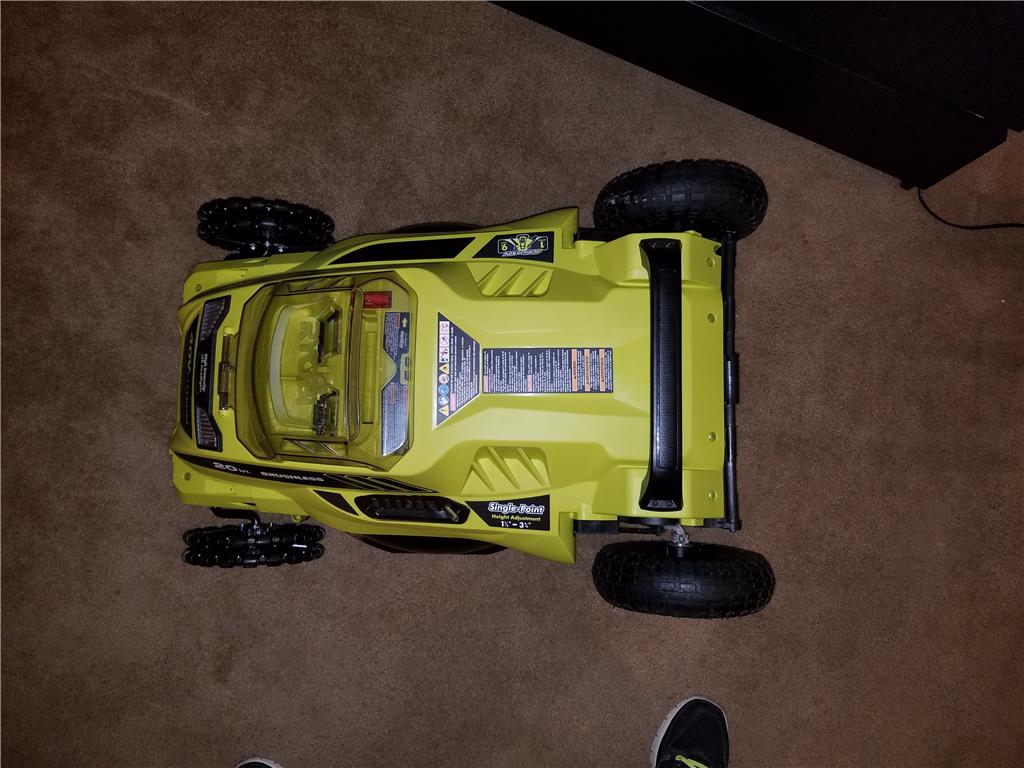
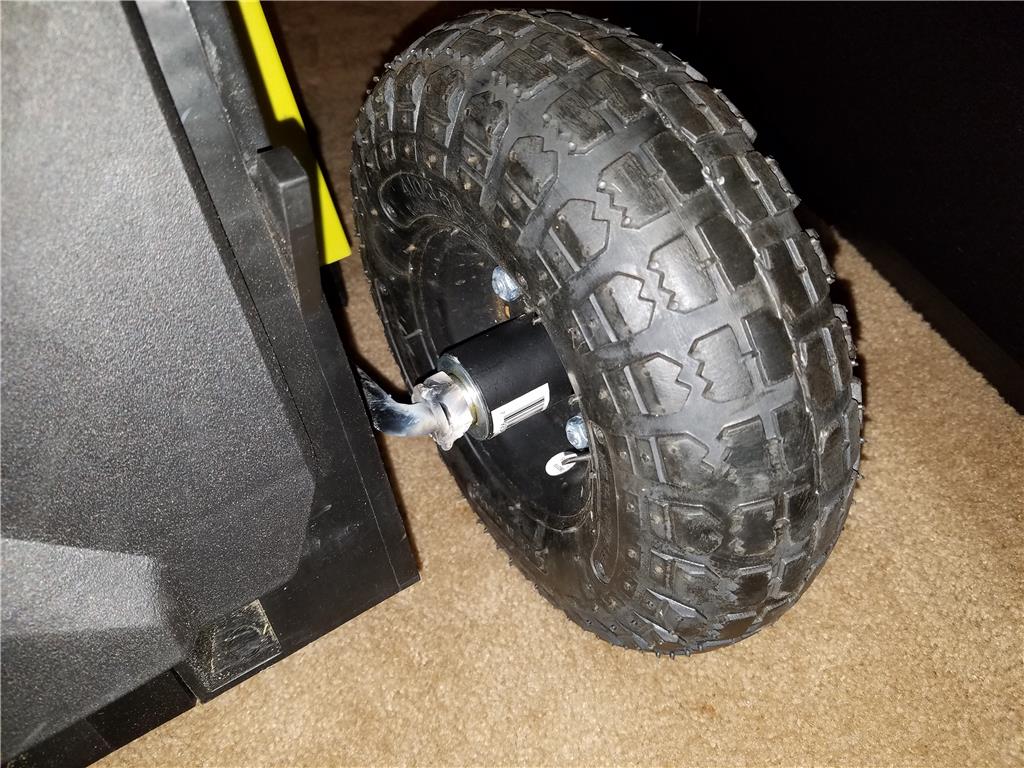
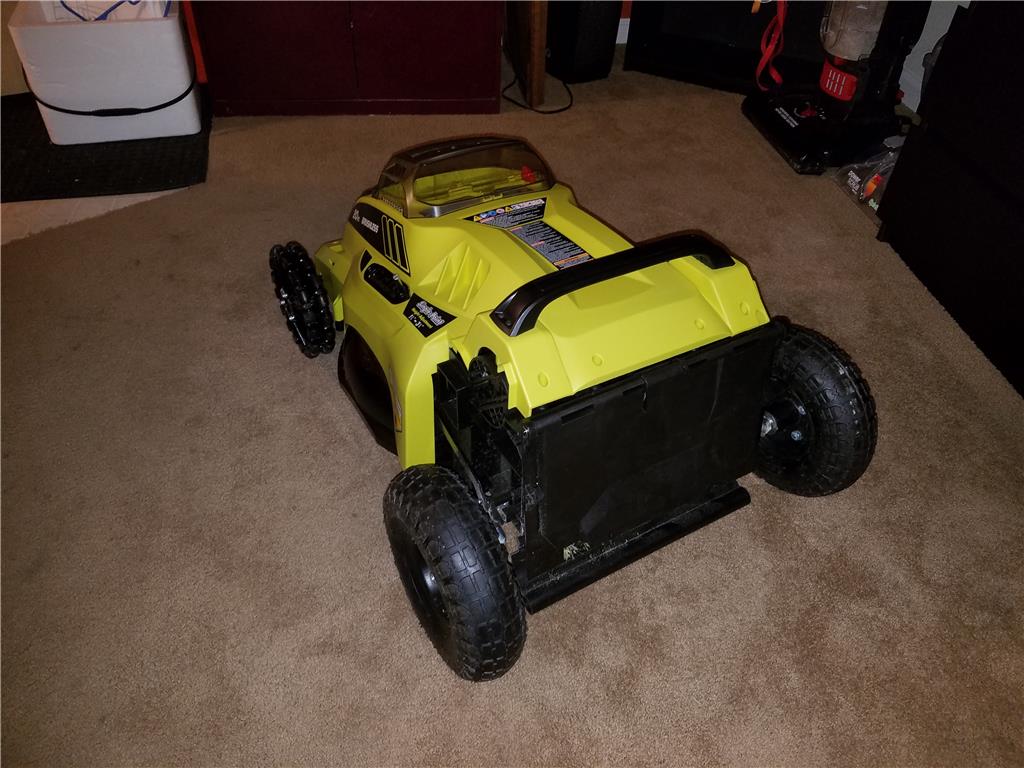
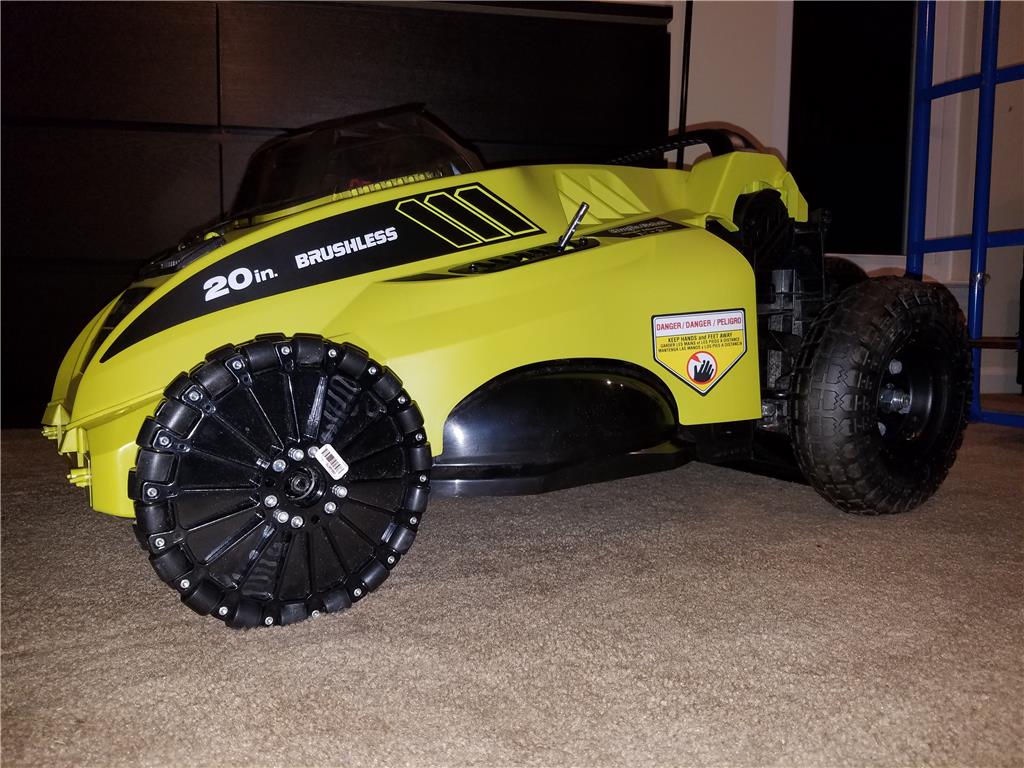
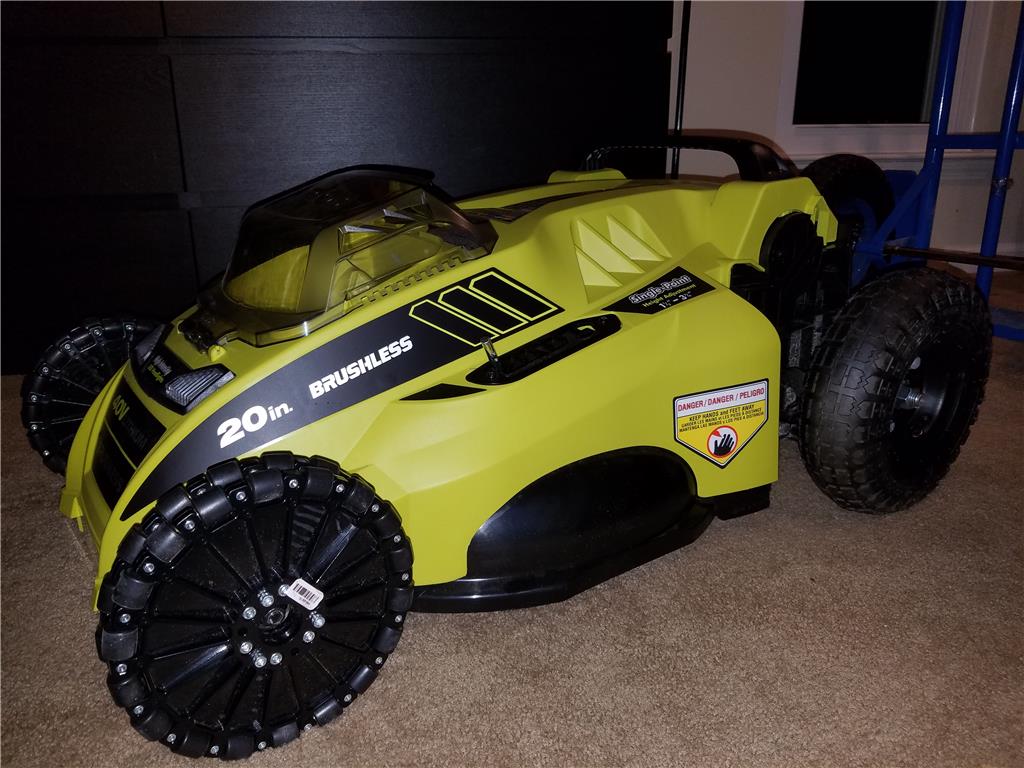
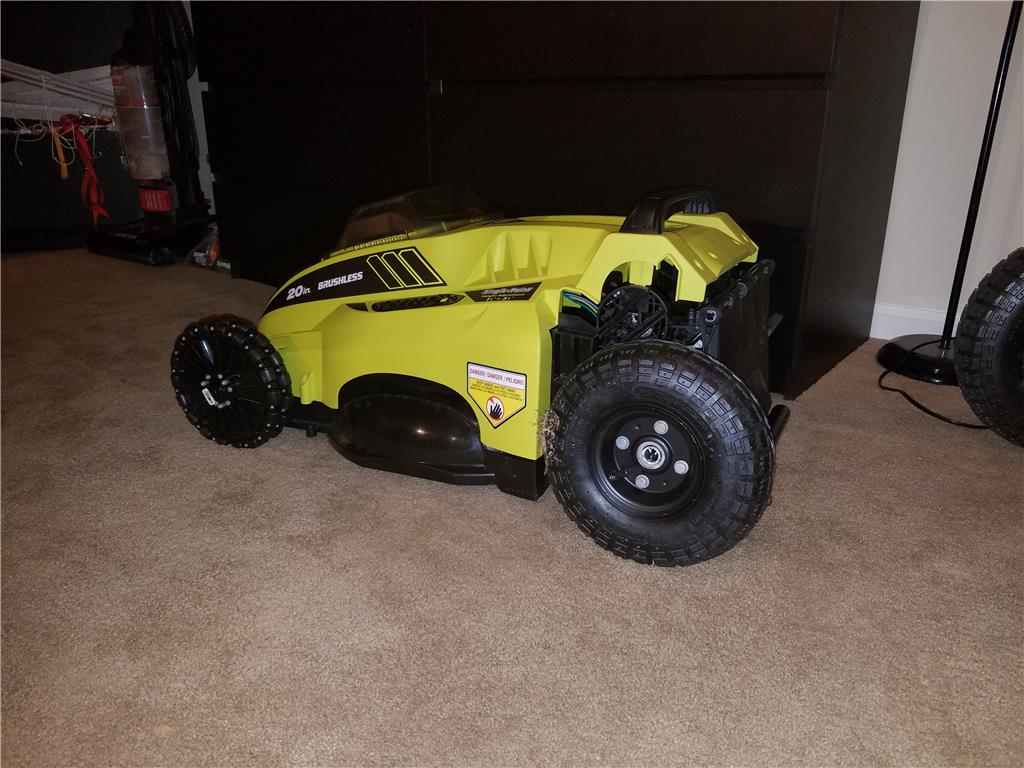
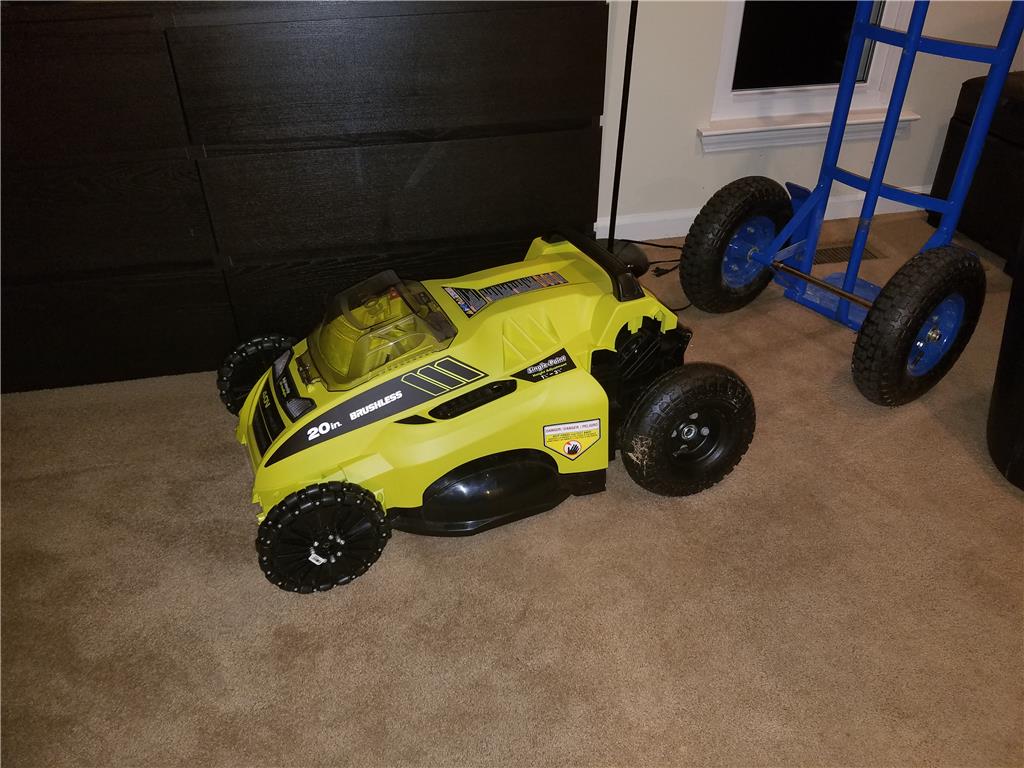
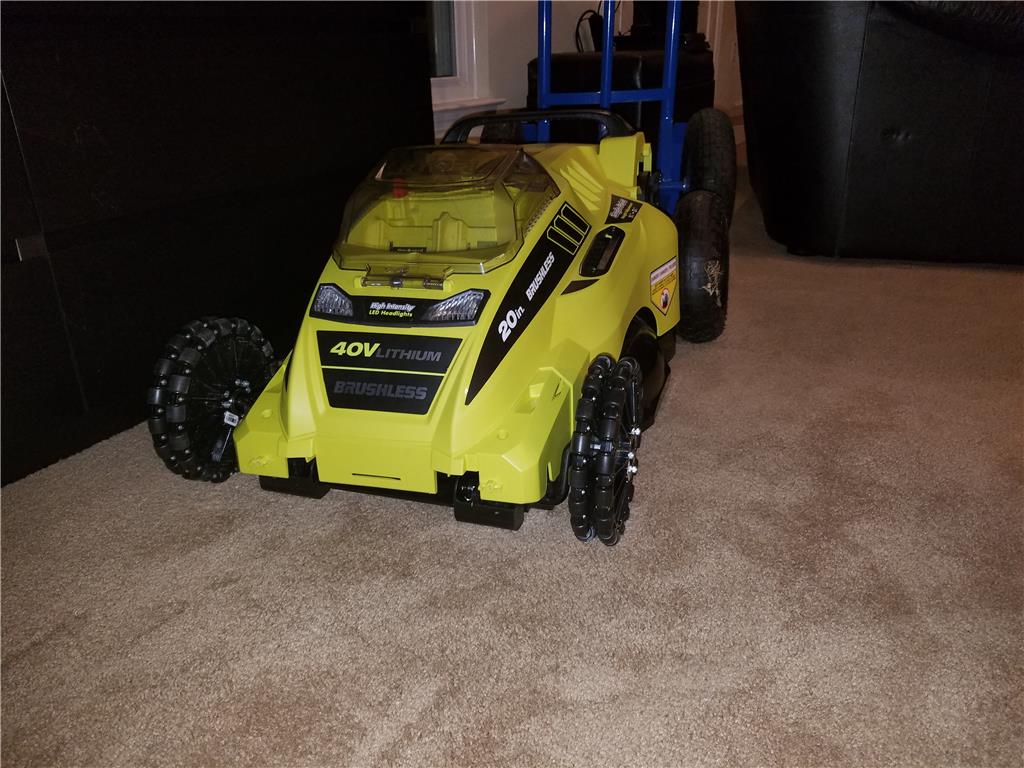
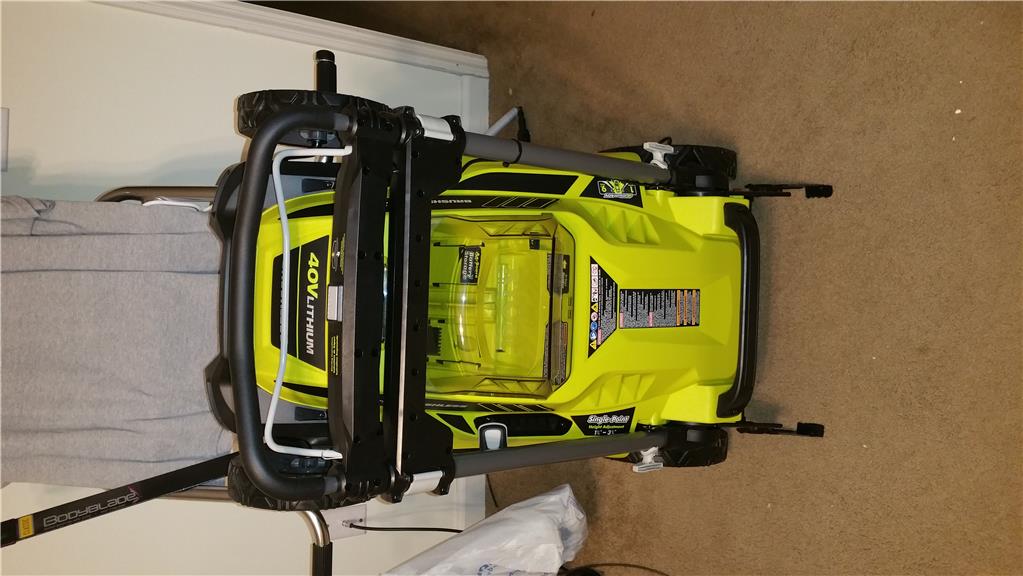
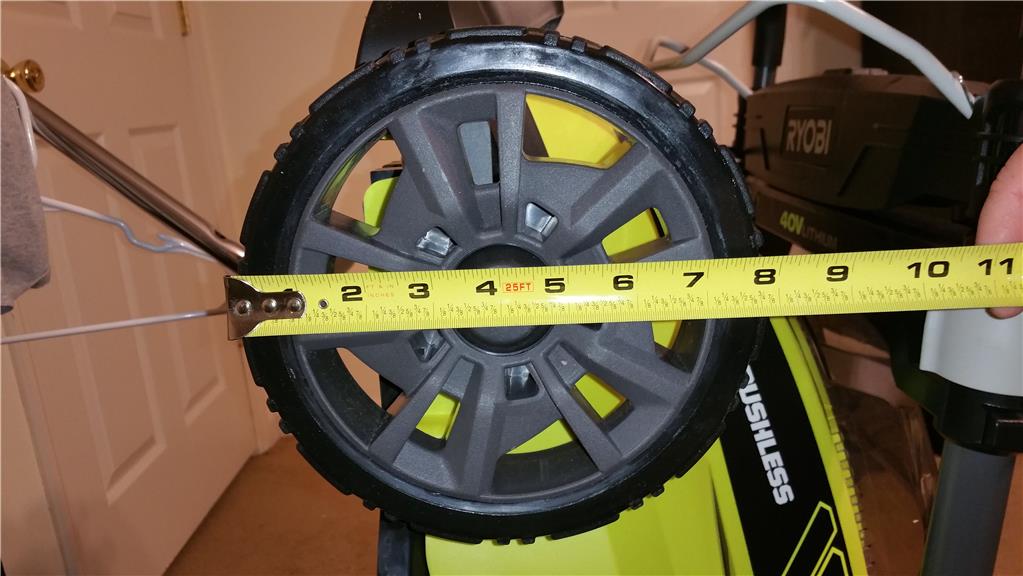
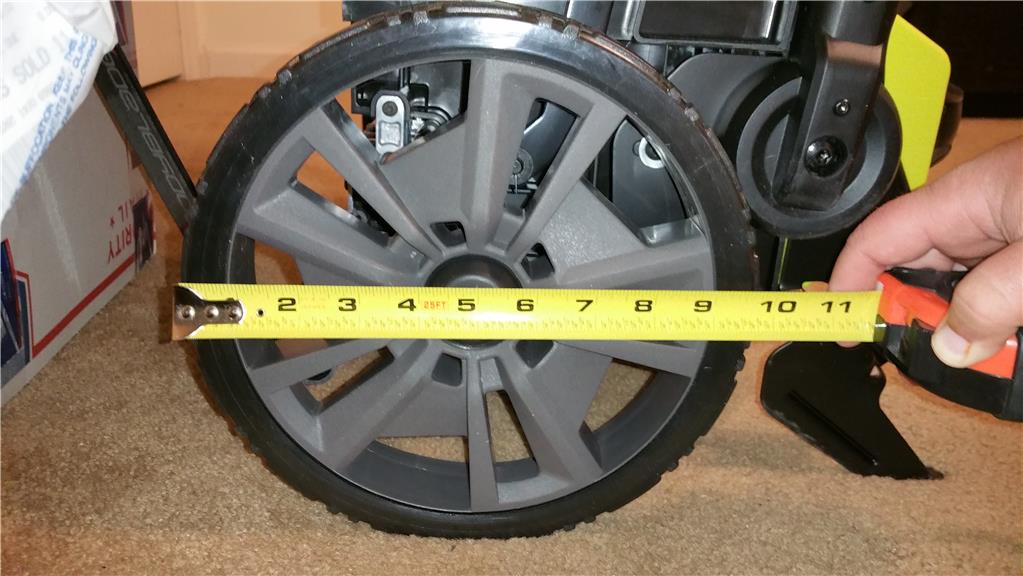


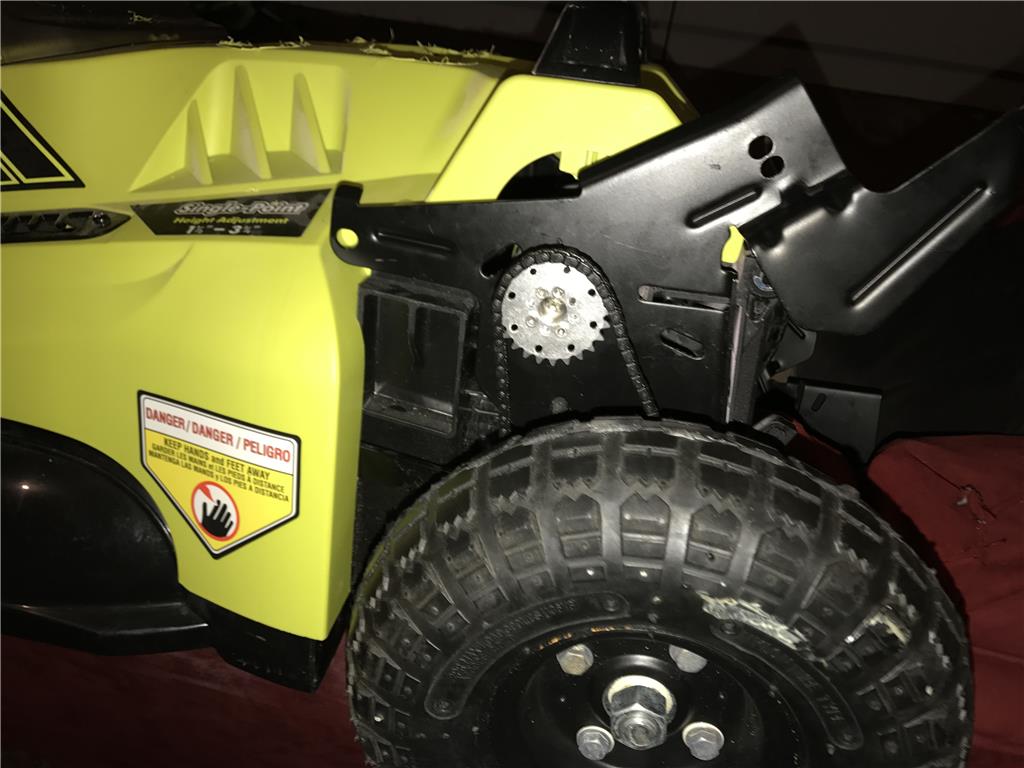
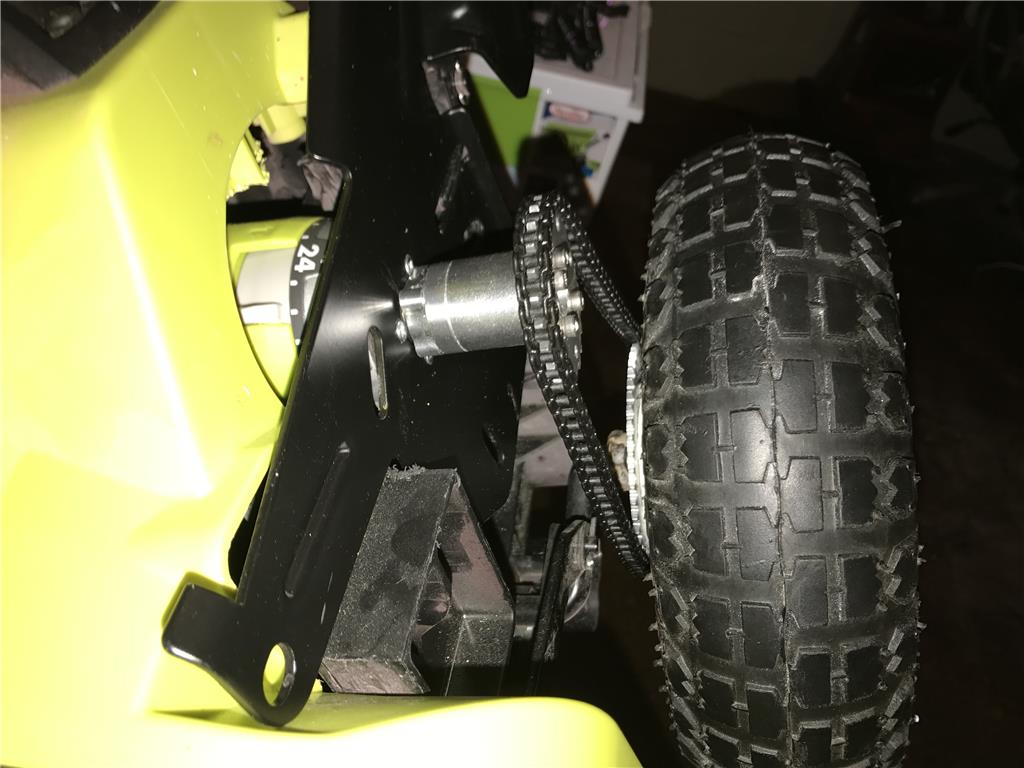
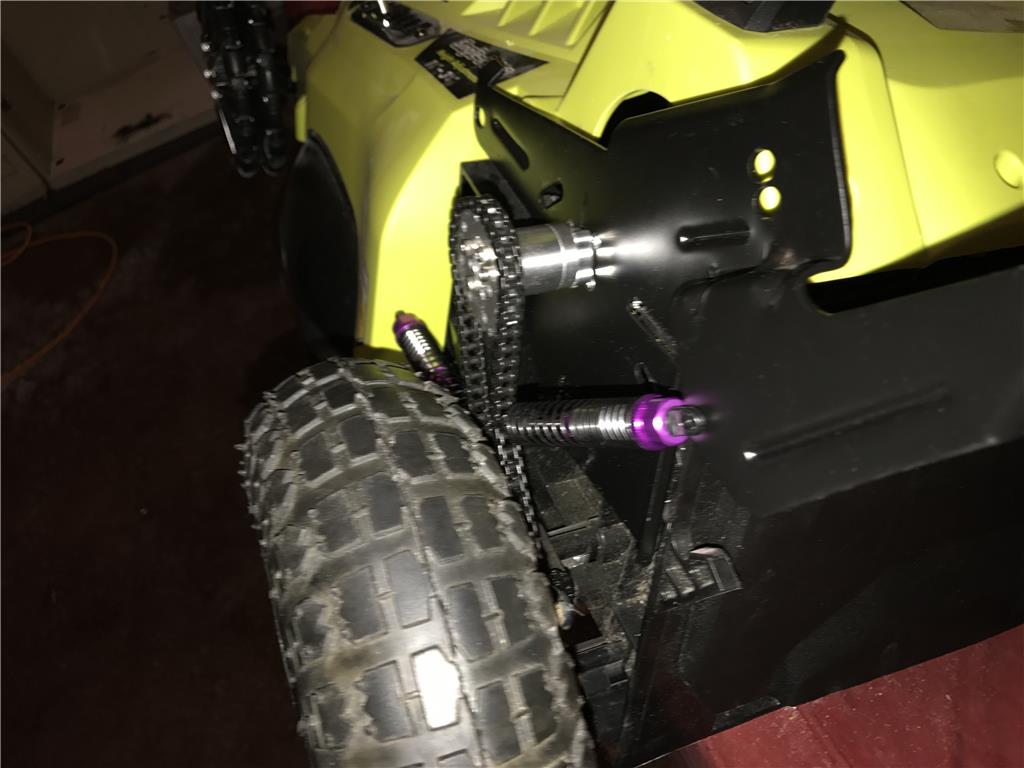
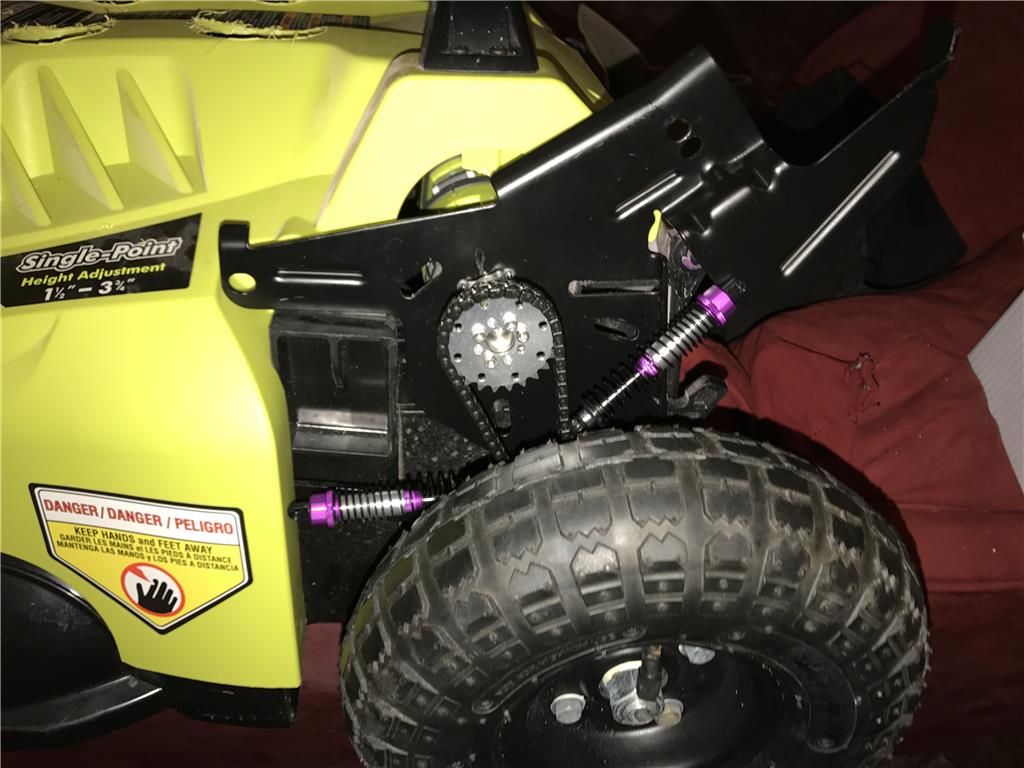
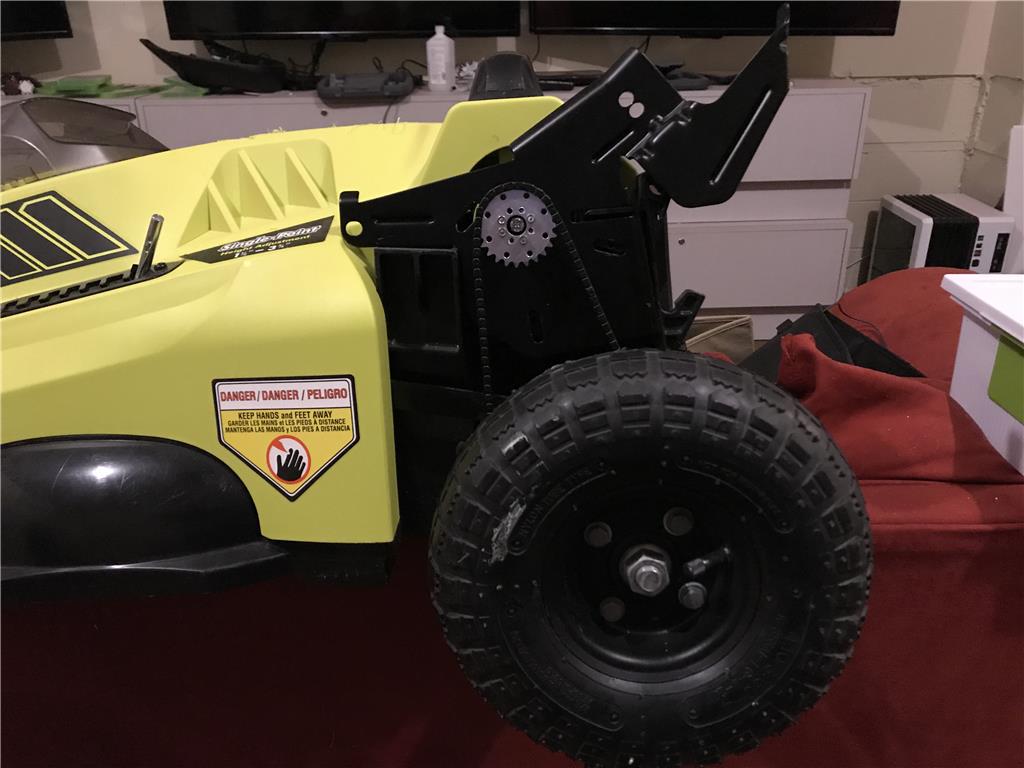
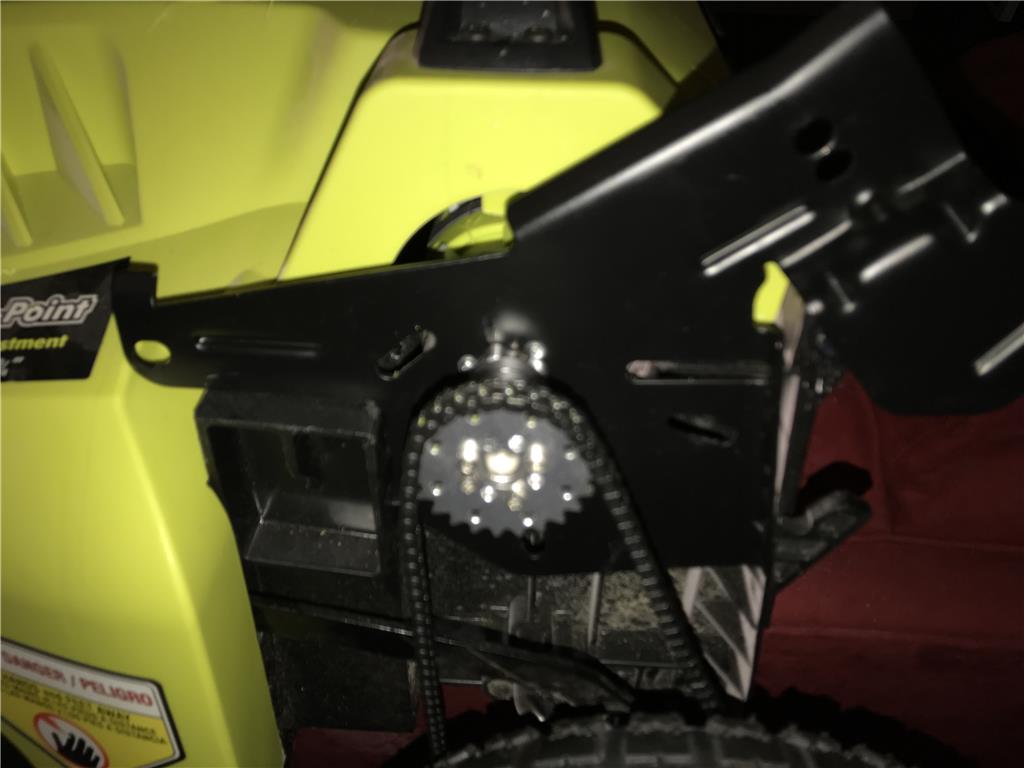
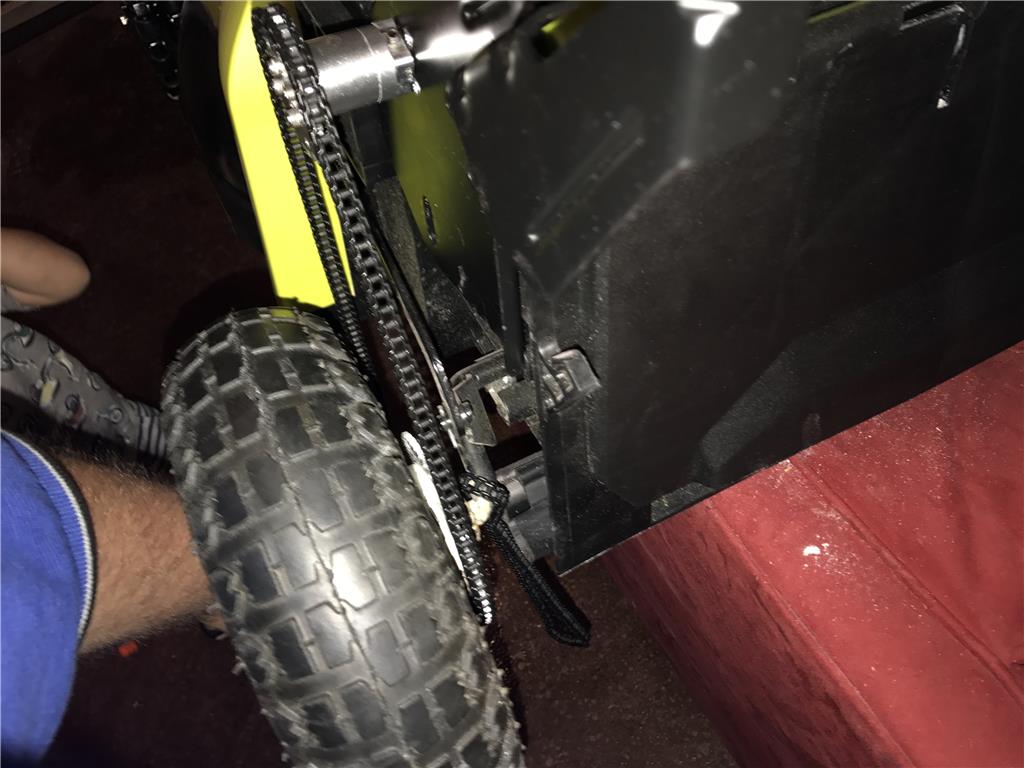
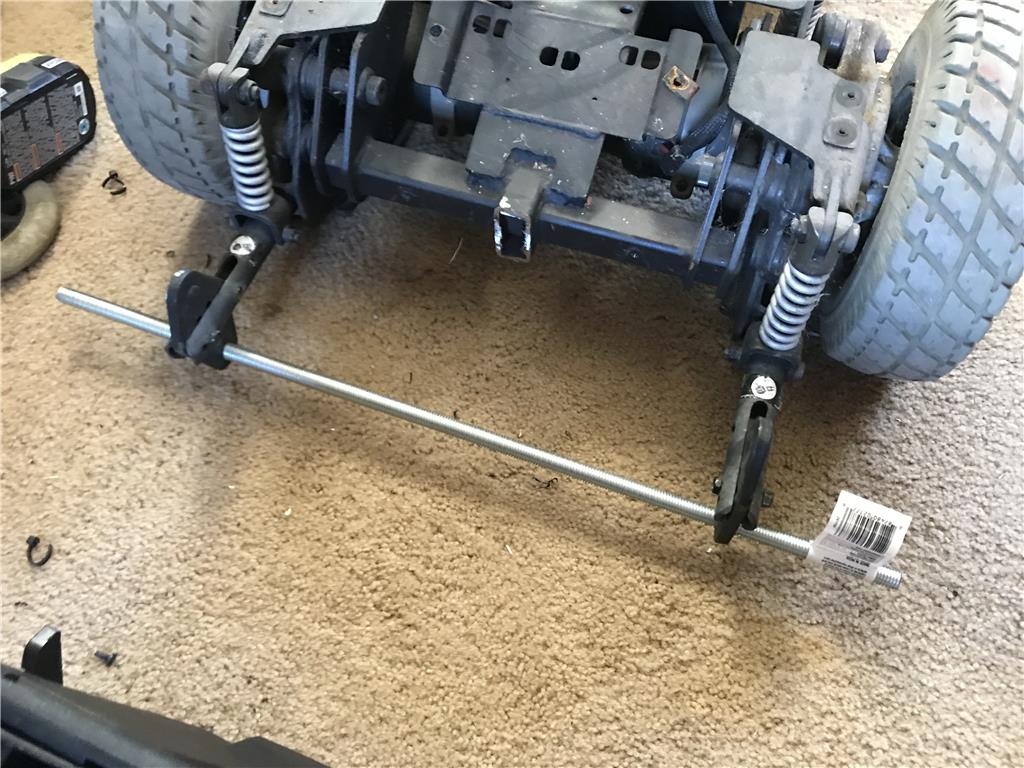
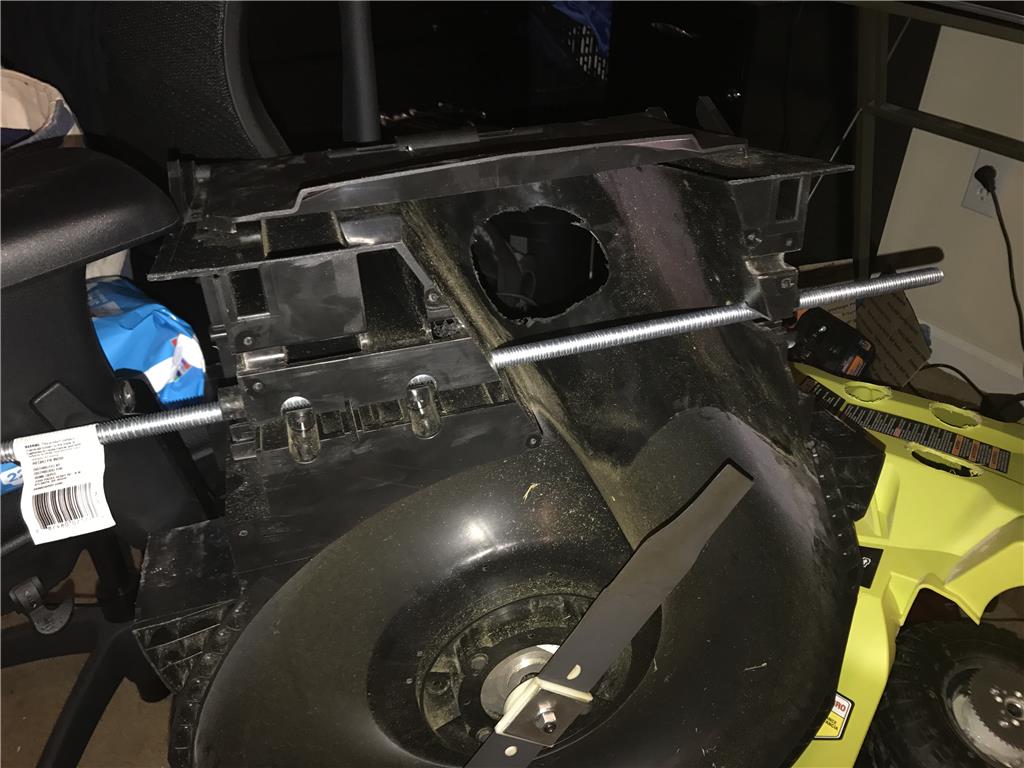
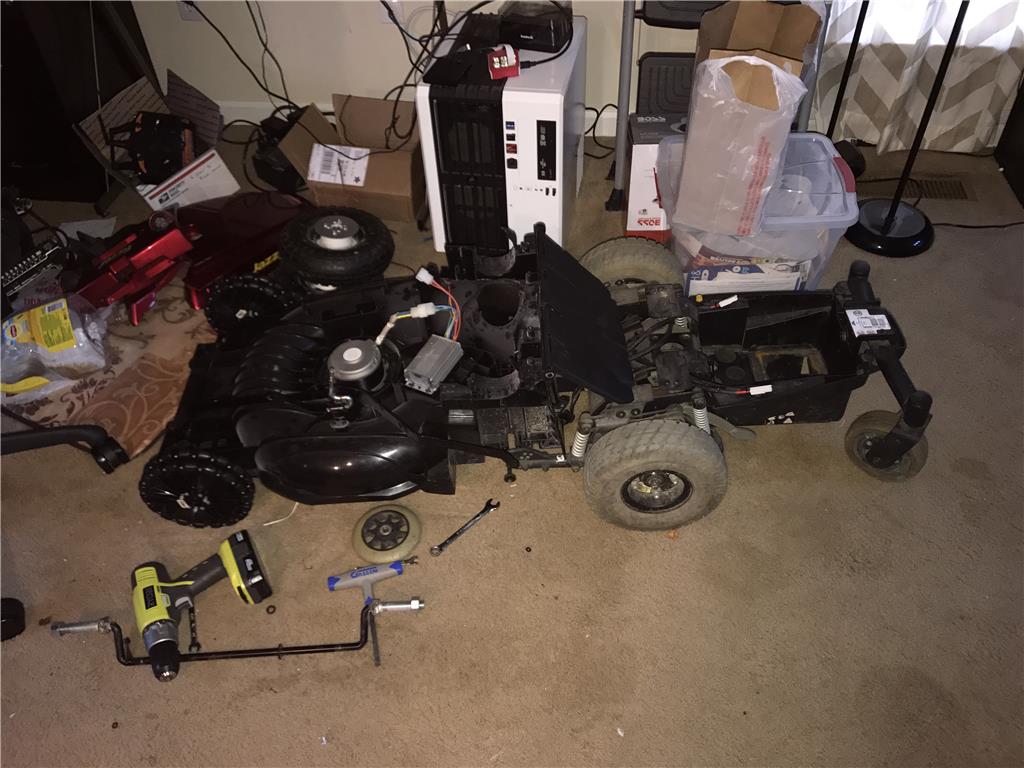
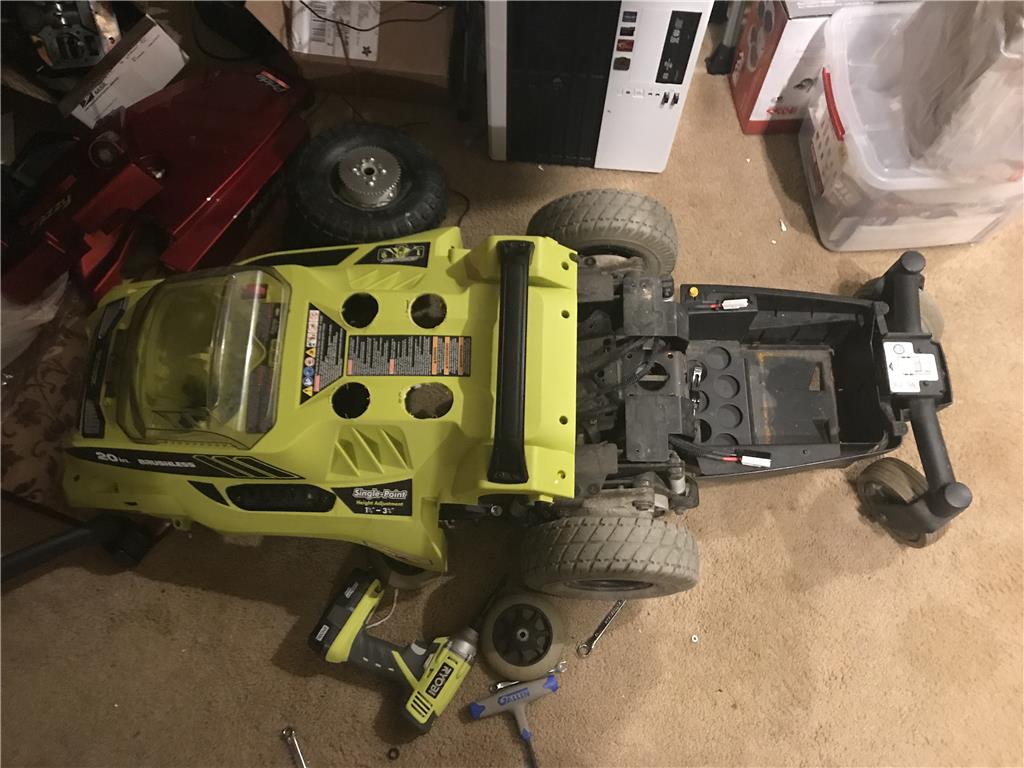
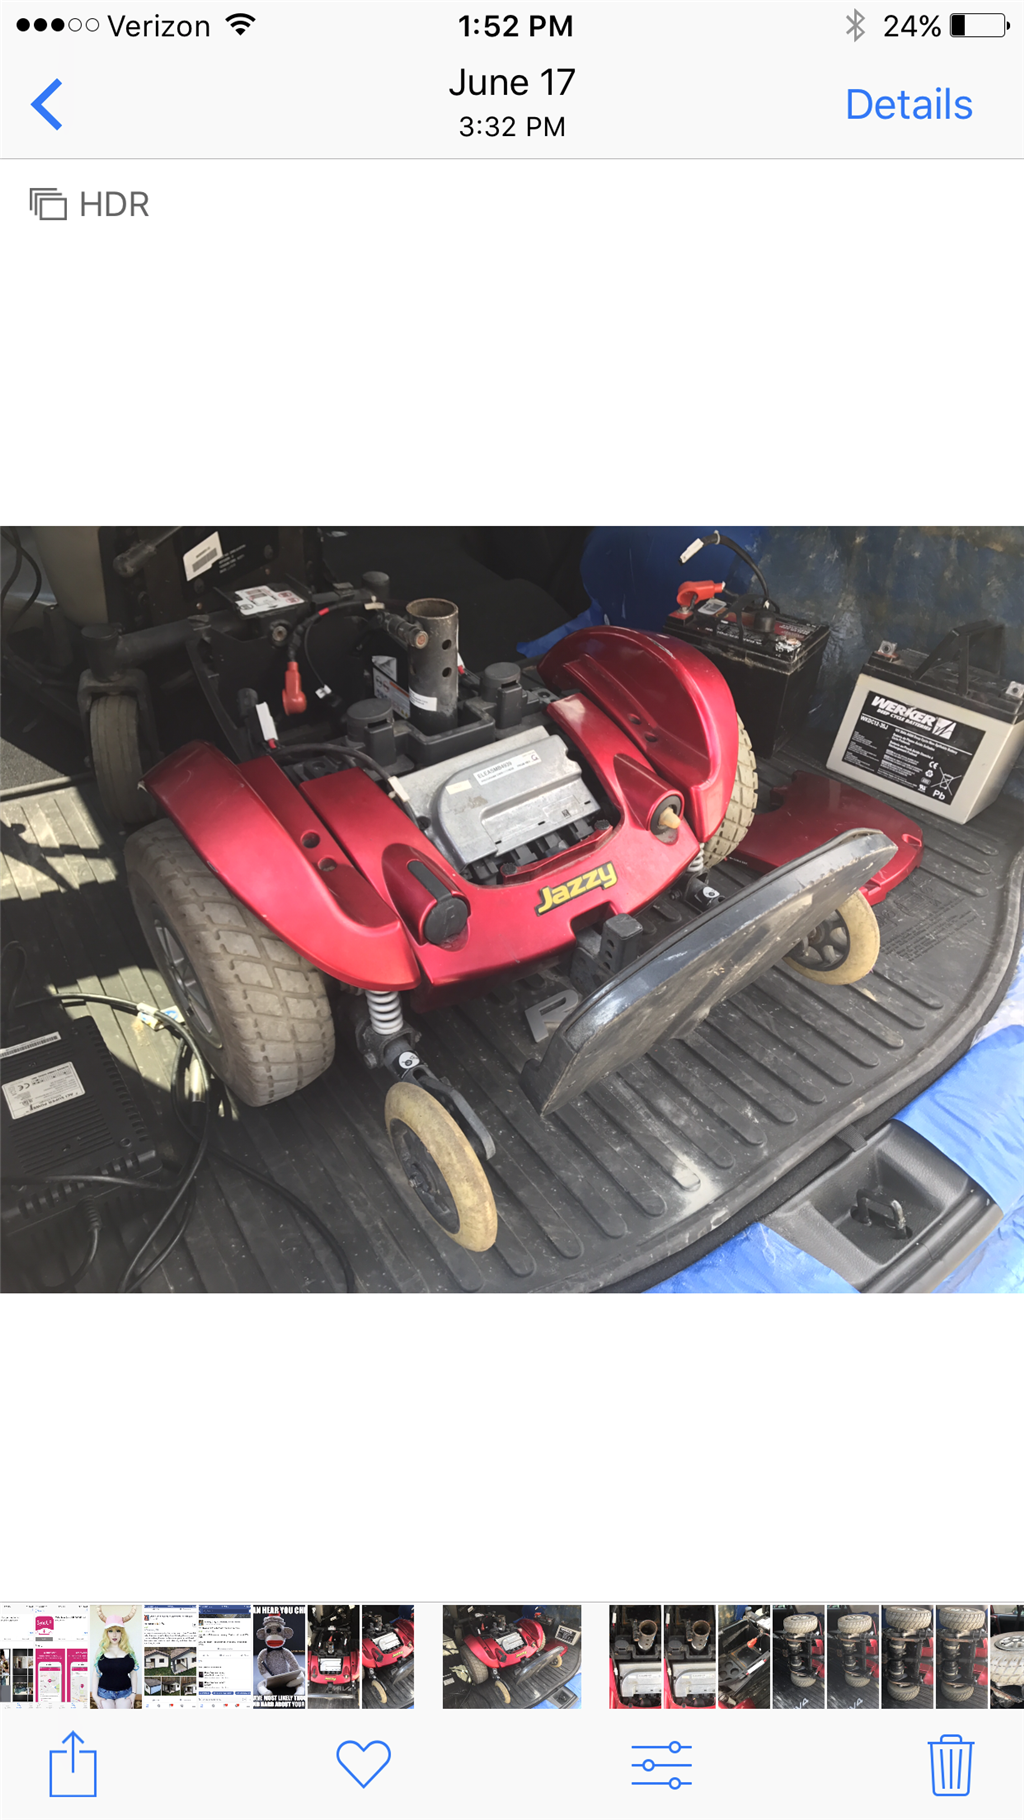
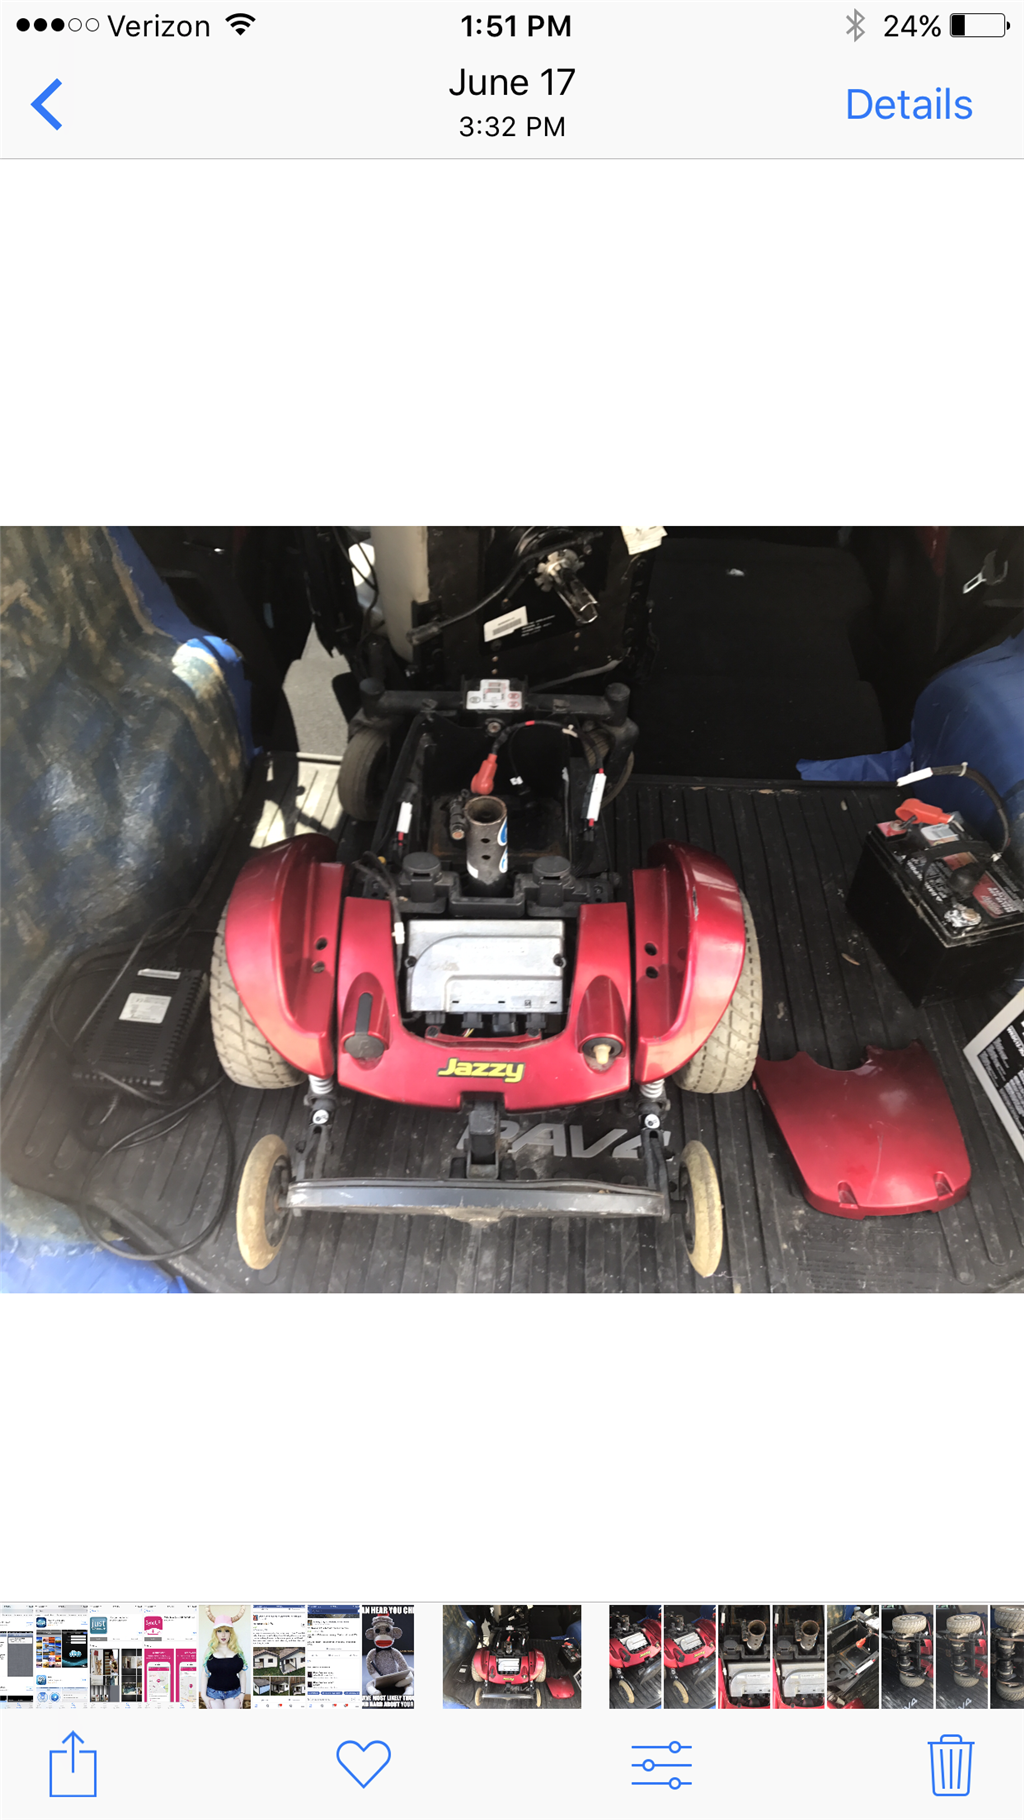
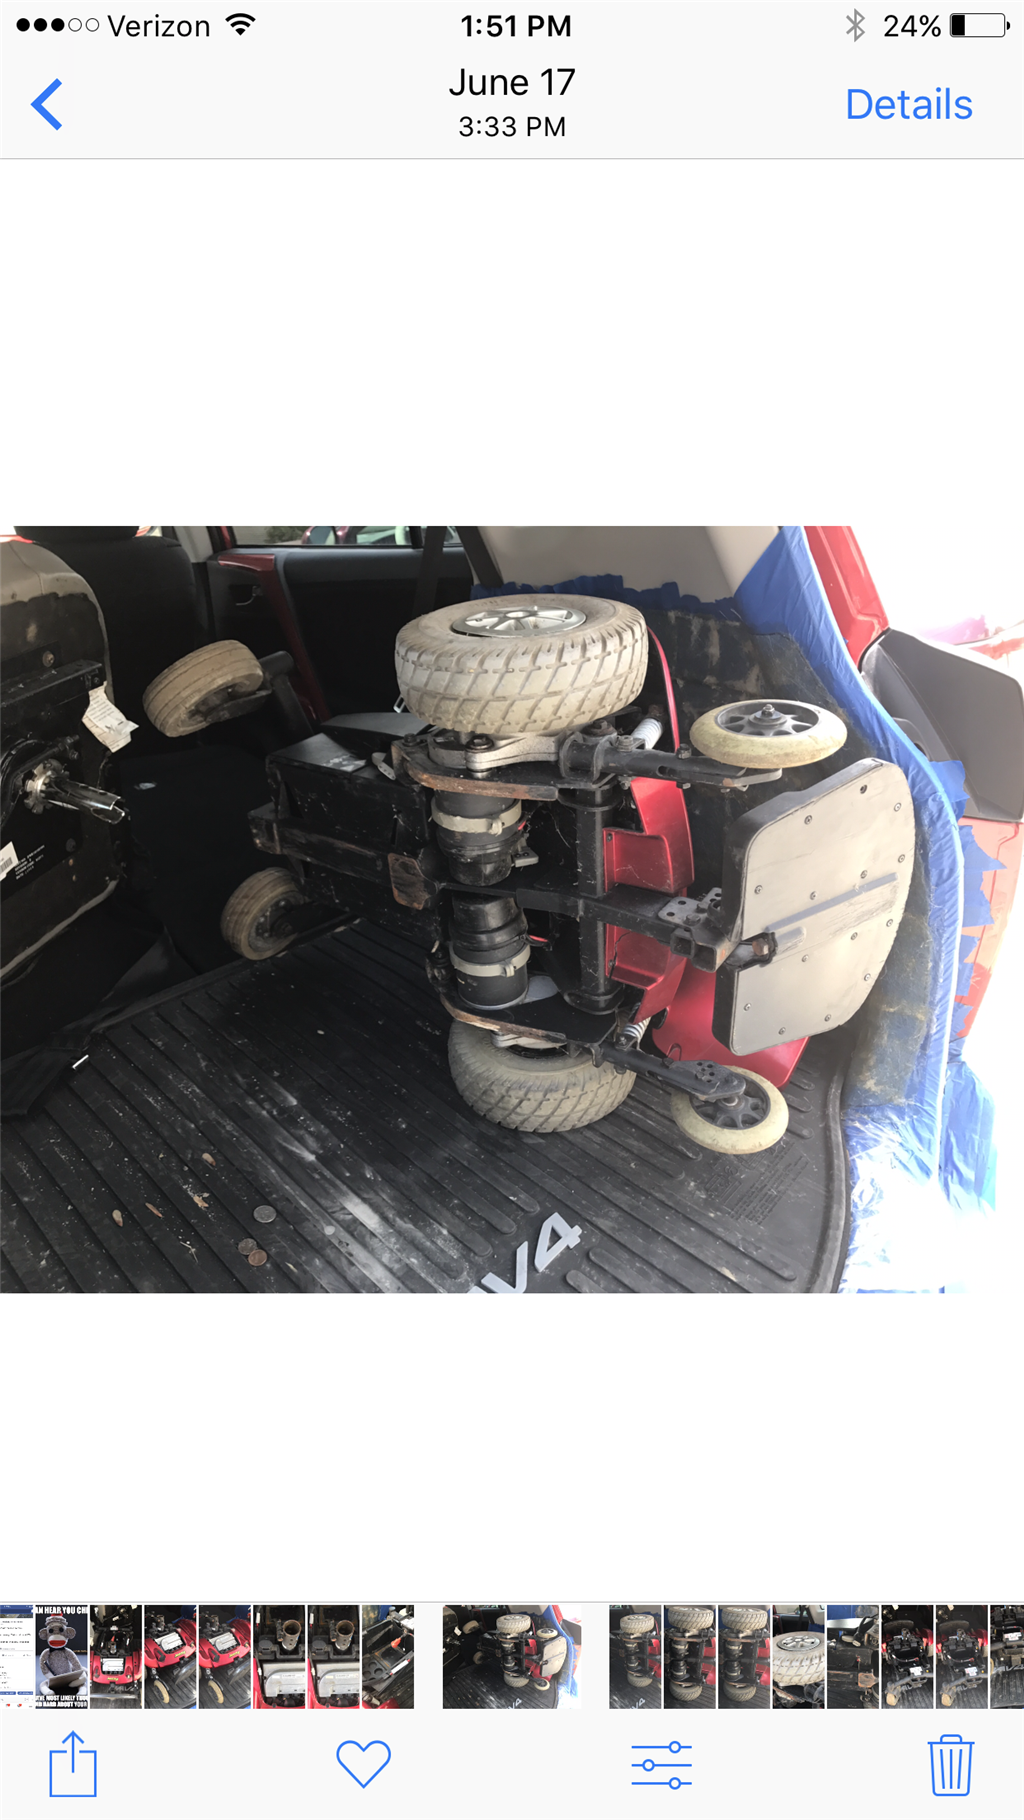
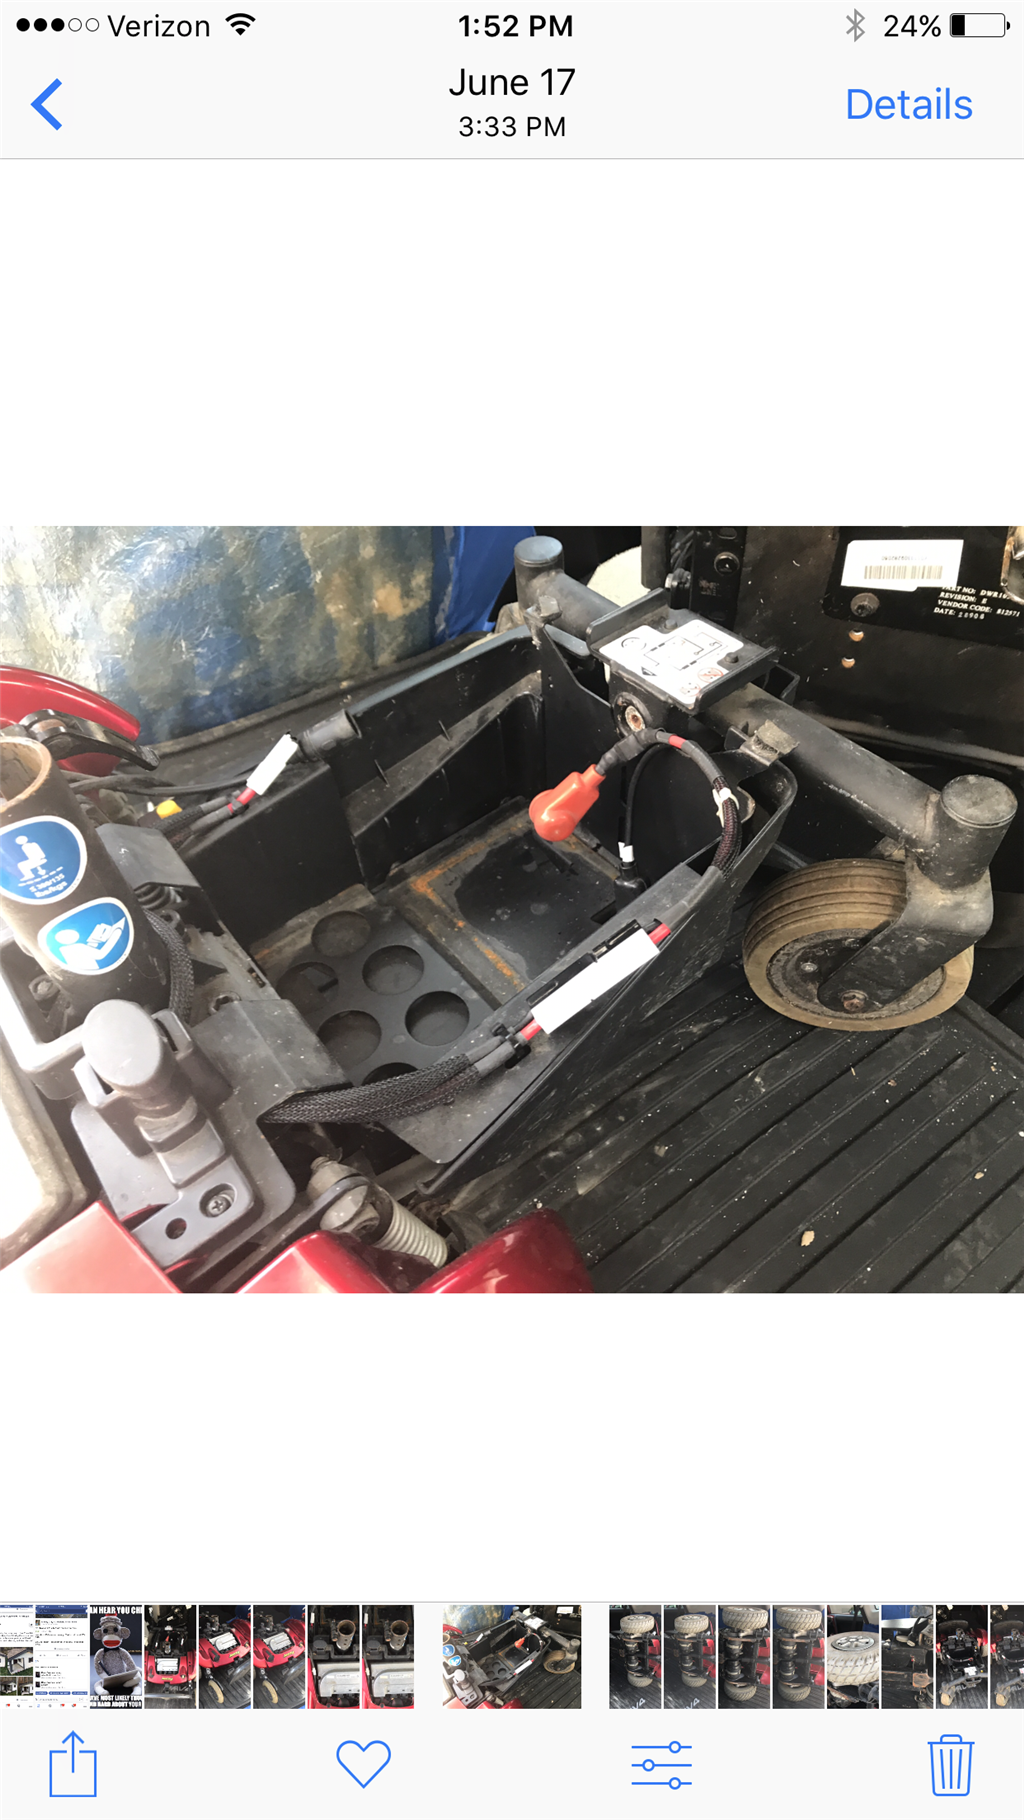
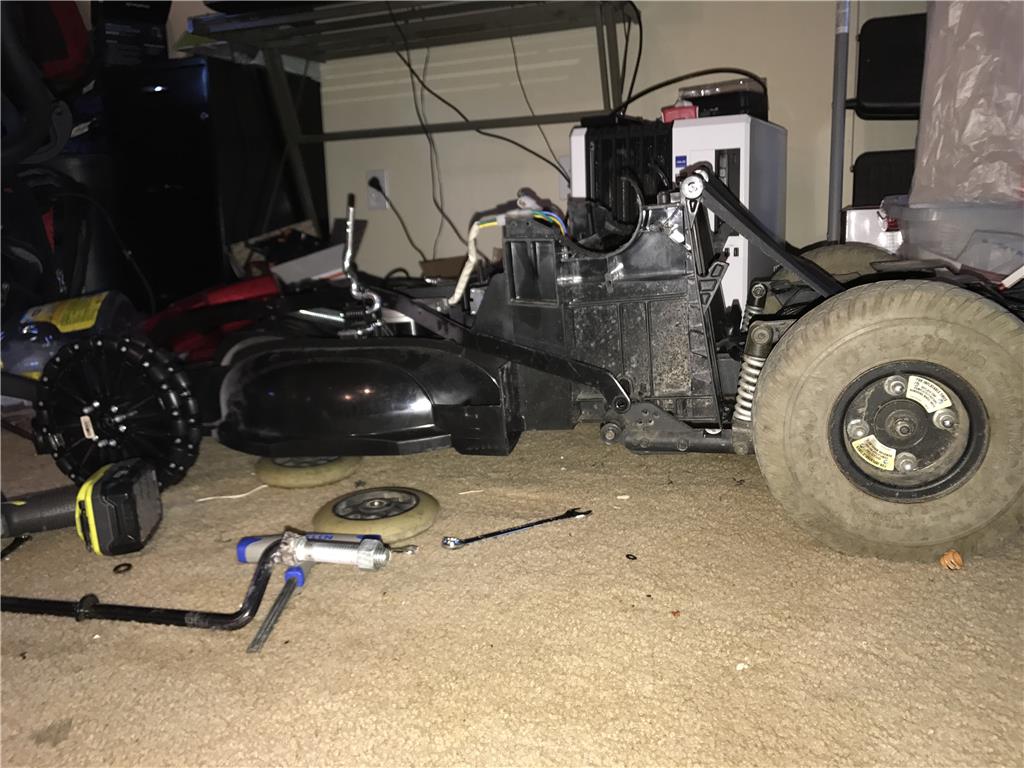
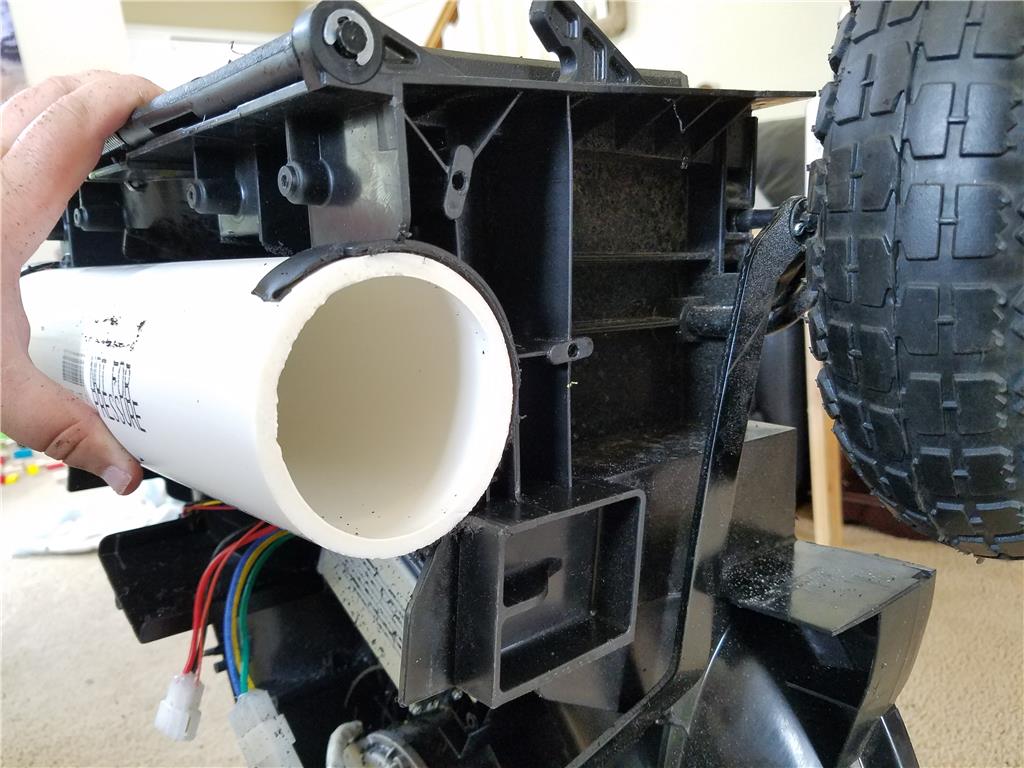
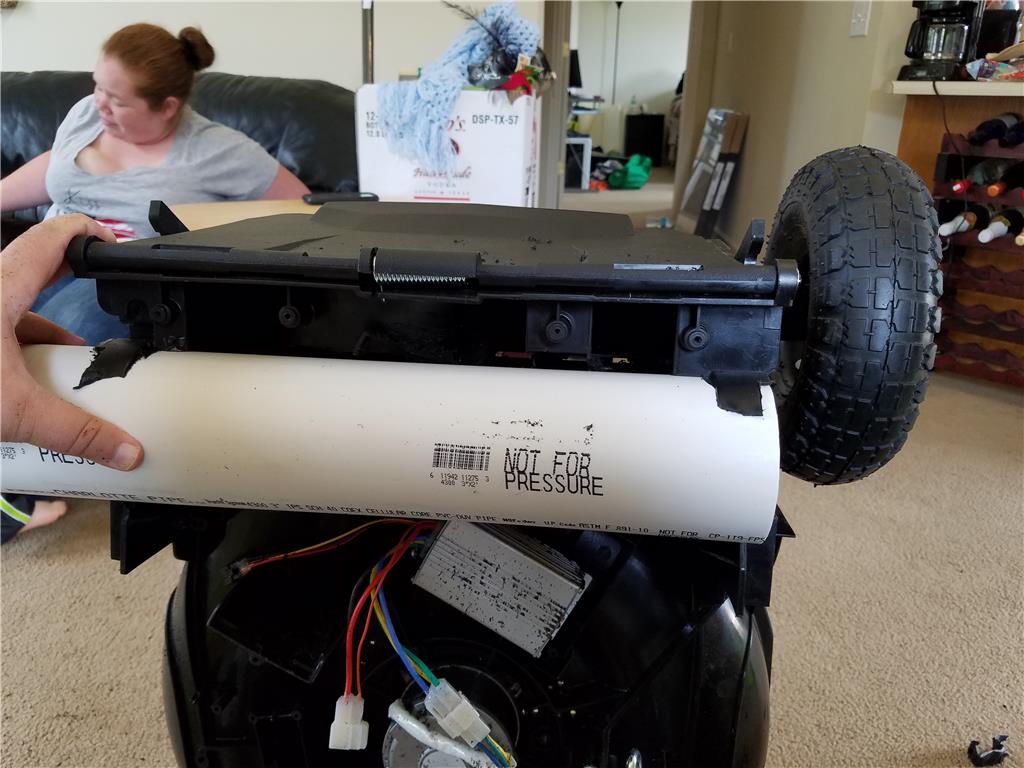
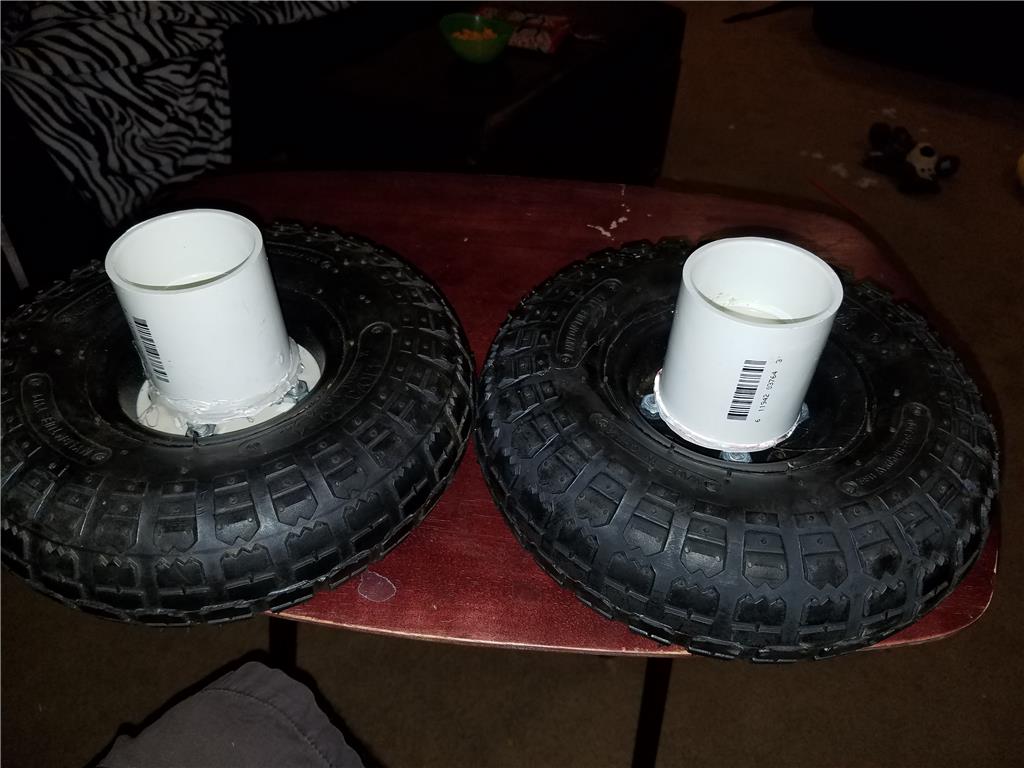
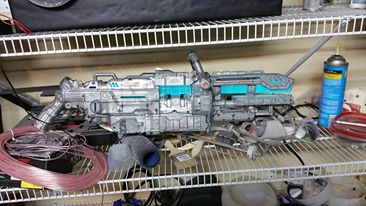
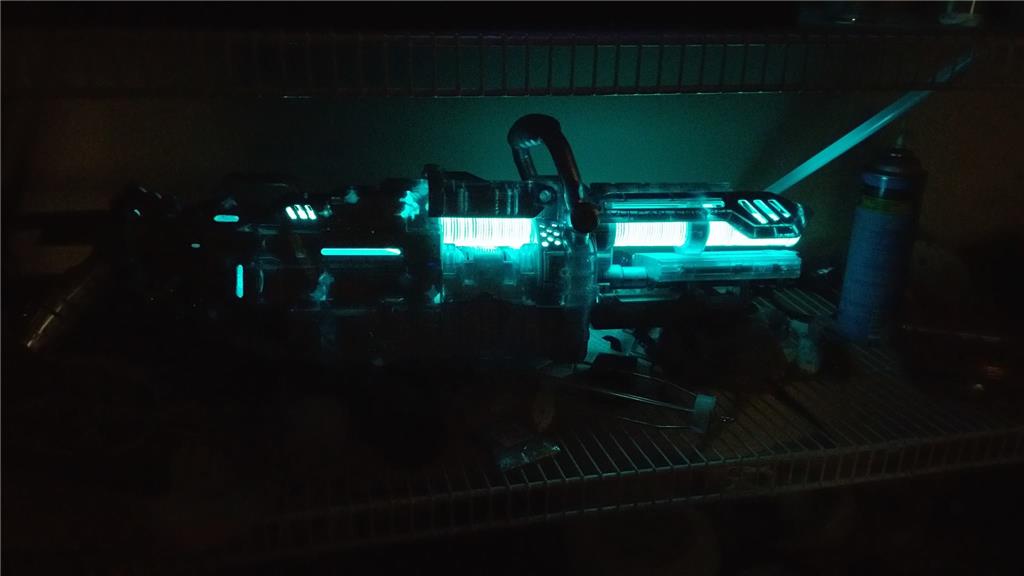
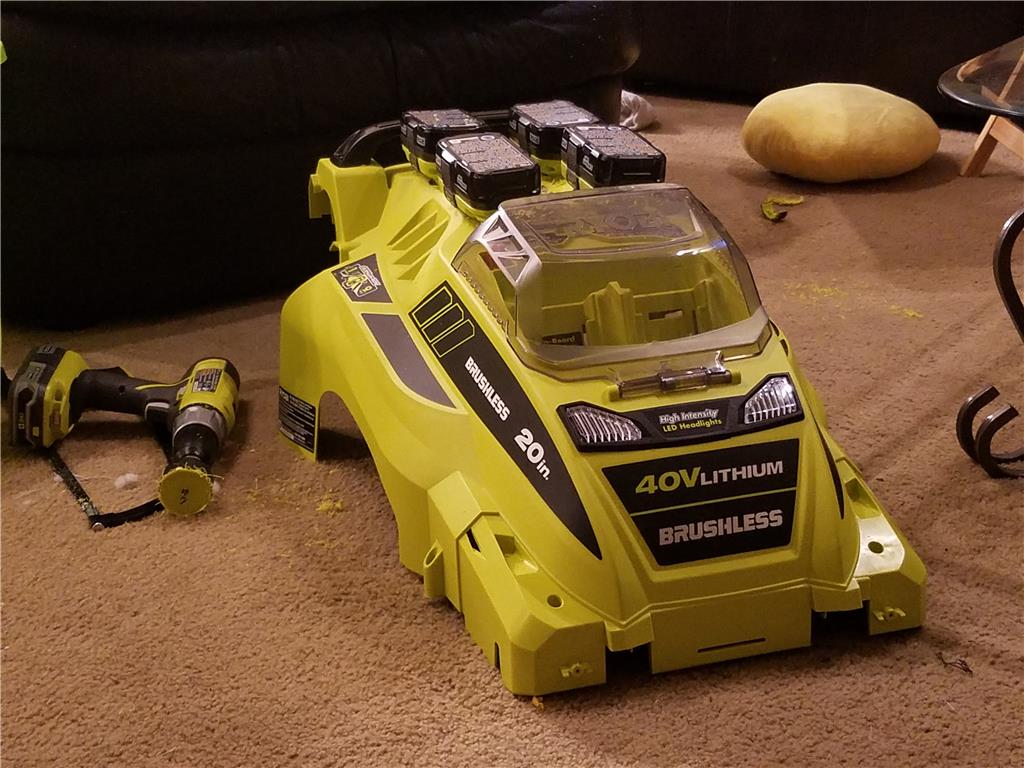
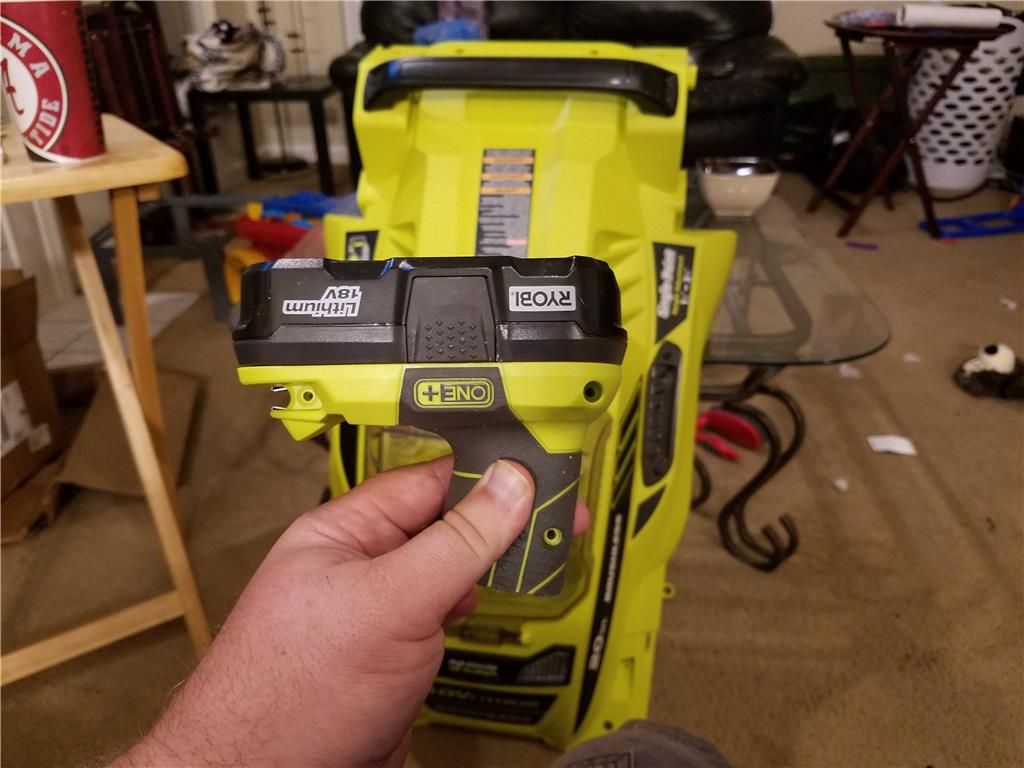
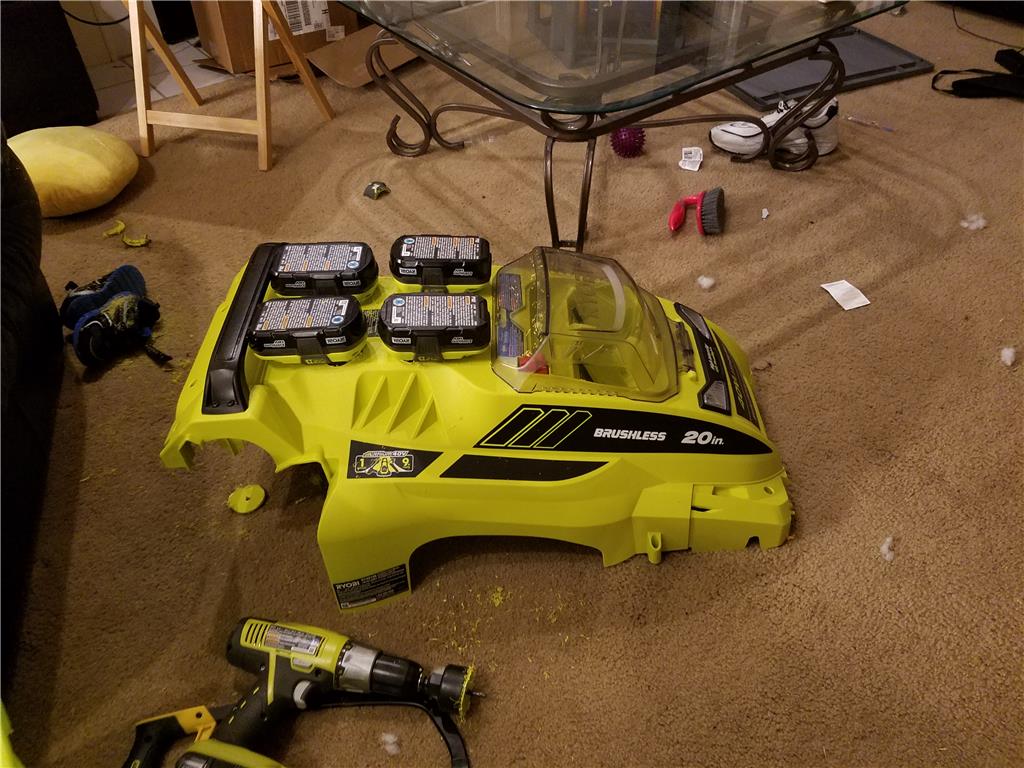
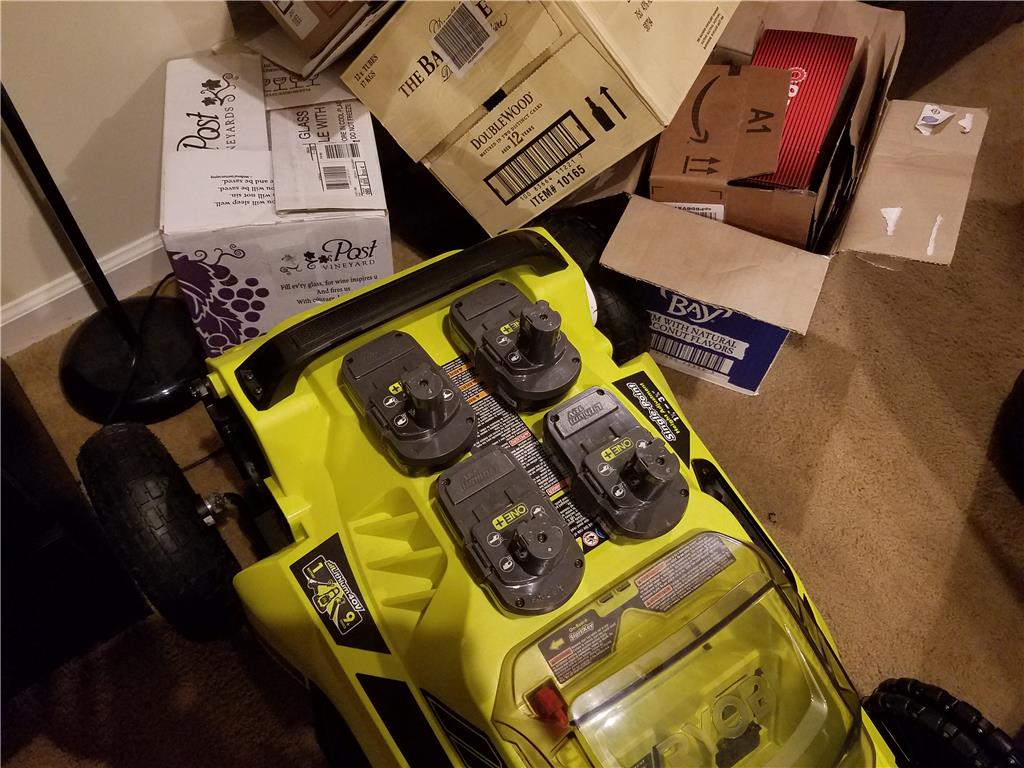
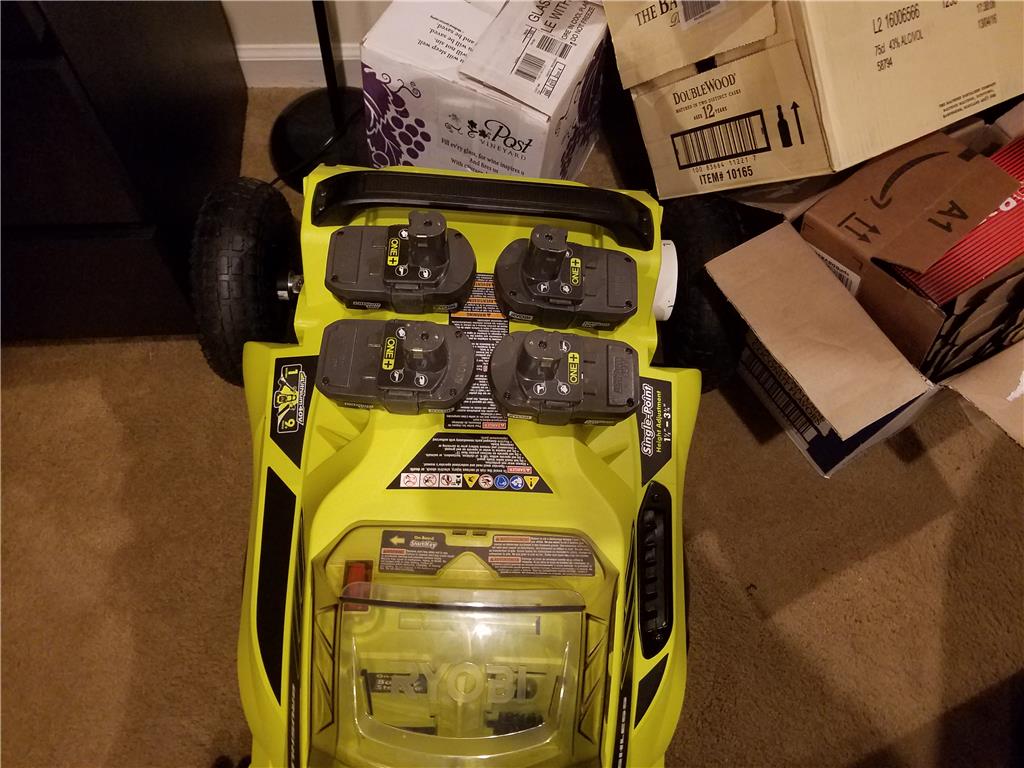
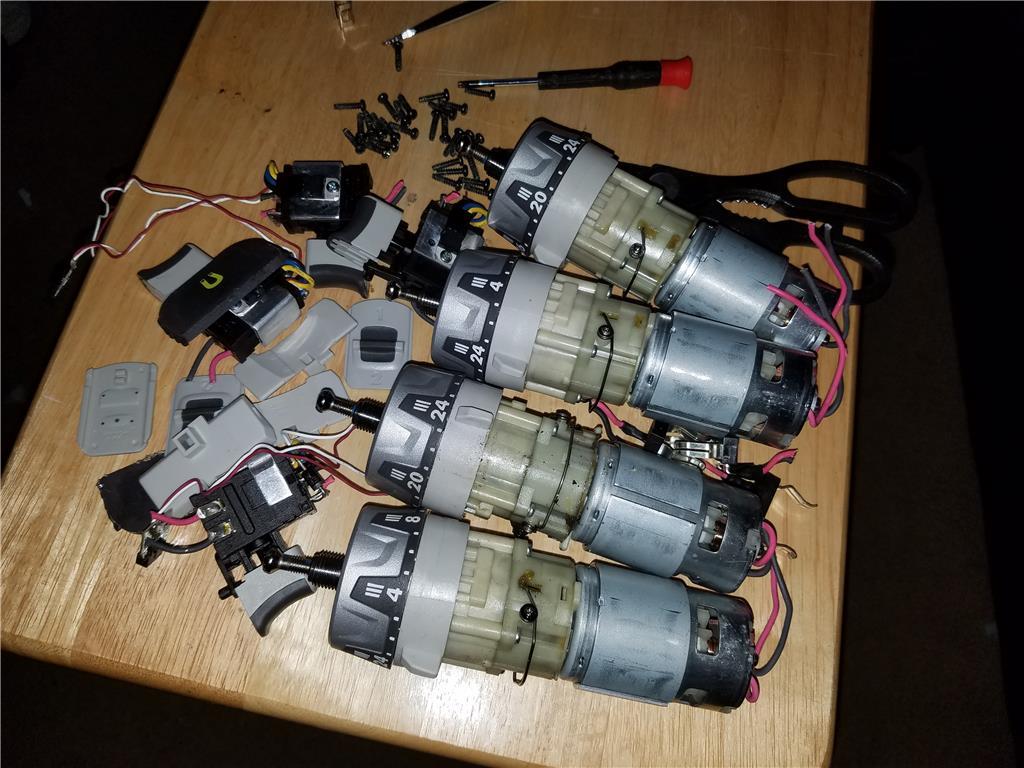

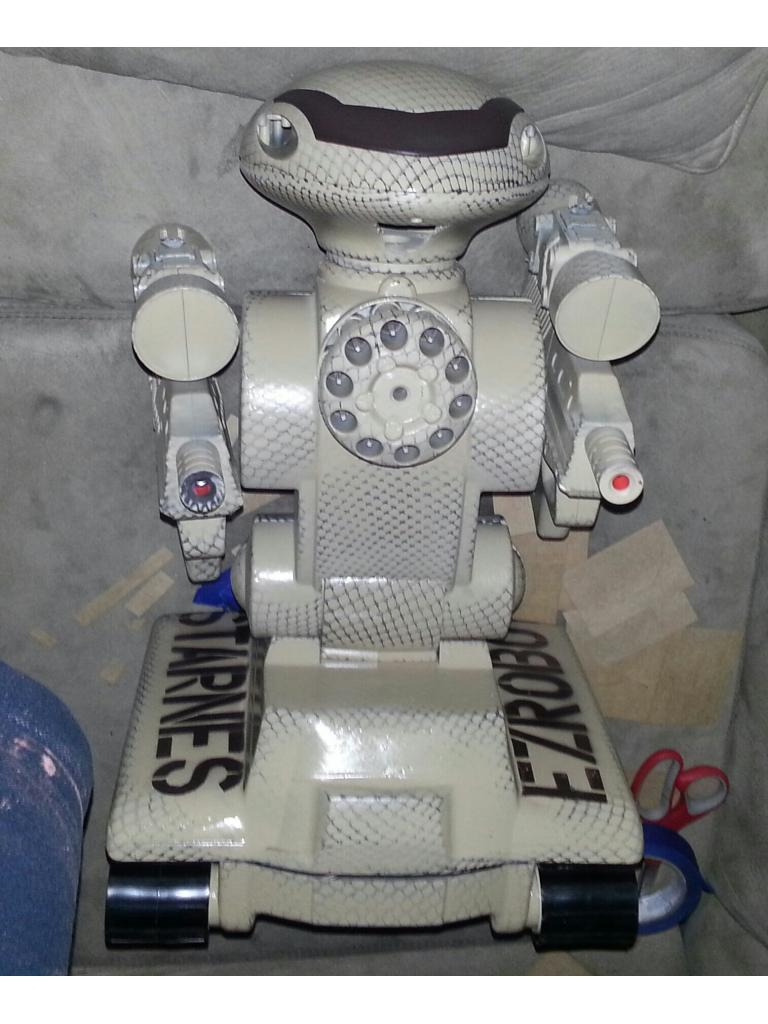
Hello all, I am getting back in the saddle making robots now that I am moved into my new home and settled into my new job as a technician maintaining the Fiber Optics network in Chattanooga TN.
IM BACK !
By jstarne1
— Last update

Discover more robots
Jstarne1's Rad 2.0 Mech Warrior #3 Air Soft And Nerf...
Trio of outdoor FPV robots with EZ-Robot wireless cameras, each equipped with airsoft automatic guns and a dart...

DJ's Voice Recognition Robot
Cookie Monster robot showcases EZ-B voice recognition and speech synthesis with dynamic phrase-triggered commands and...
Dave's Resurrection - Another Full Sized Lost In Space B9...
Rebuild vintage B9 Robot with Synthiam ARC and EZB controls, restoring lights, sounds and motion.
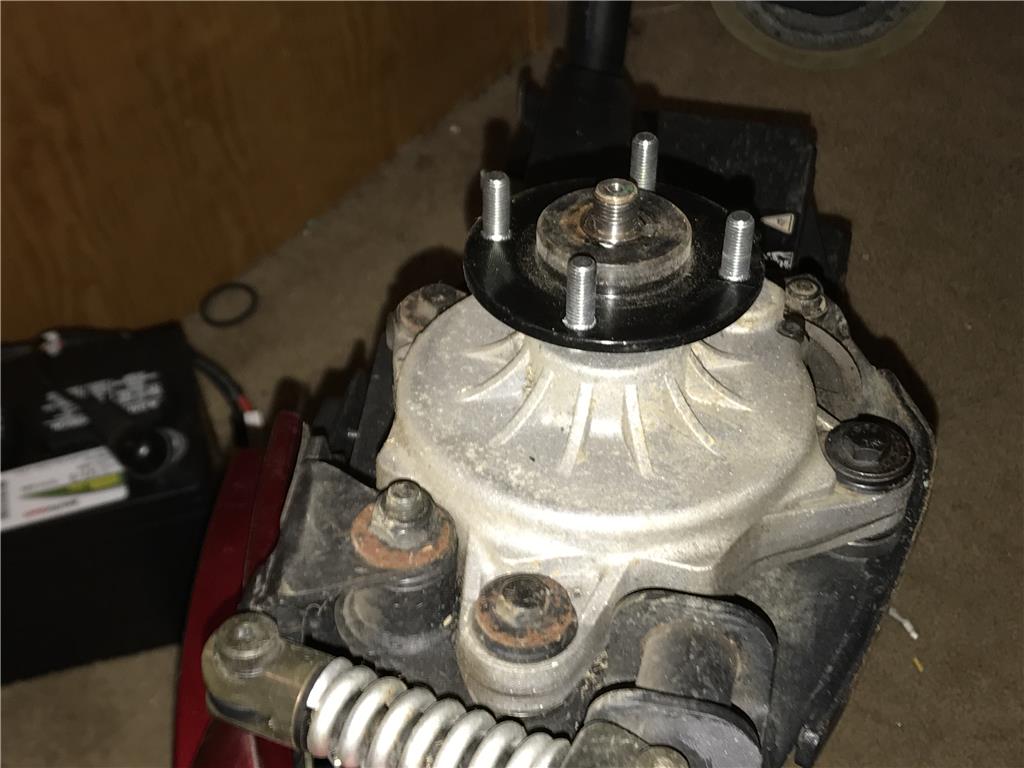
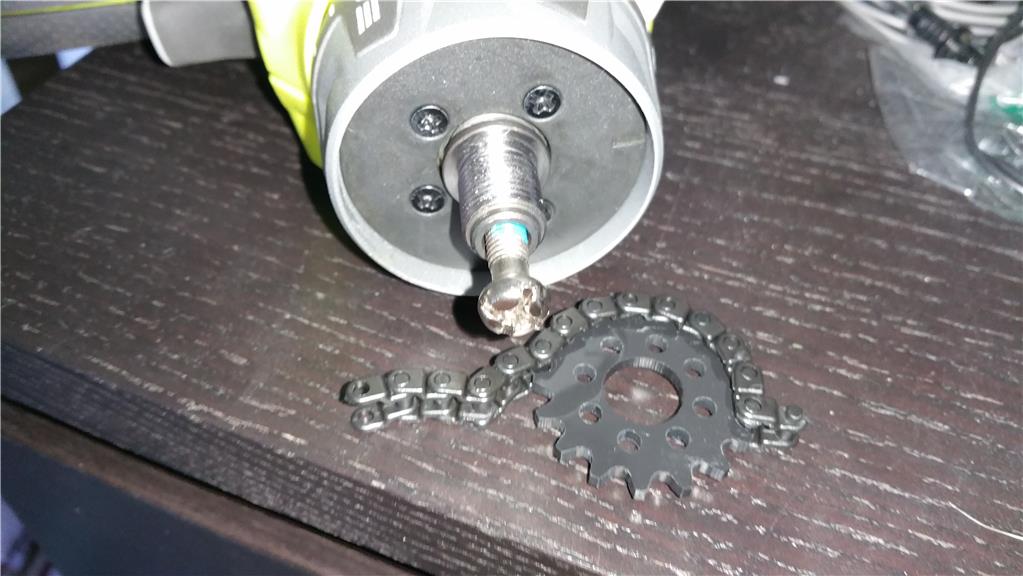
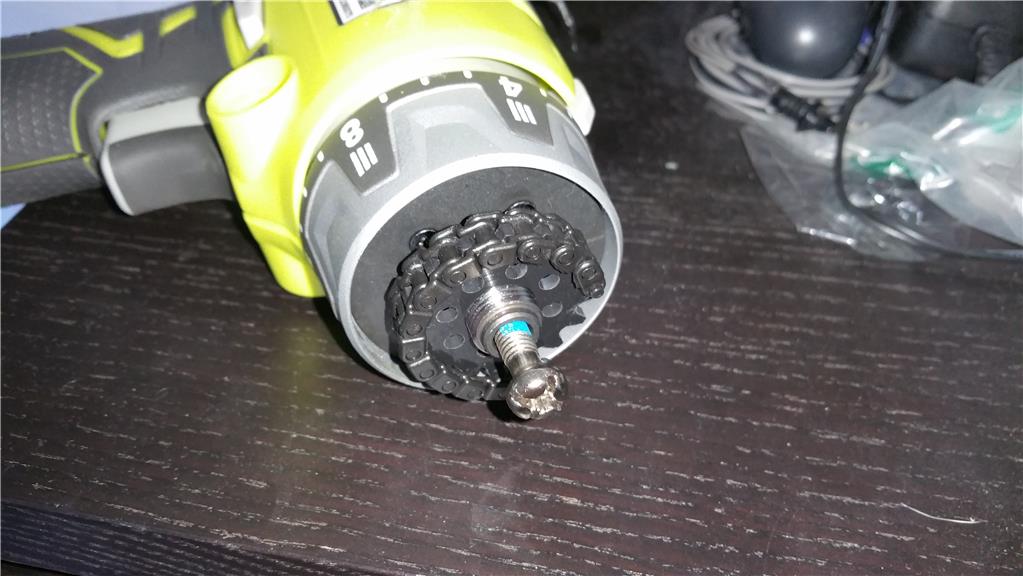
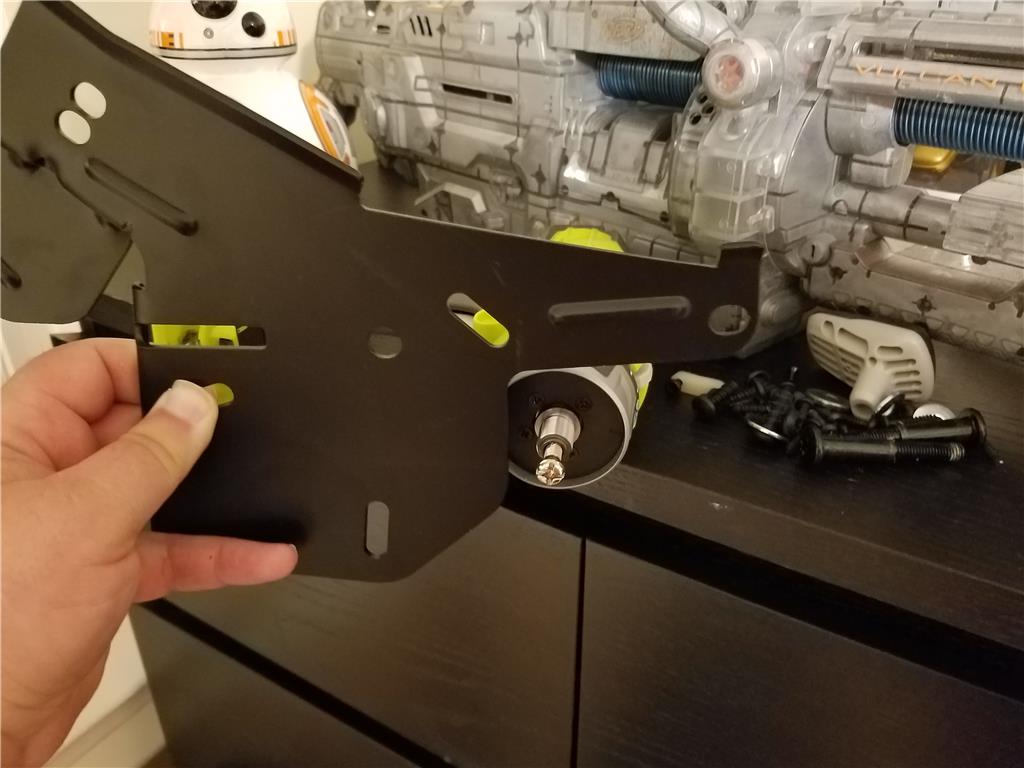
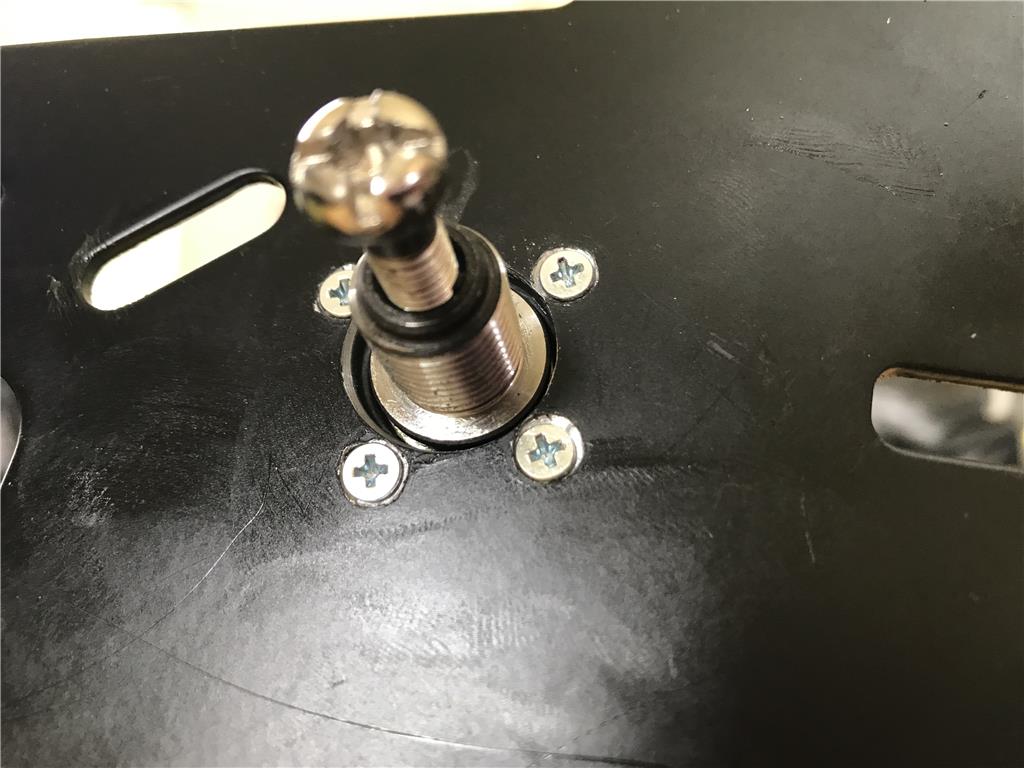
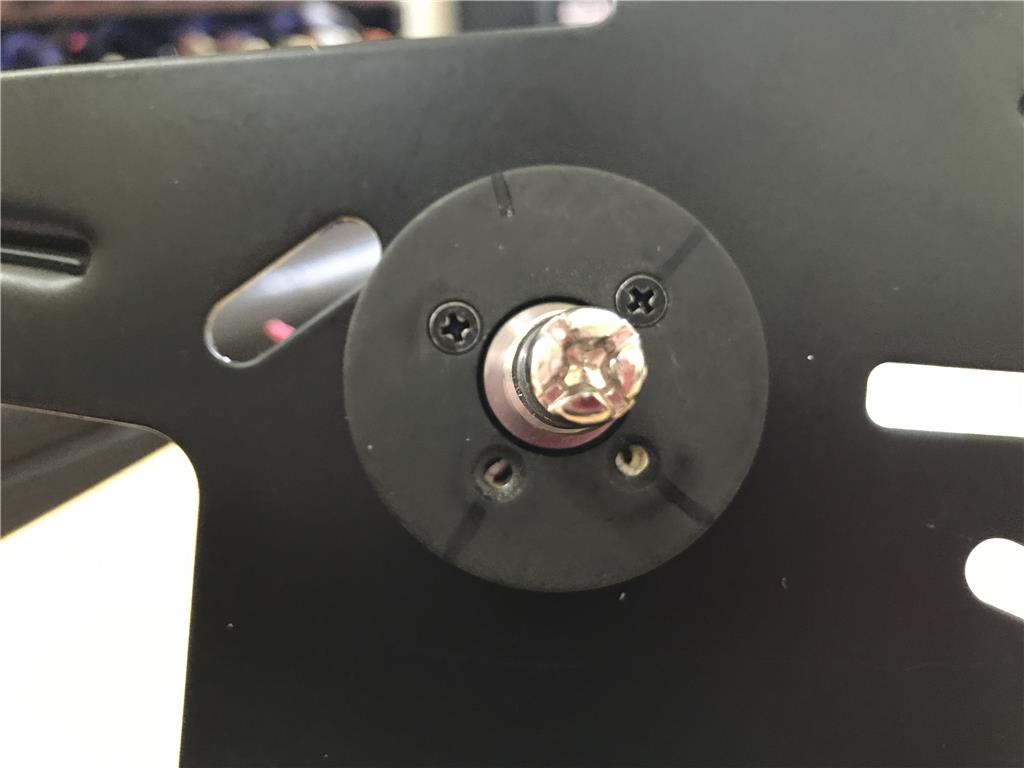
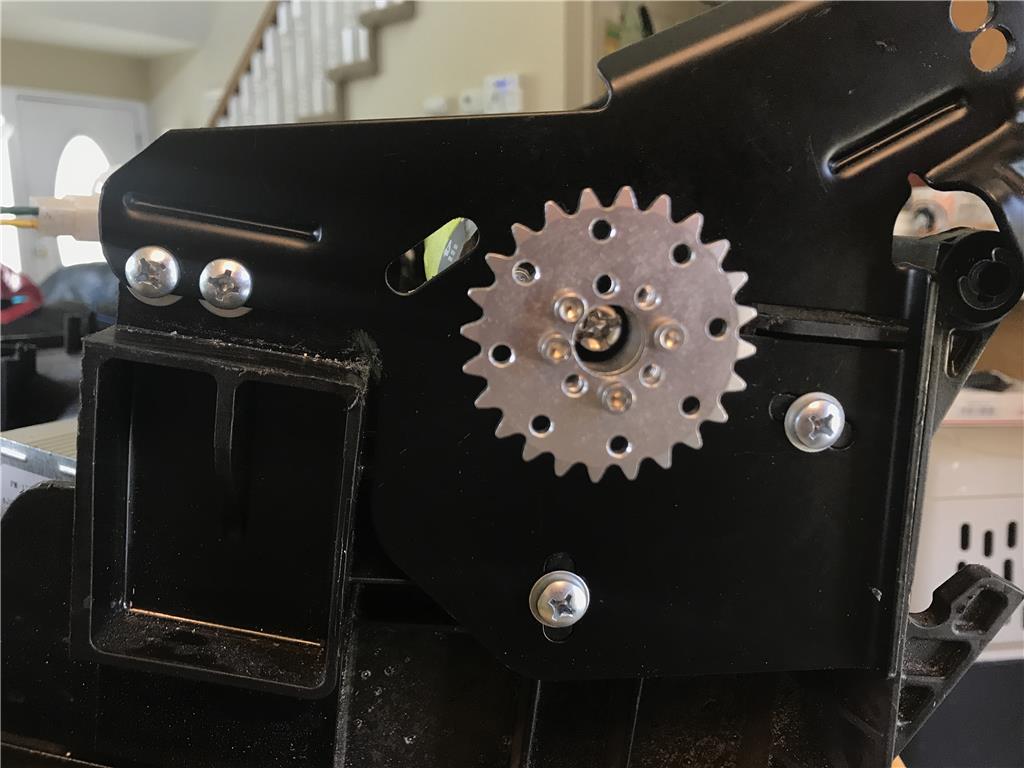
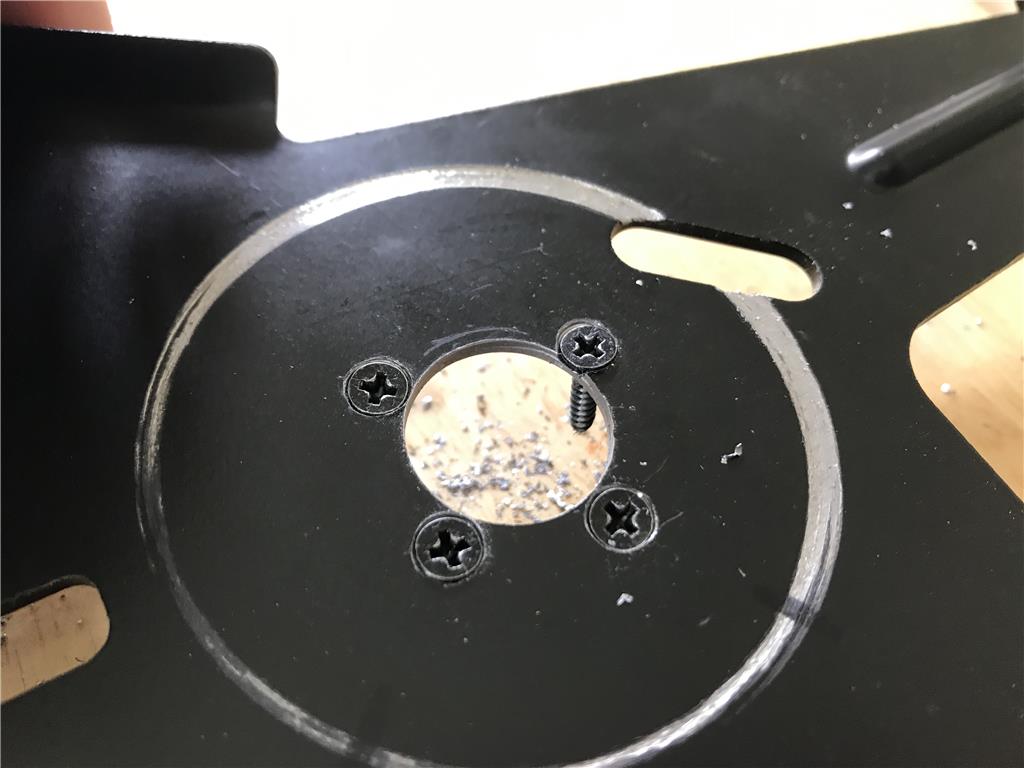
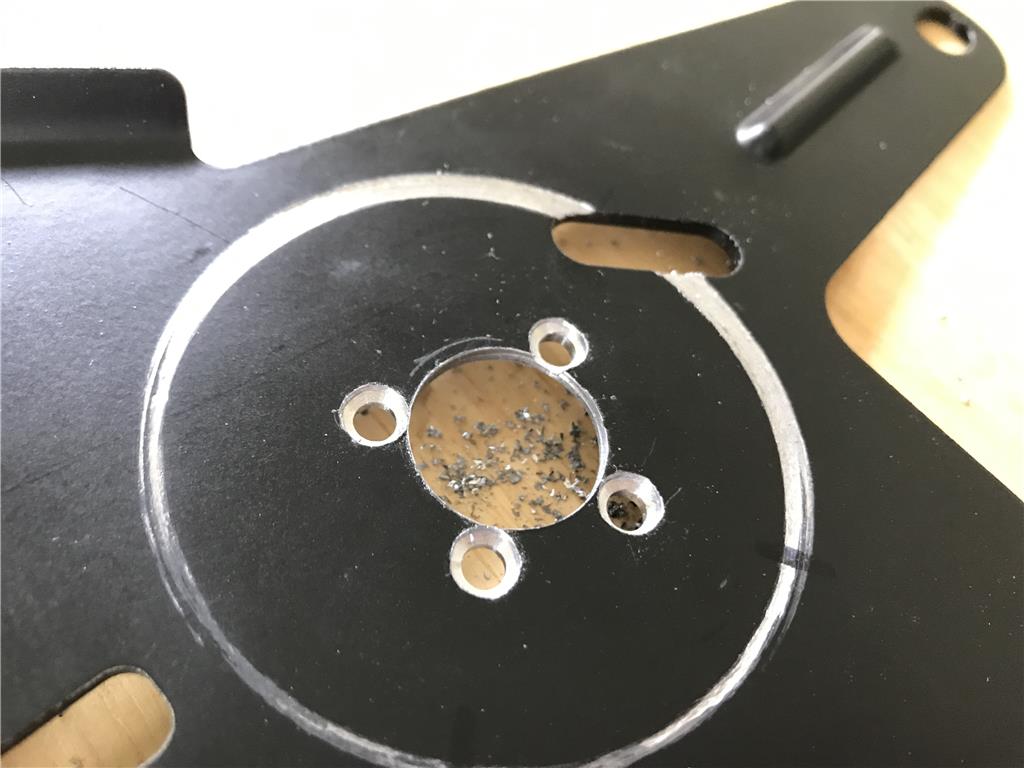
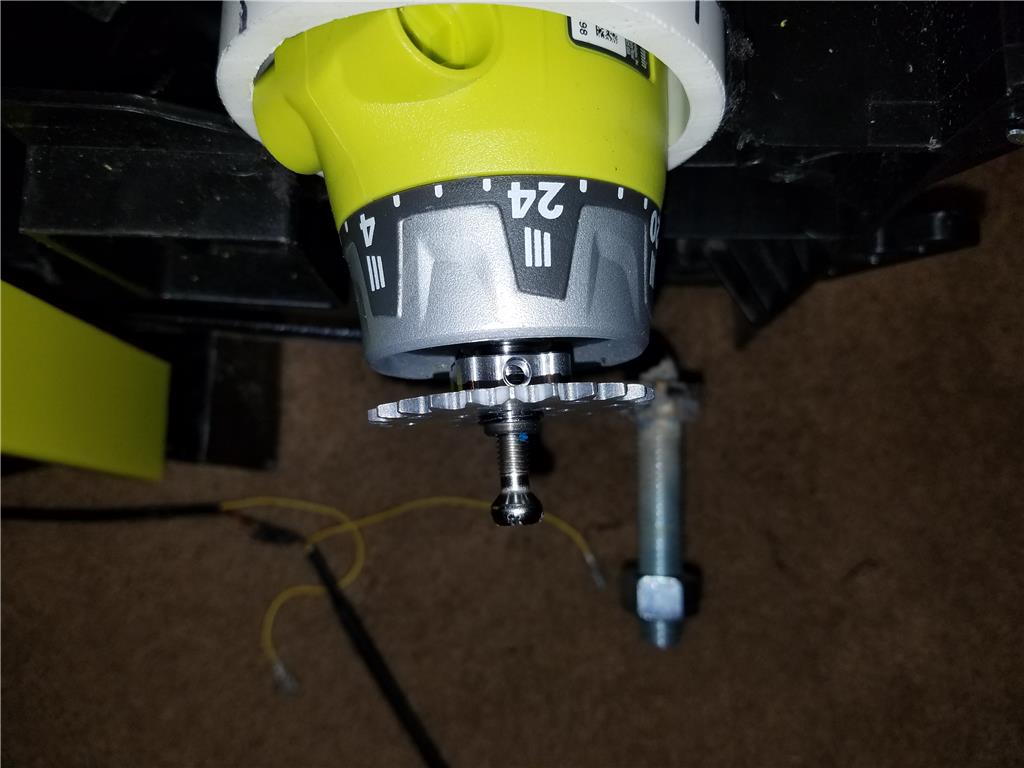
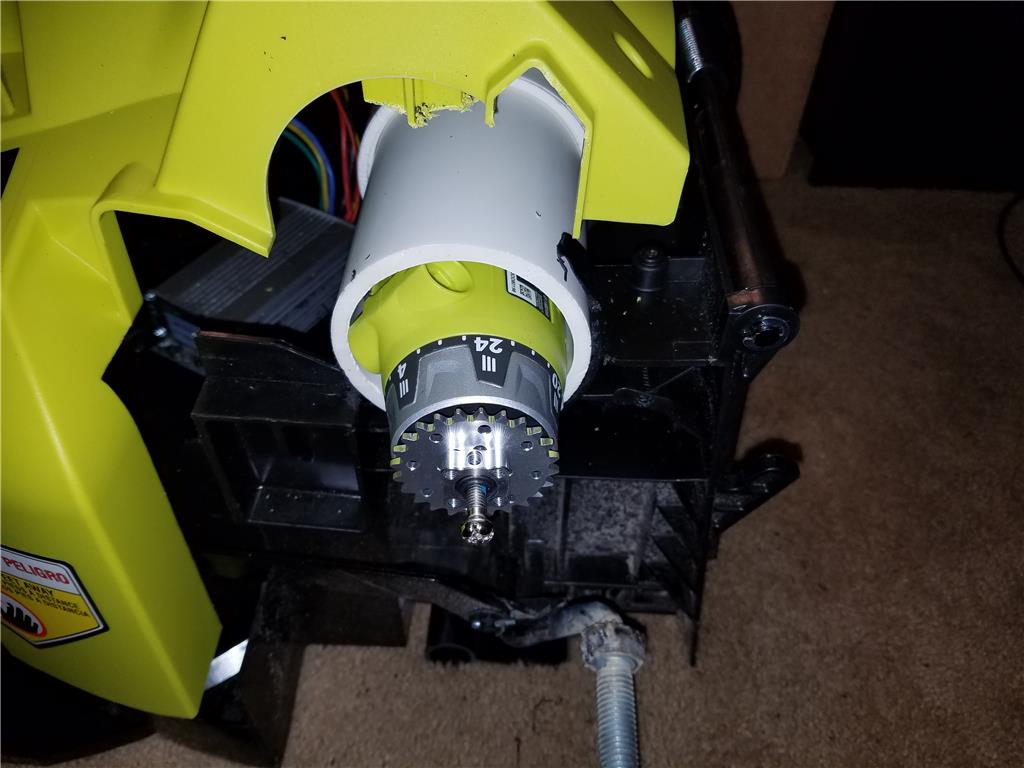
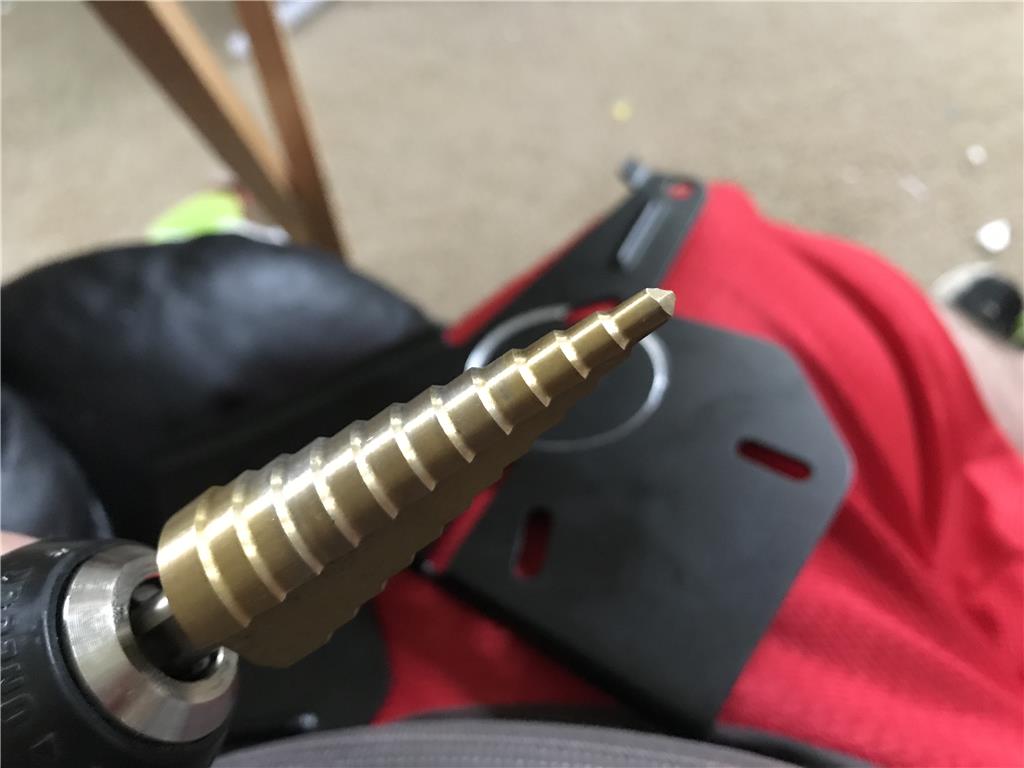
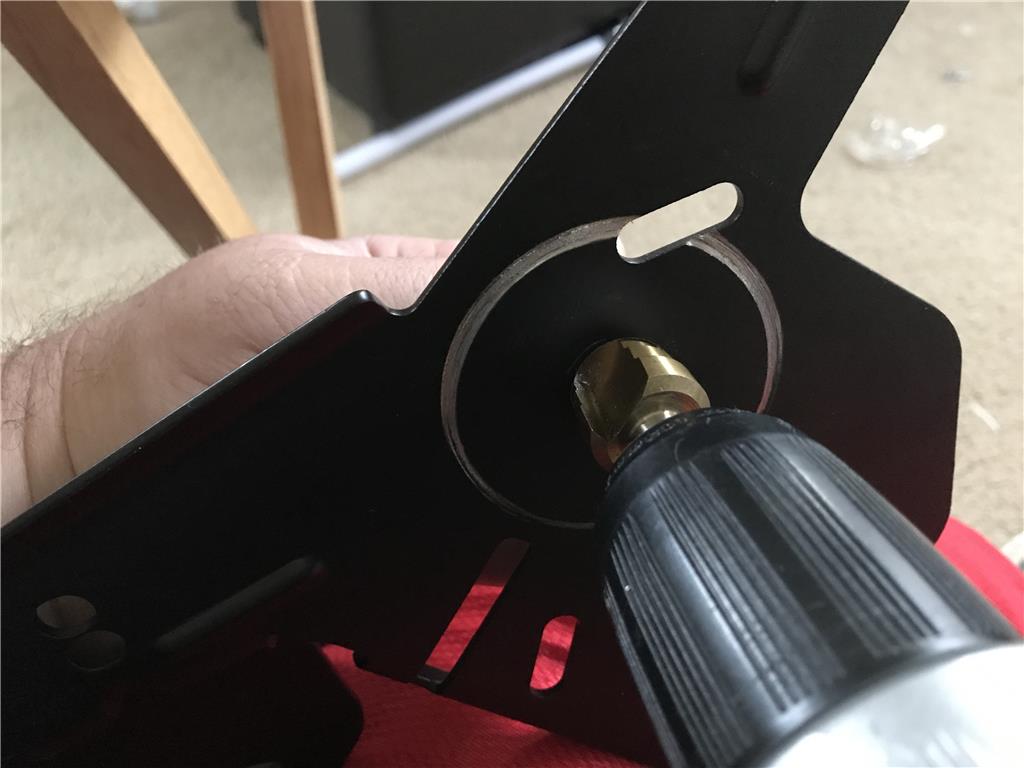
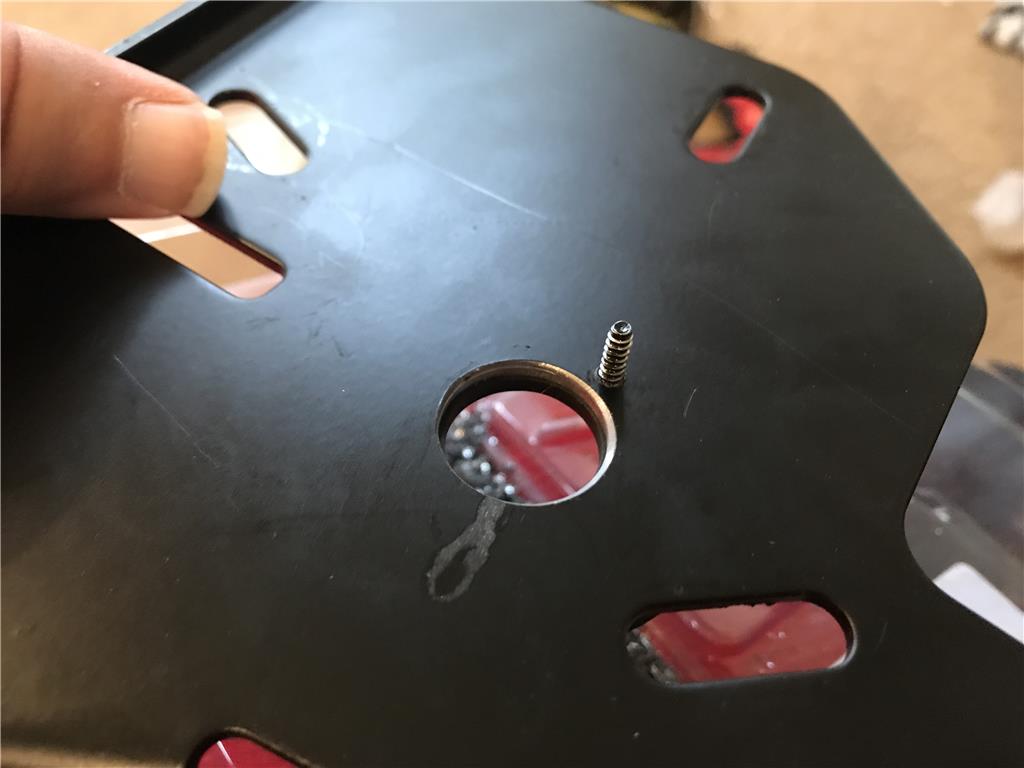
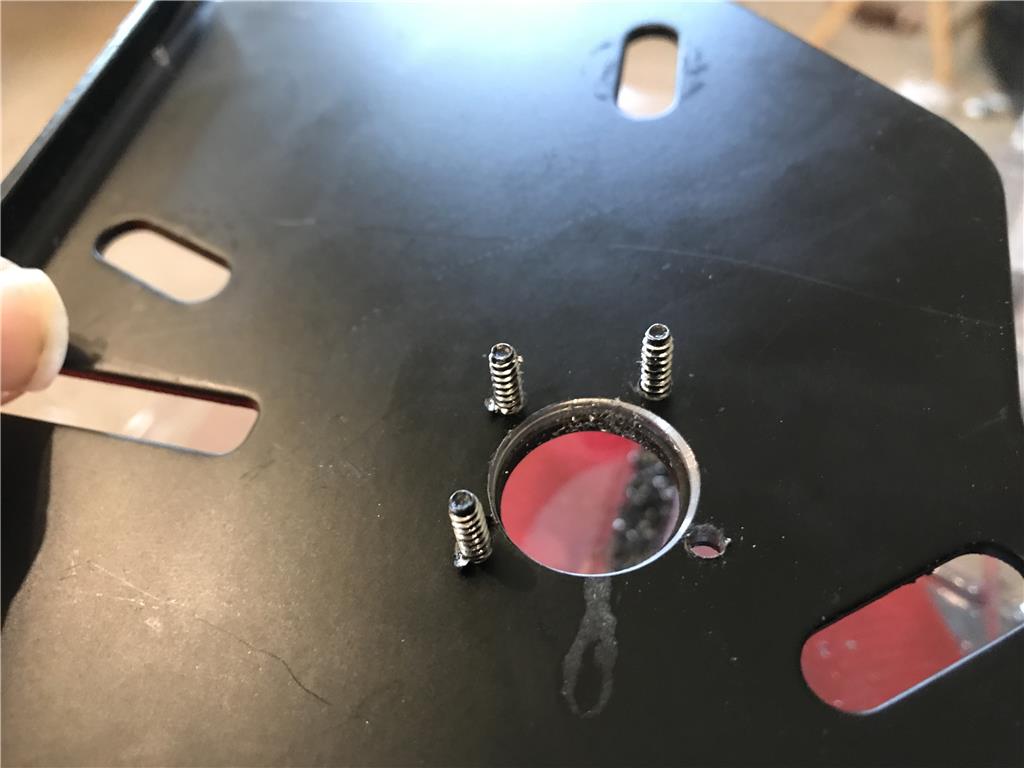
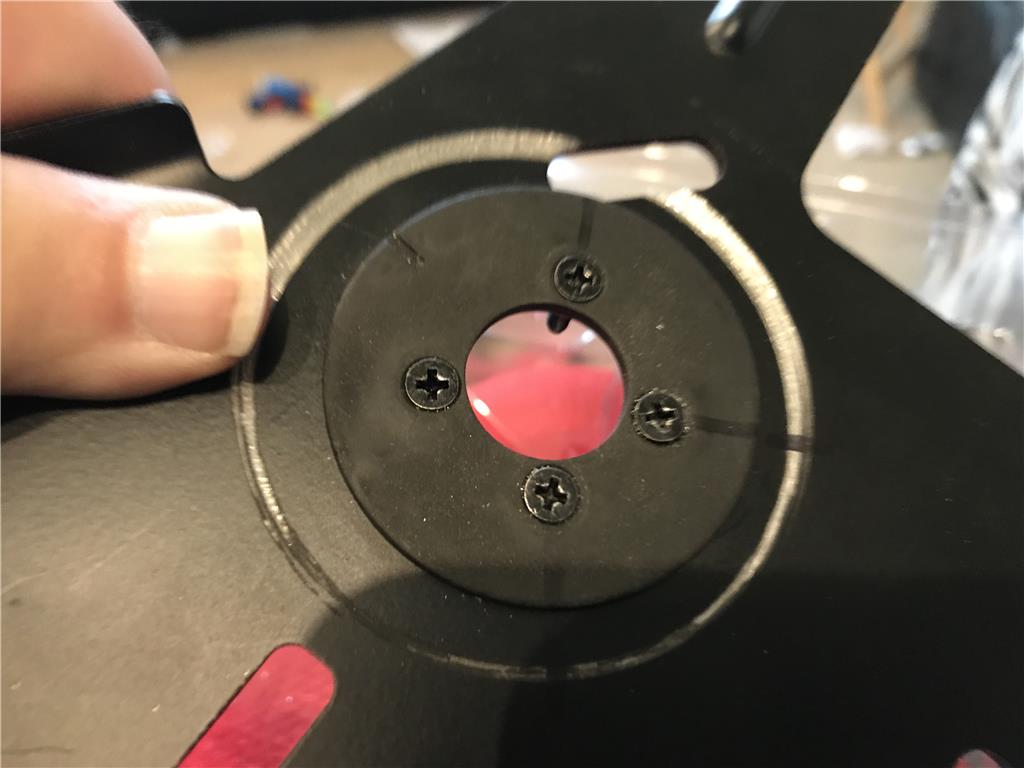
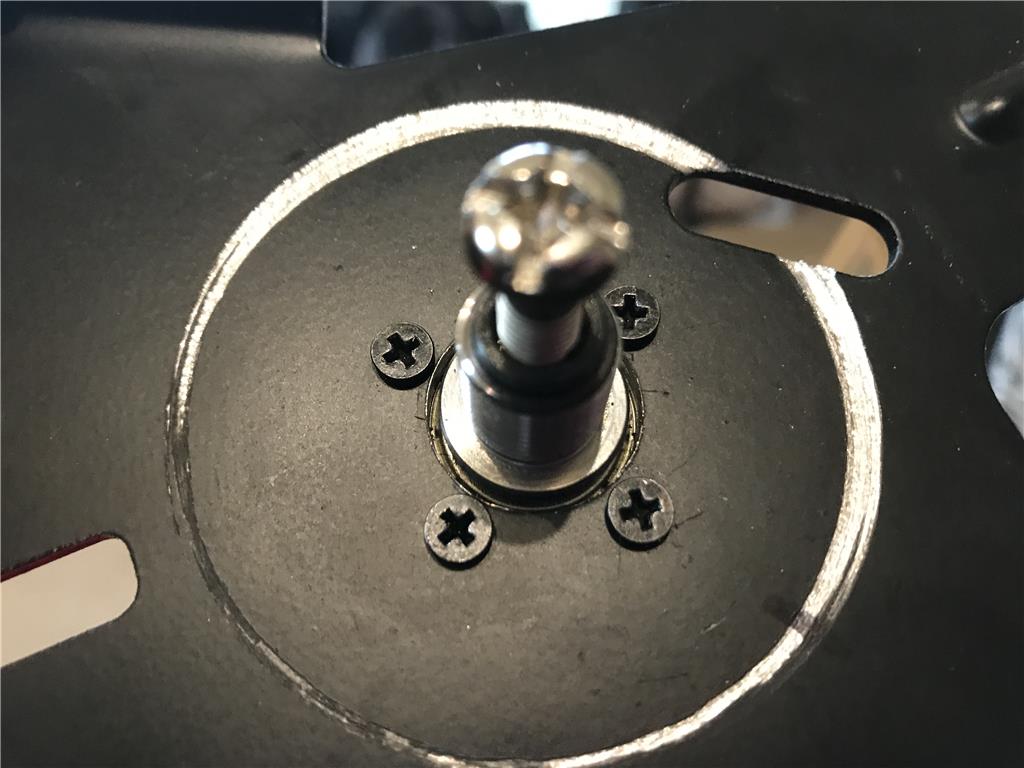
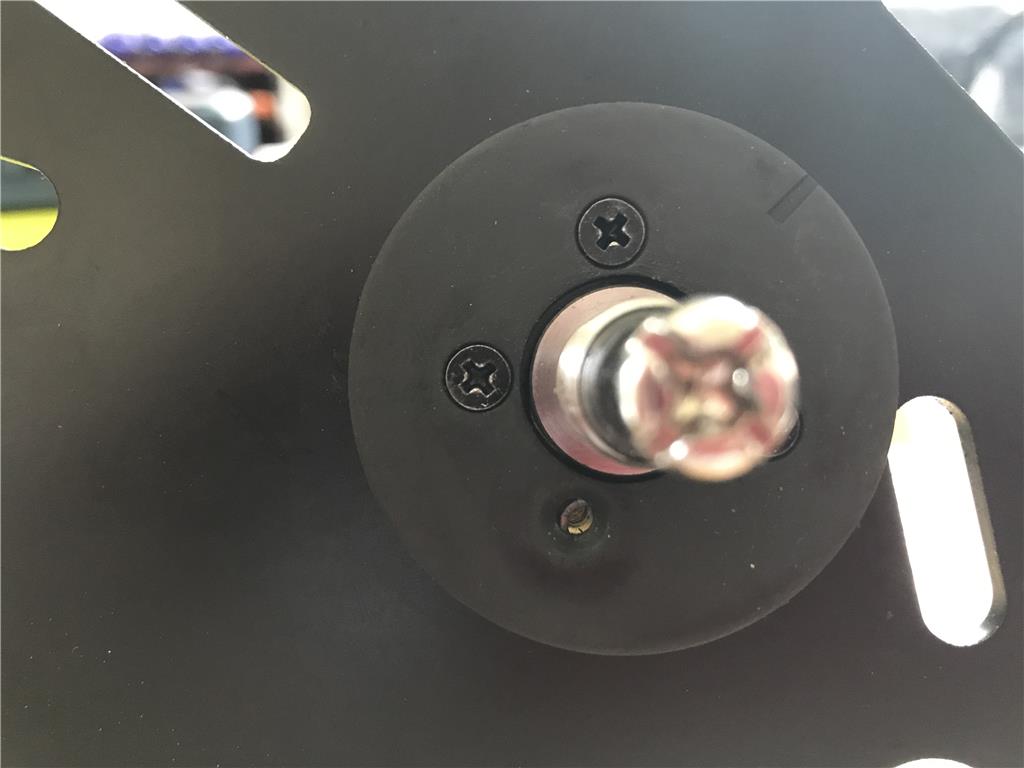
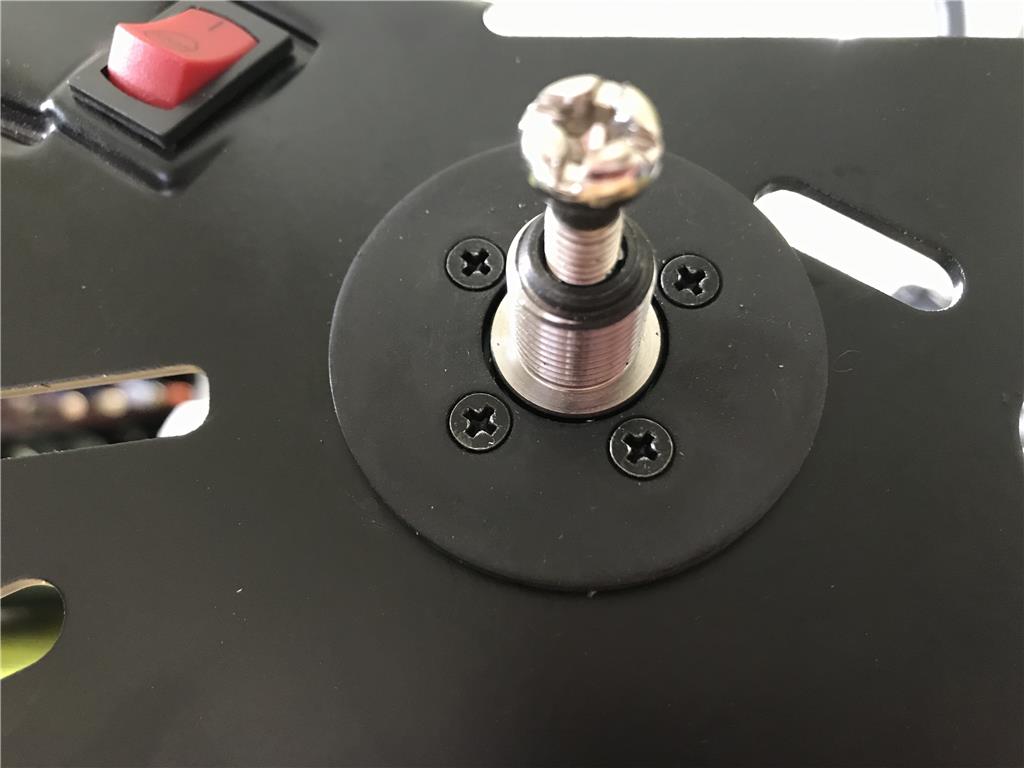
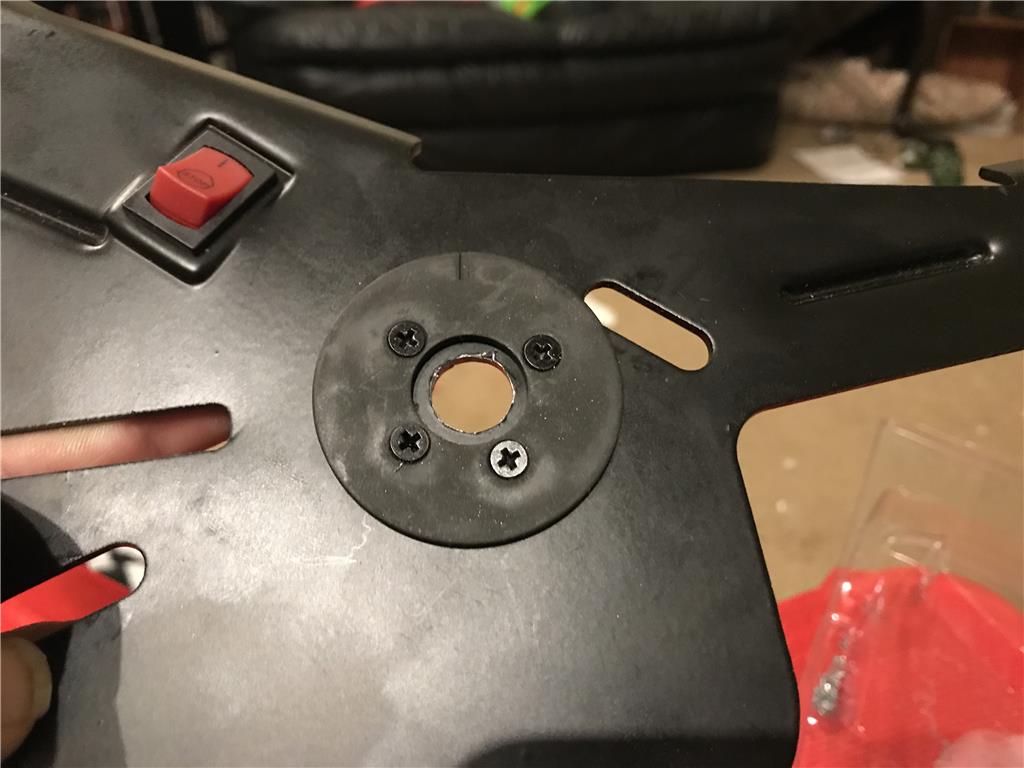
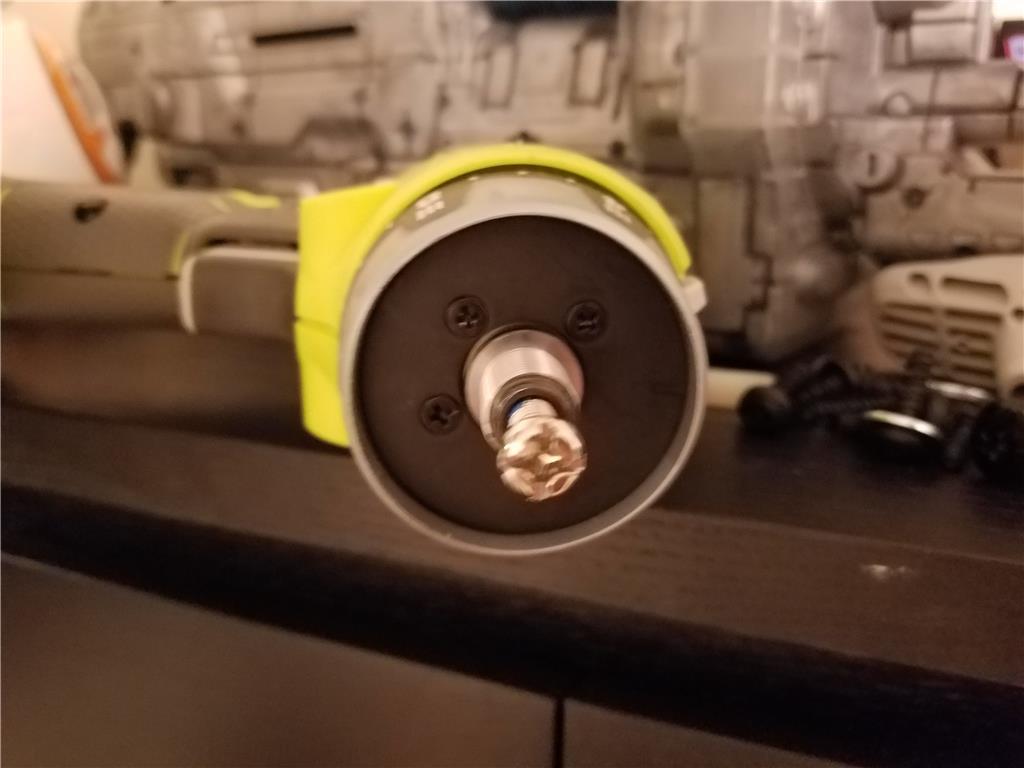
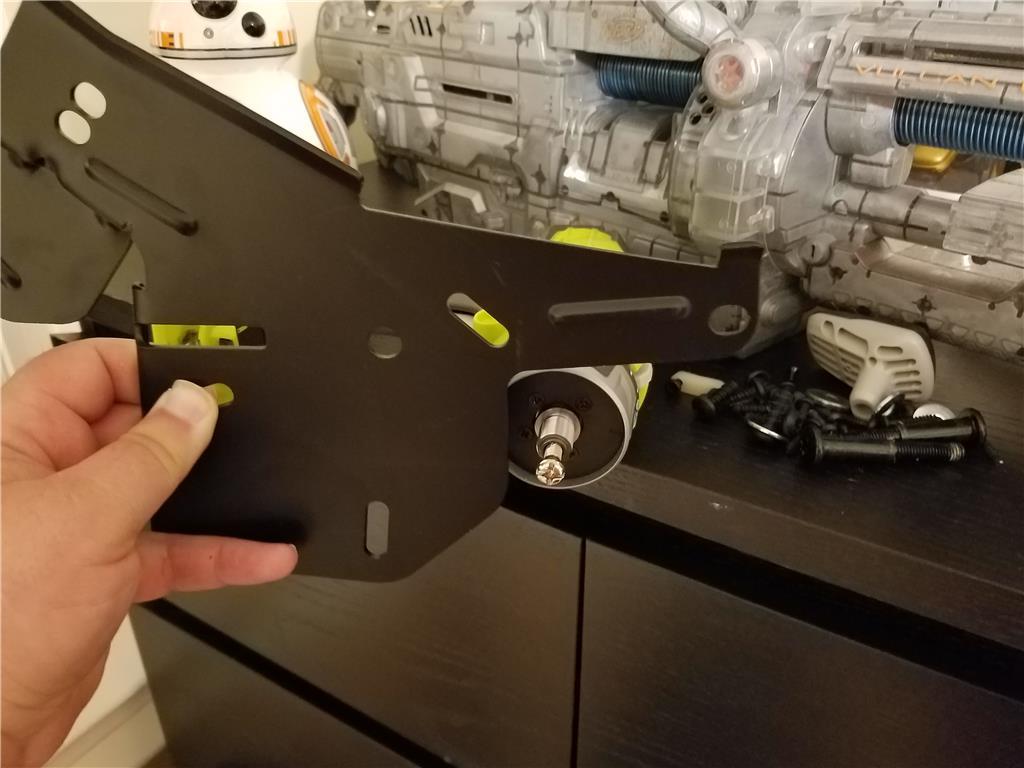
The screws are aligned with the gearbox holes but these screws require a counter sink to screw all the way in. I will use the tip of the stepper /uni-bit to make a counter sink.
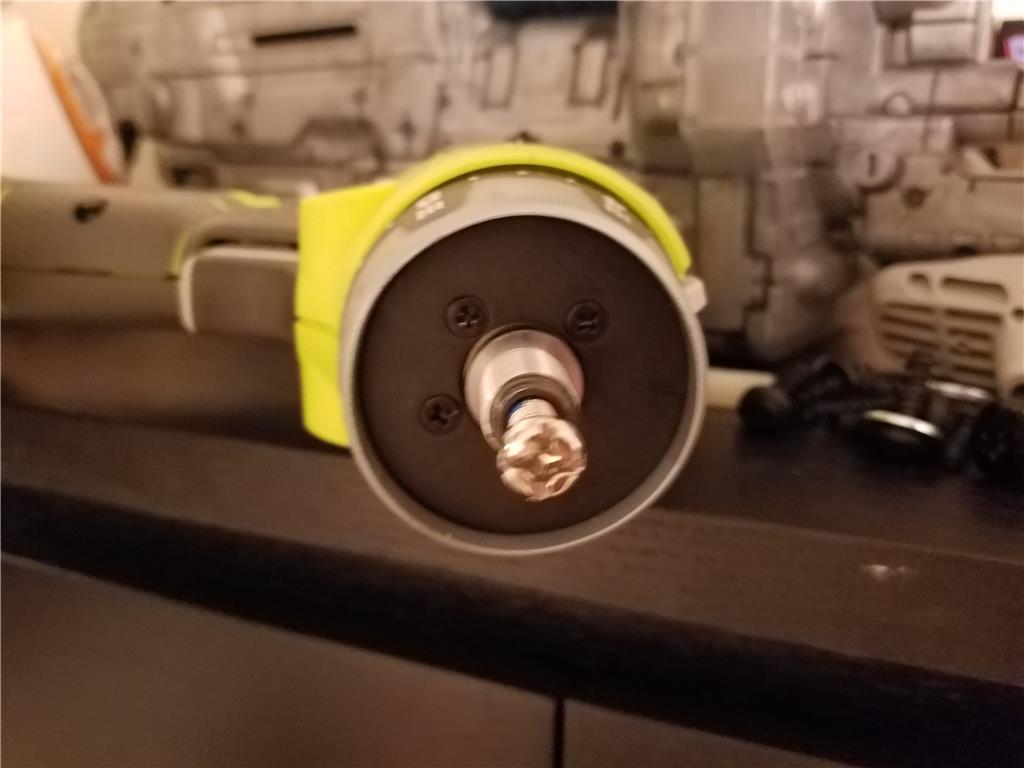
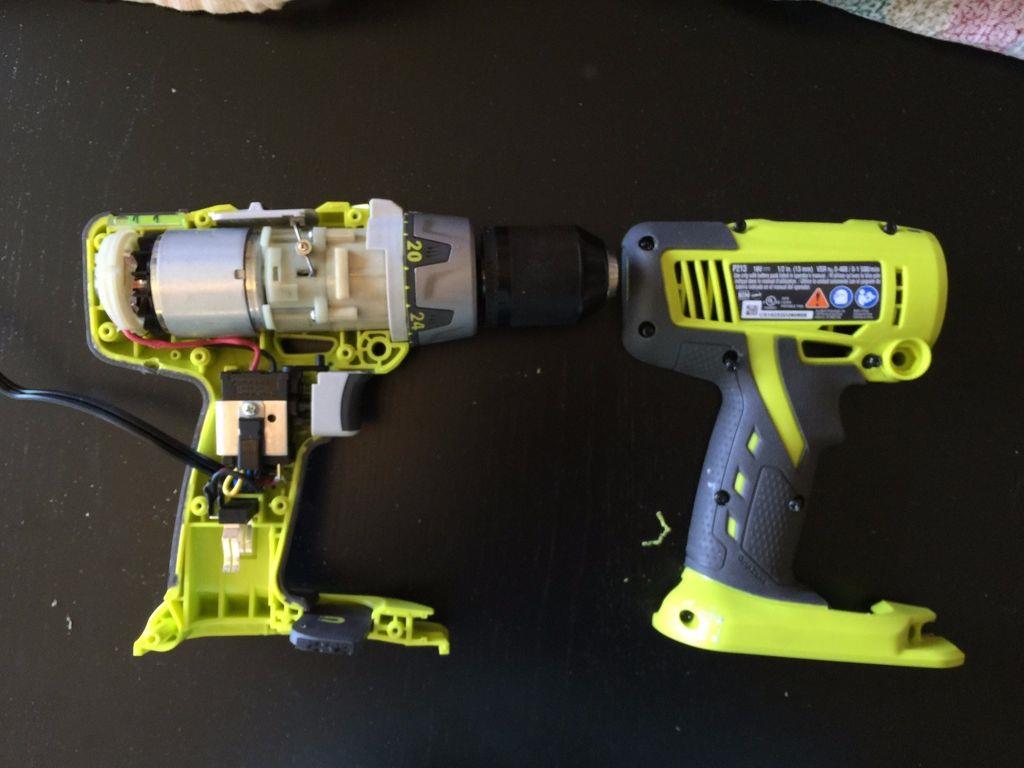
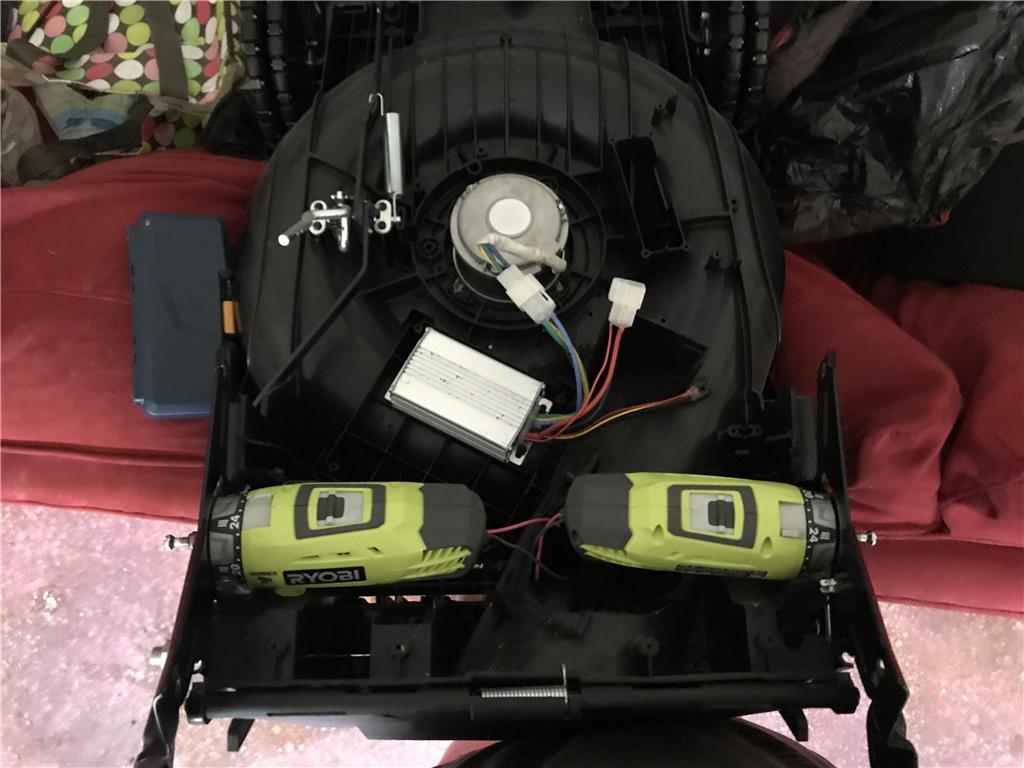
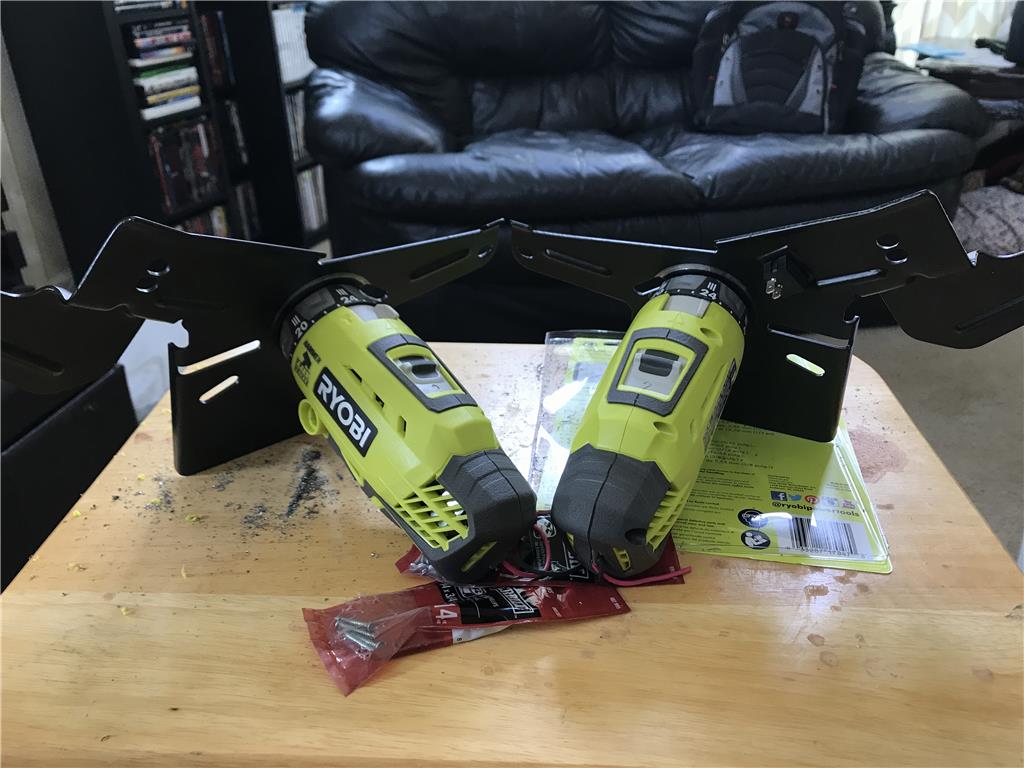
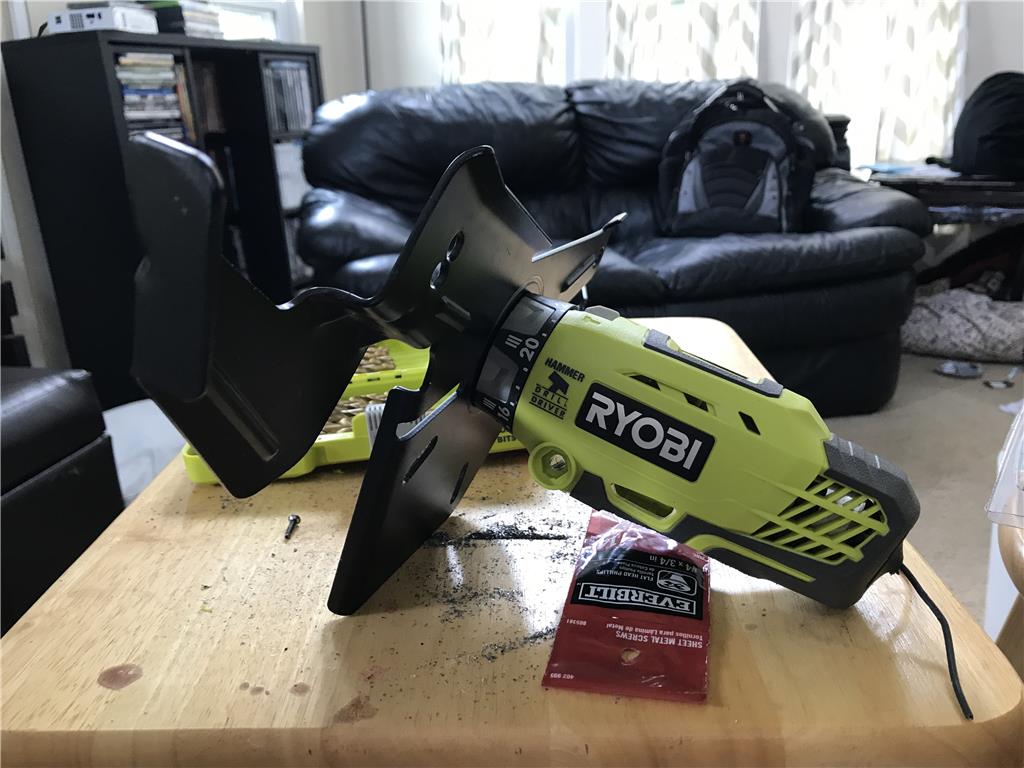
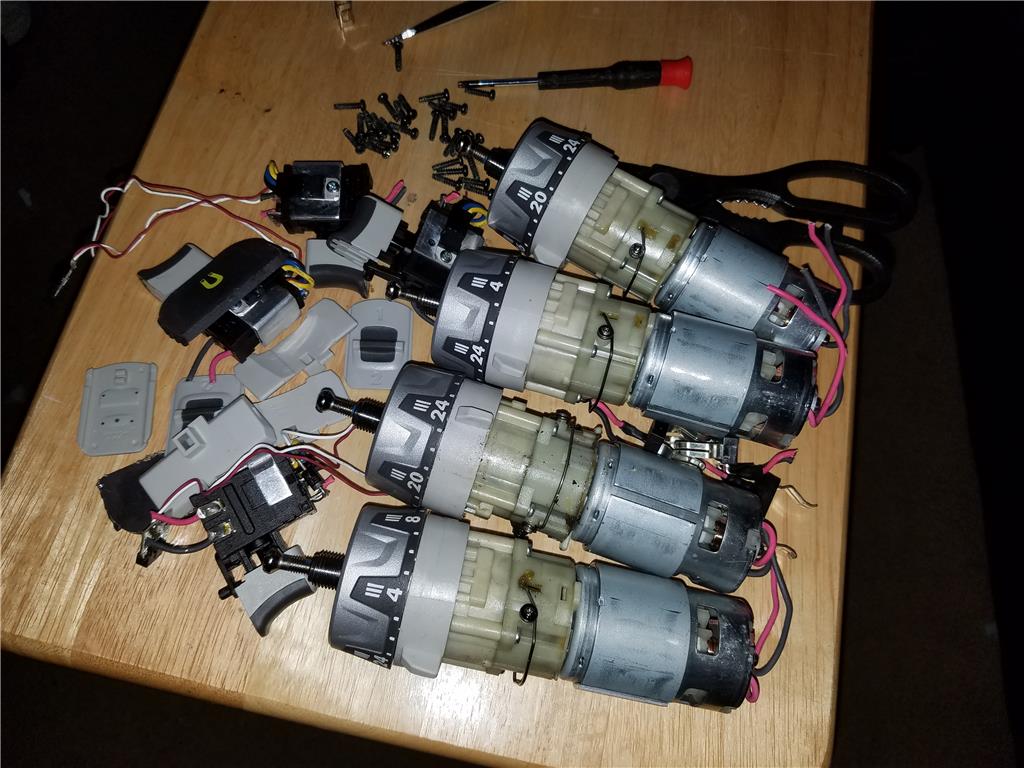
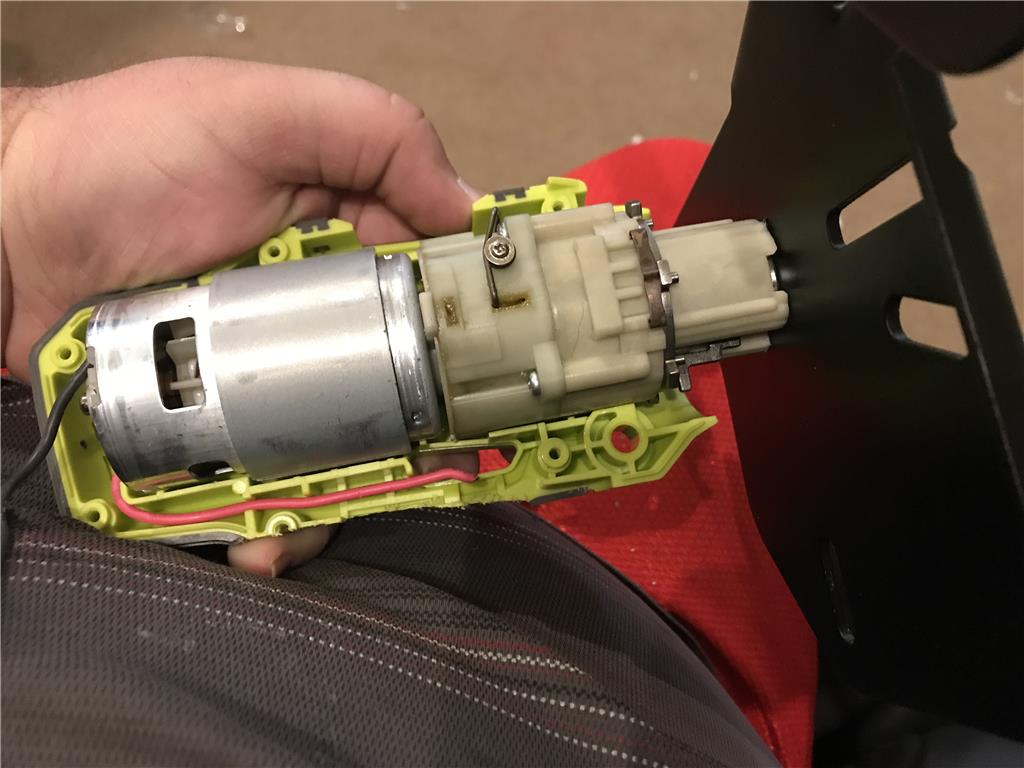
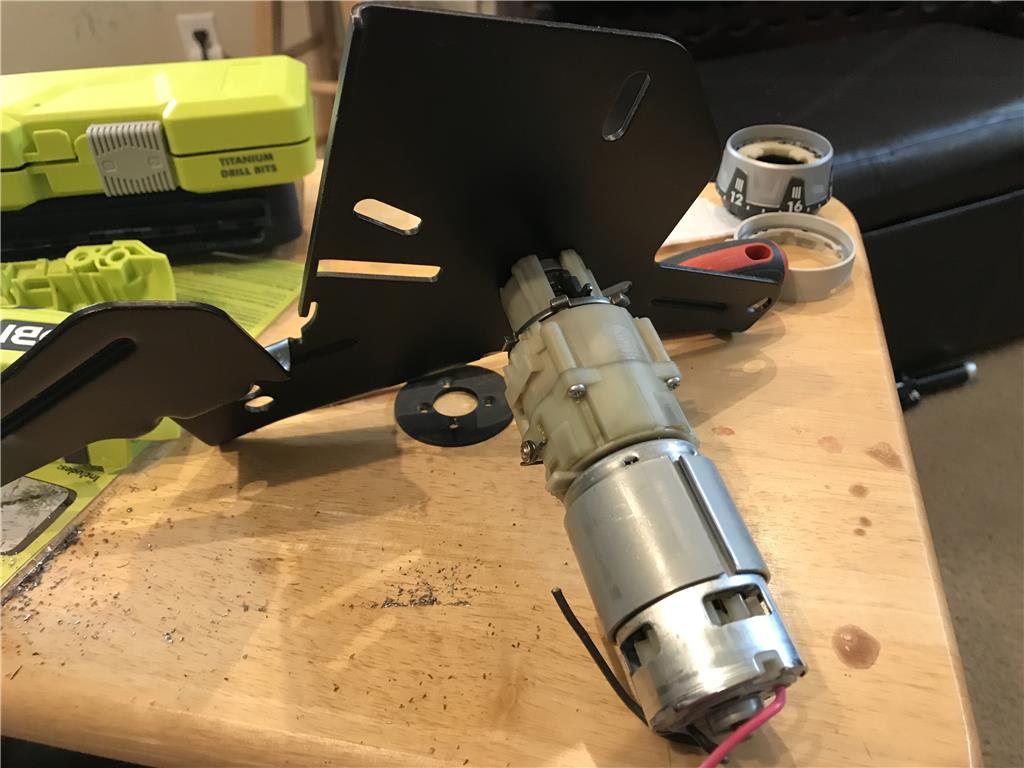
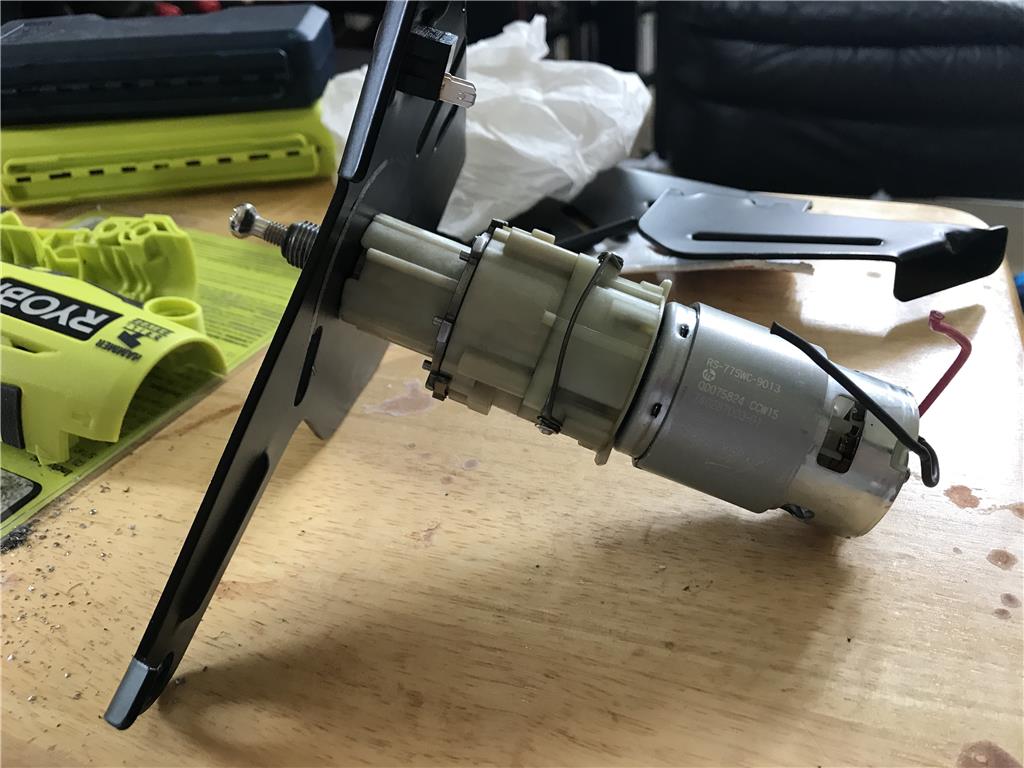
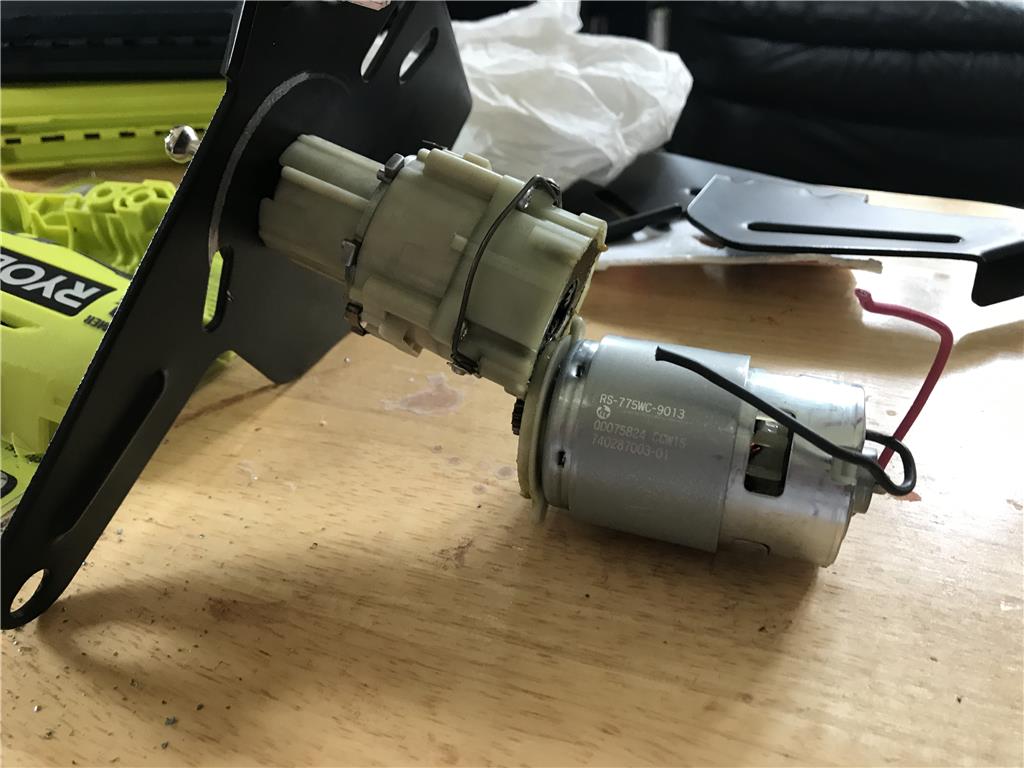
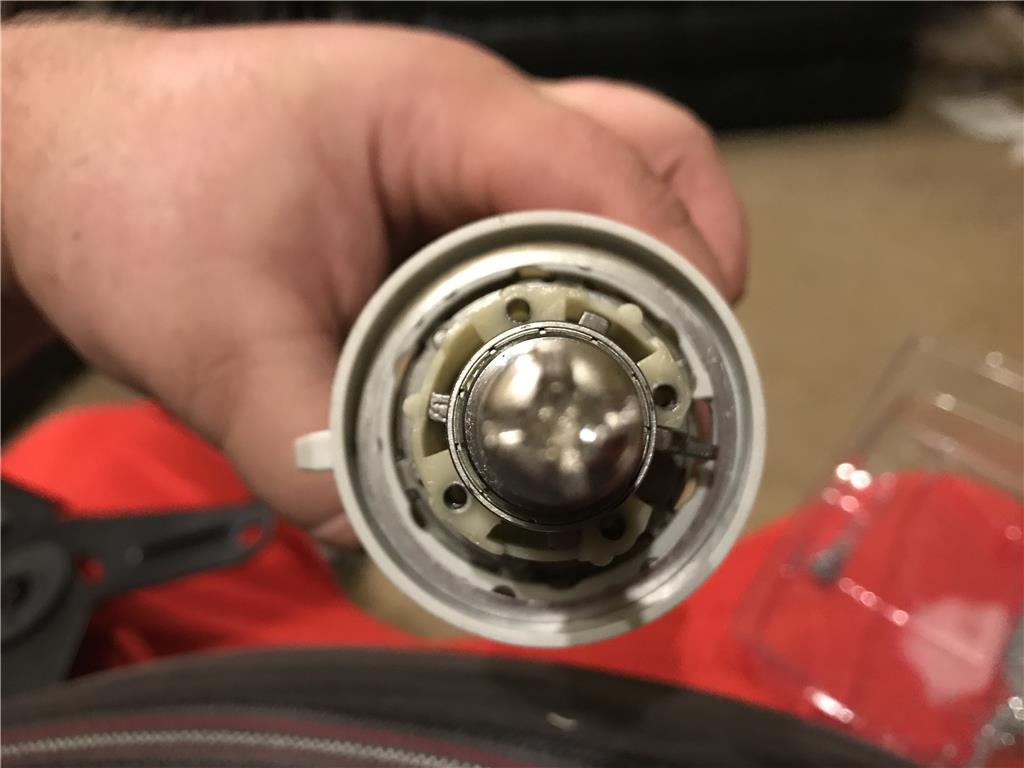
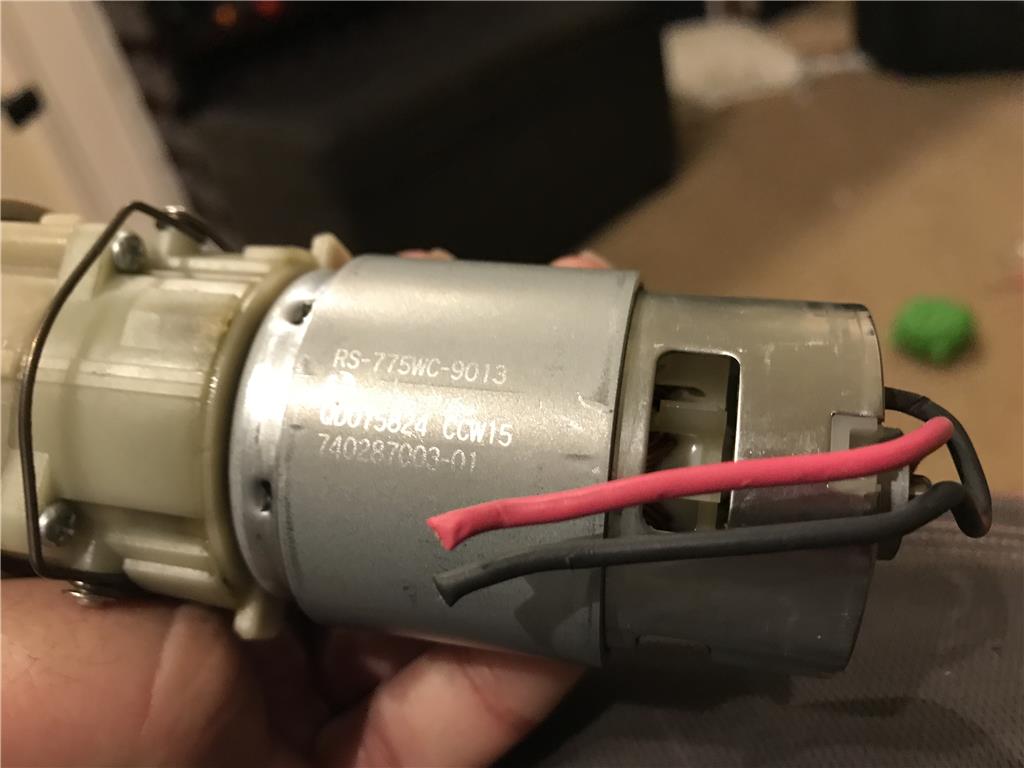
The motor unhooks from the gearbox with a simple 1/8 twist. I believe I will use a portion of the original casing to keep them mated together.
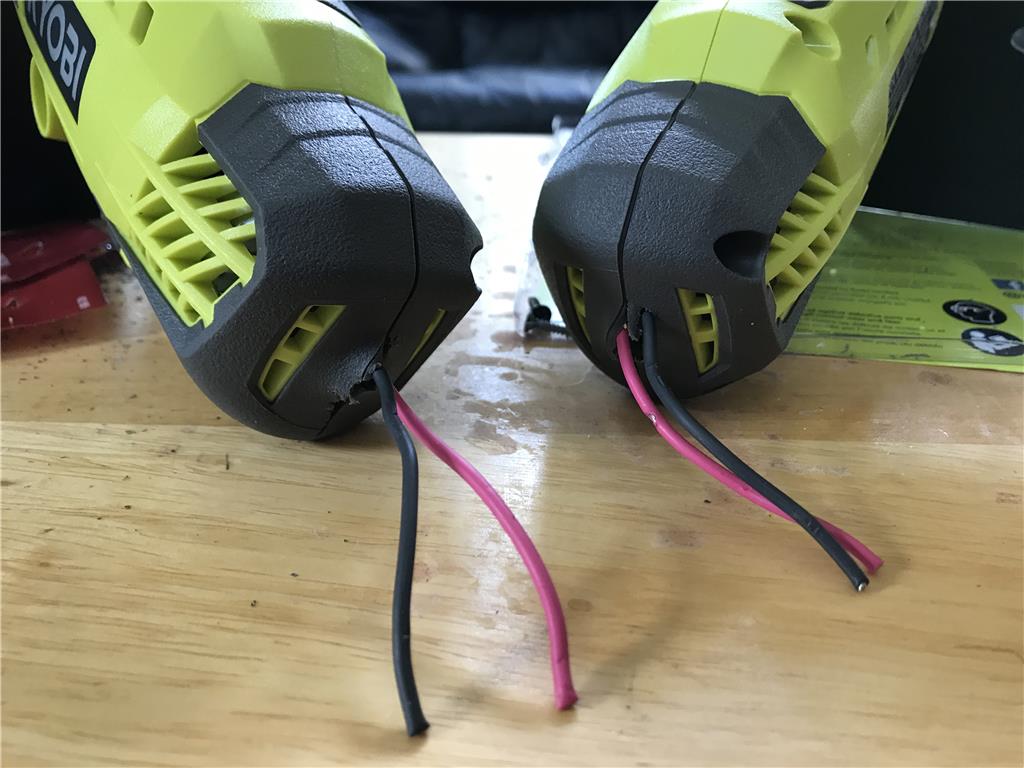
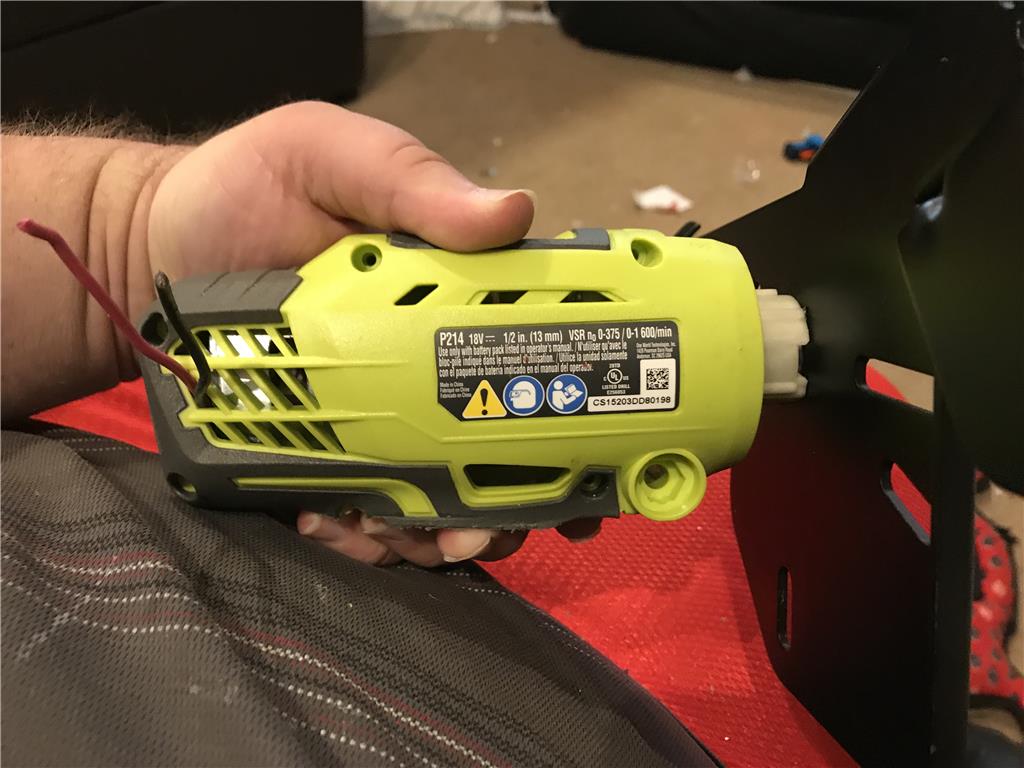
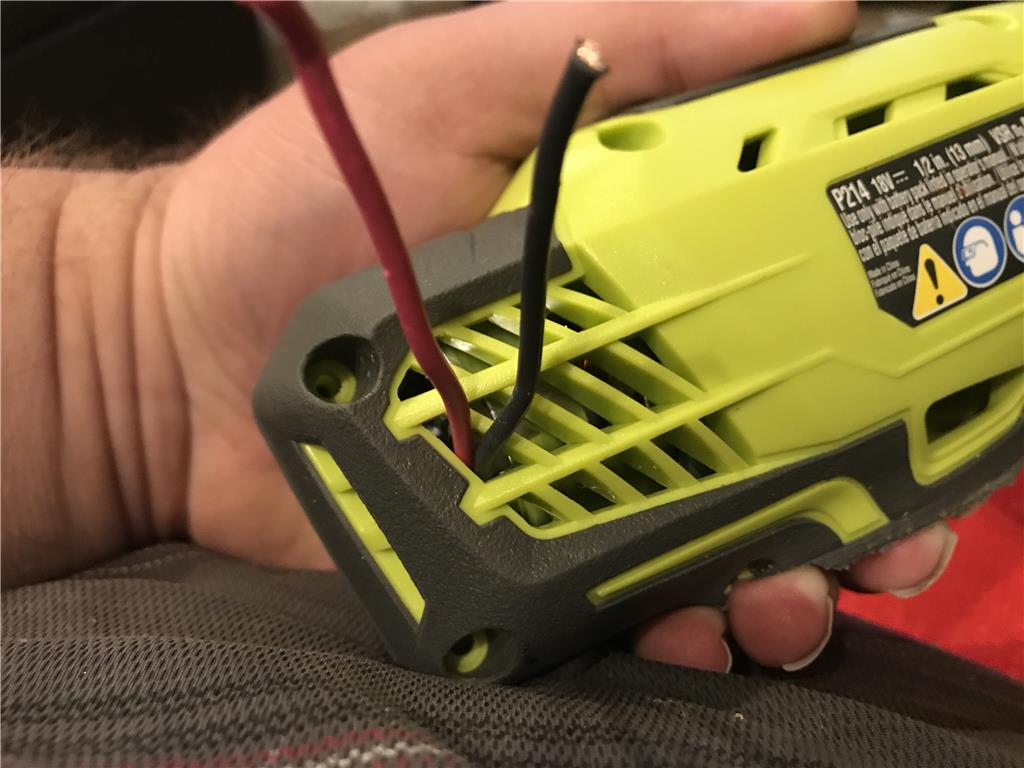
I will add a large hole at the end for the power wires to feed through
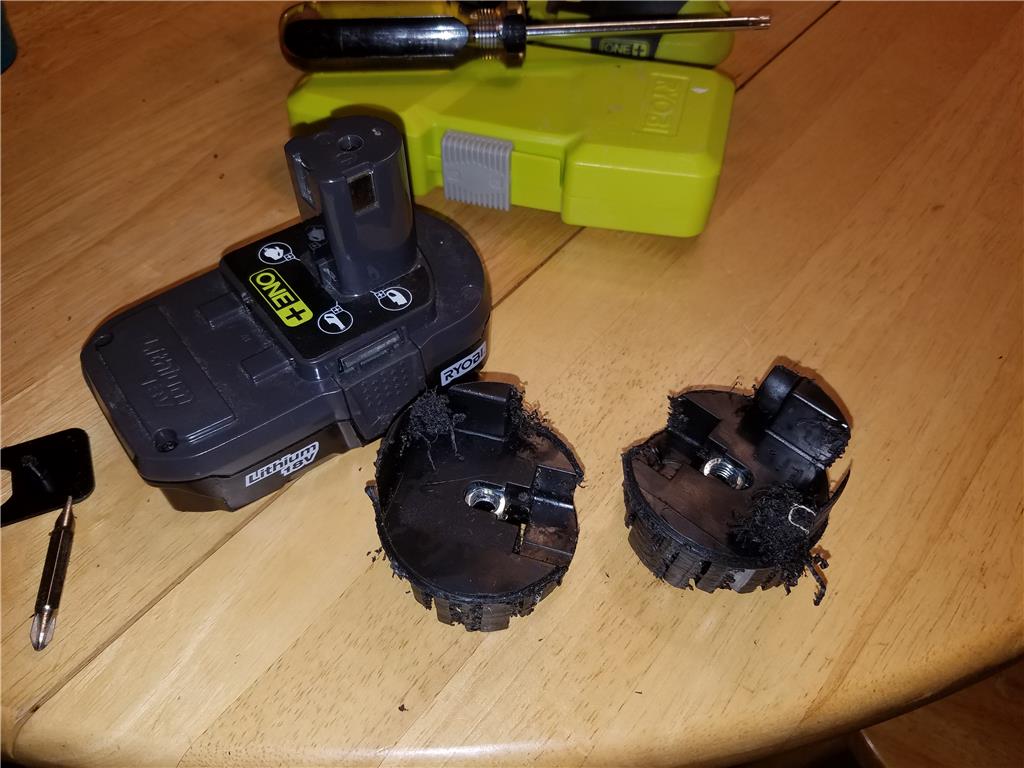
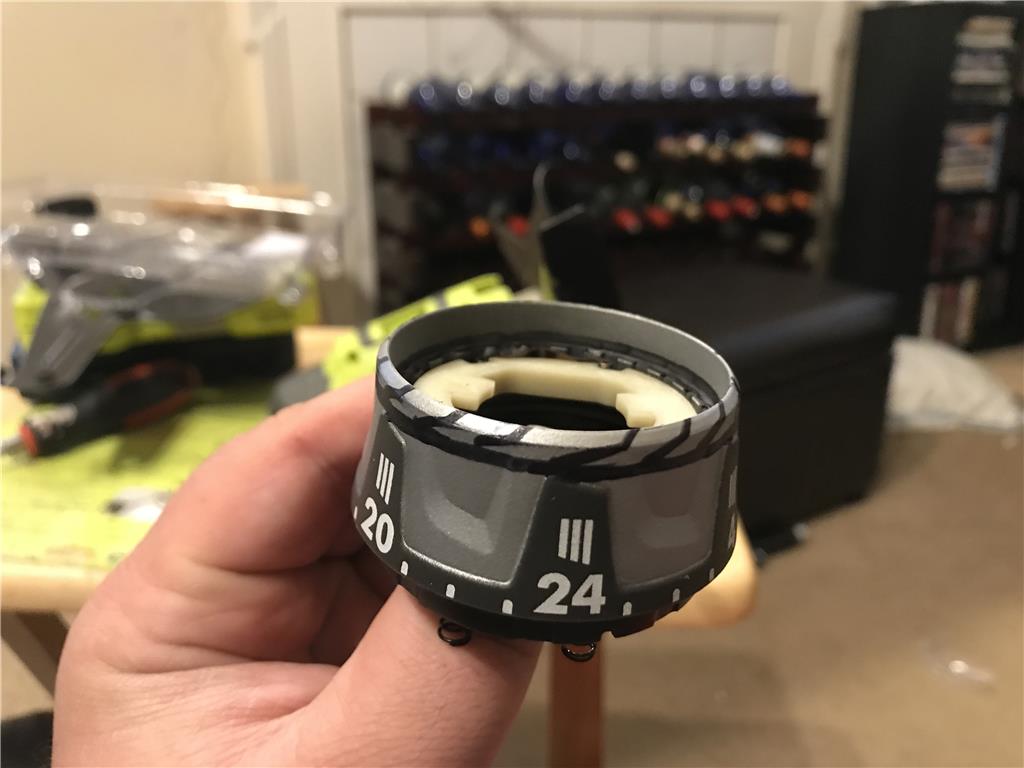
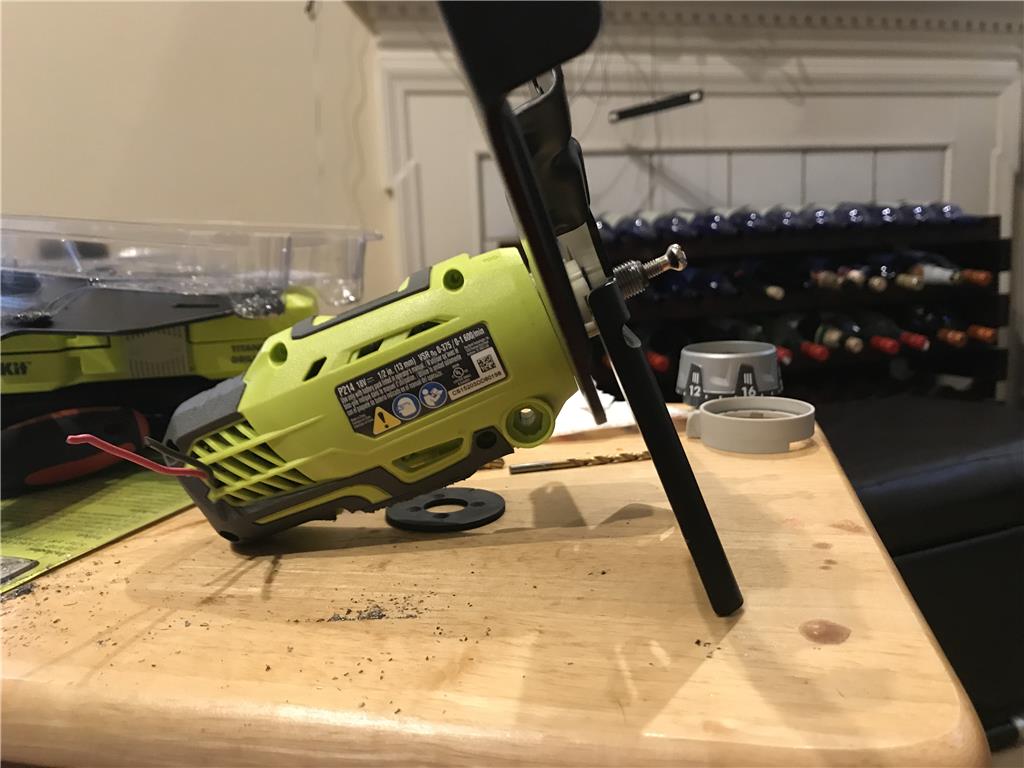
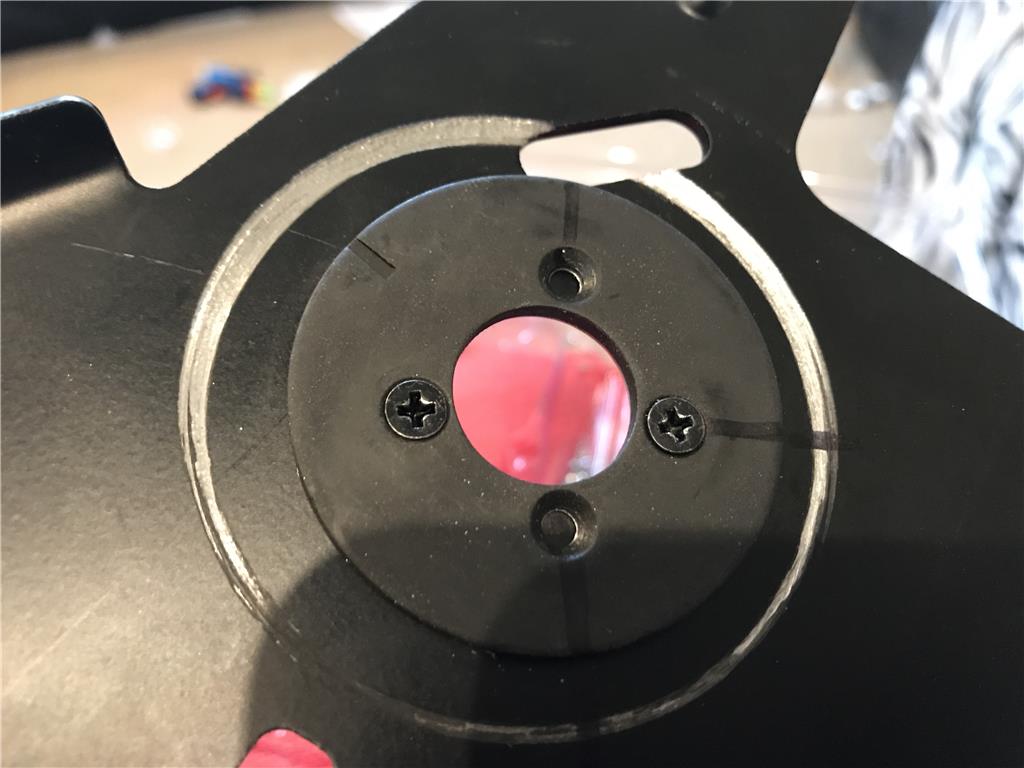
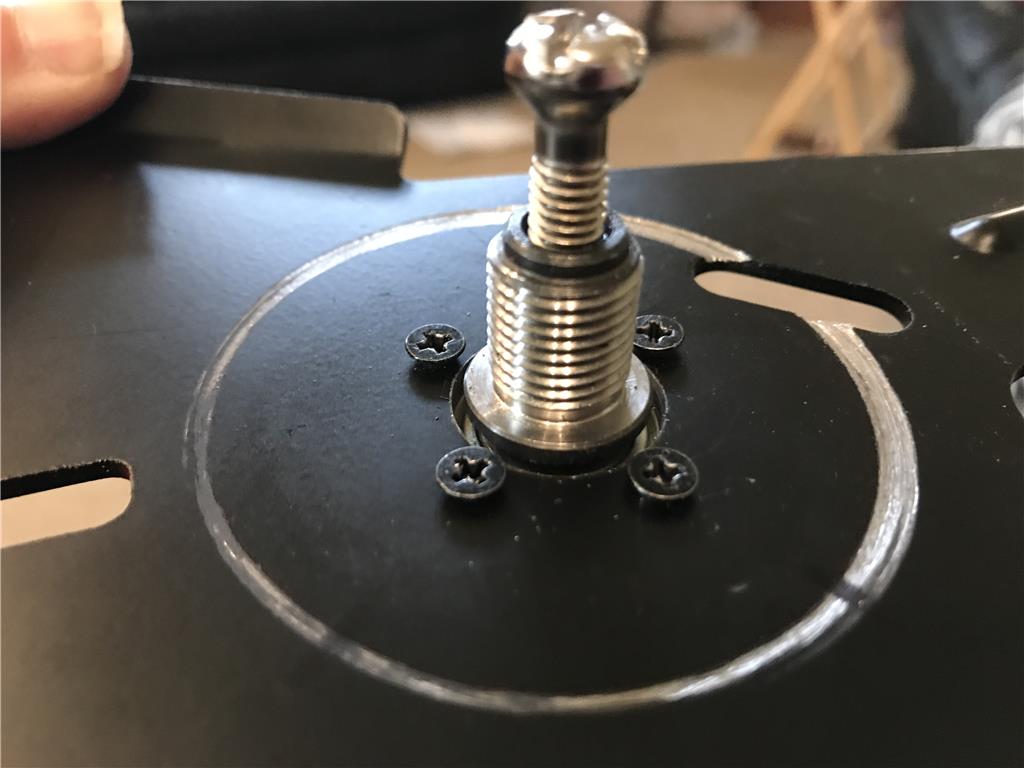
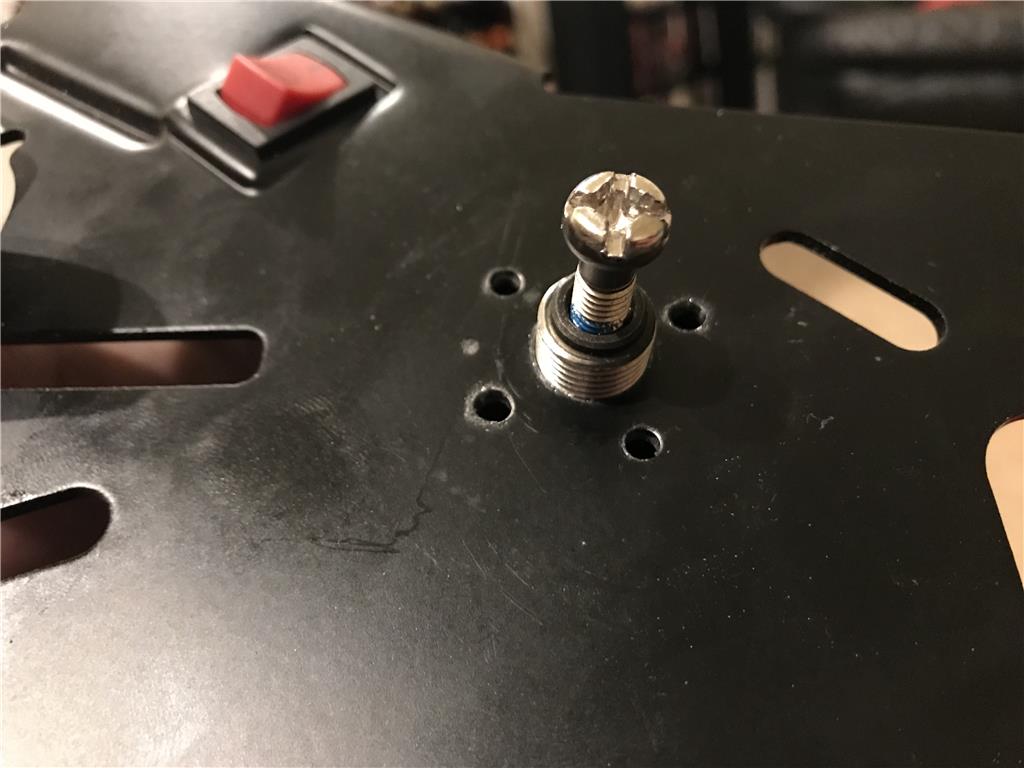
After measuring I found that there is too much plastic lip on the clutch sleeve. I will need to find the dremel and trim down the clutch so that I can fit it behind the metal plate and still be able to screw it all the way down to the face of the gearbox.
On a side note I am going to go find those nail clippers! Those are scary.
Those nails will work well for stripping wire.....
Project is going well. Looking forward to more.
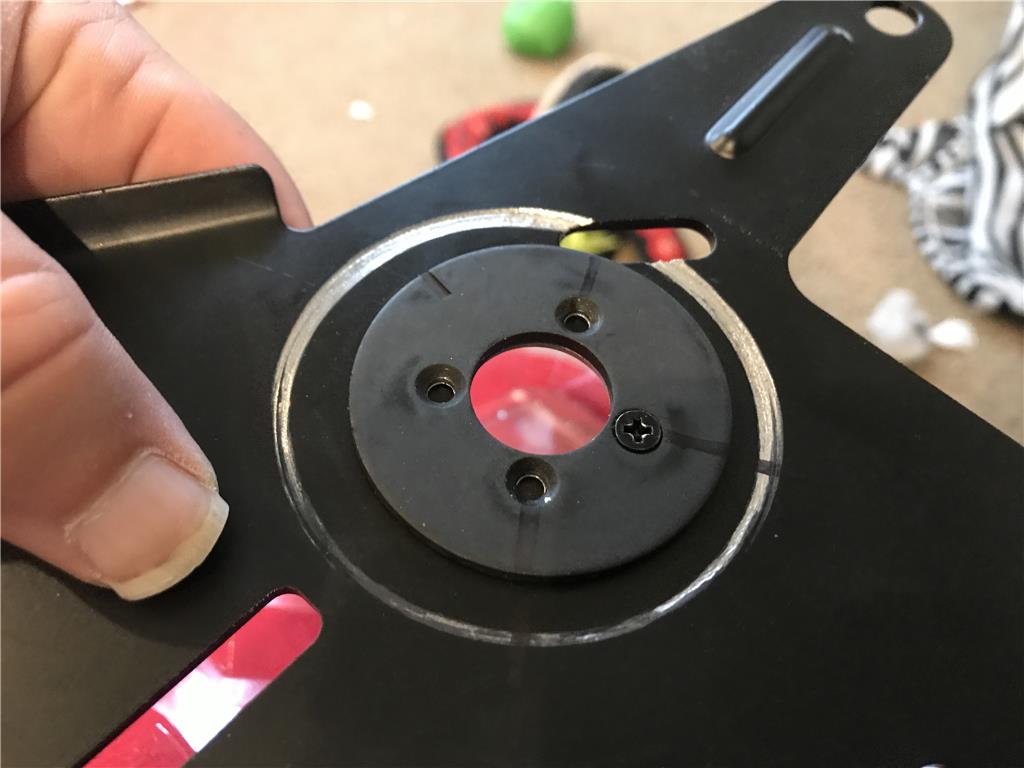
Ok so I used a larger bit and slowly machined out the holes to countersink the screws.
They sink in well now
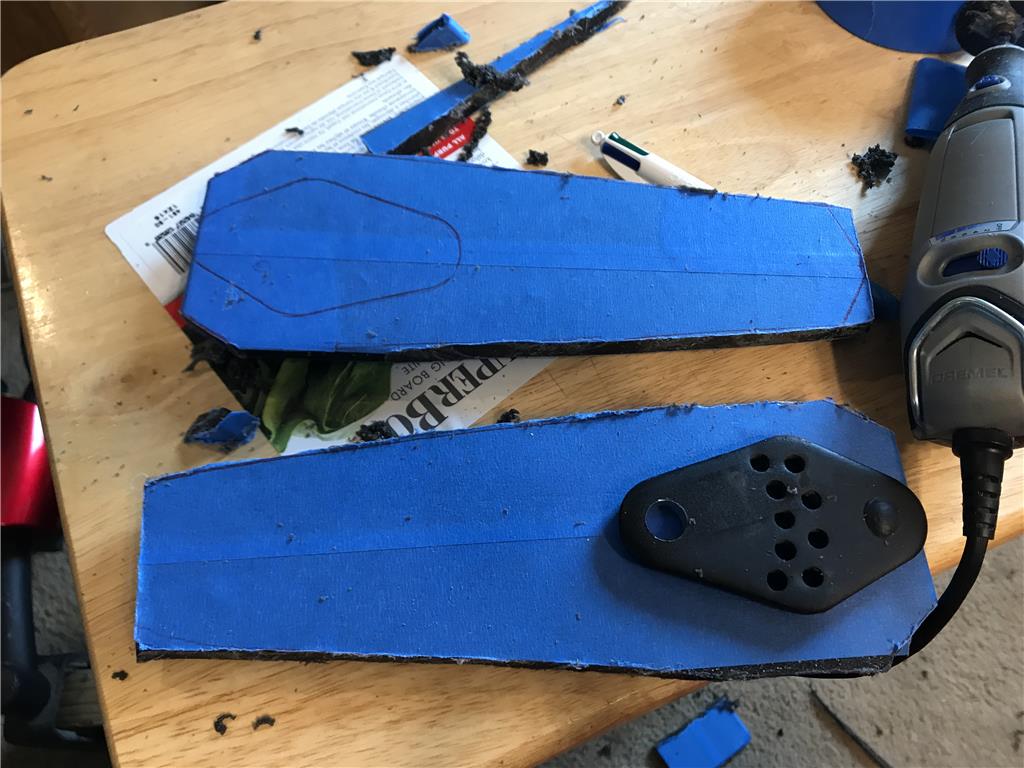
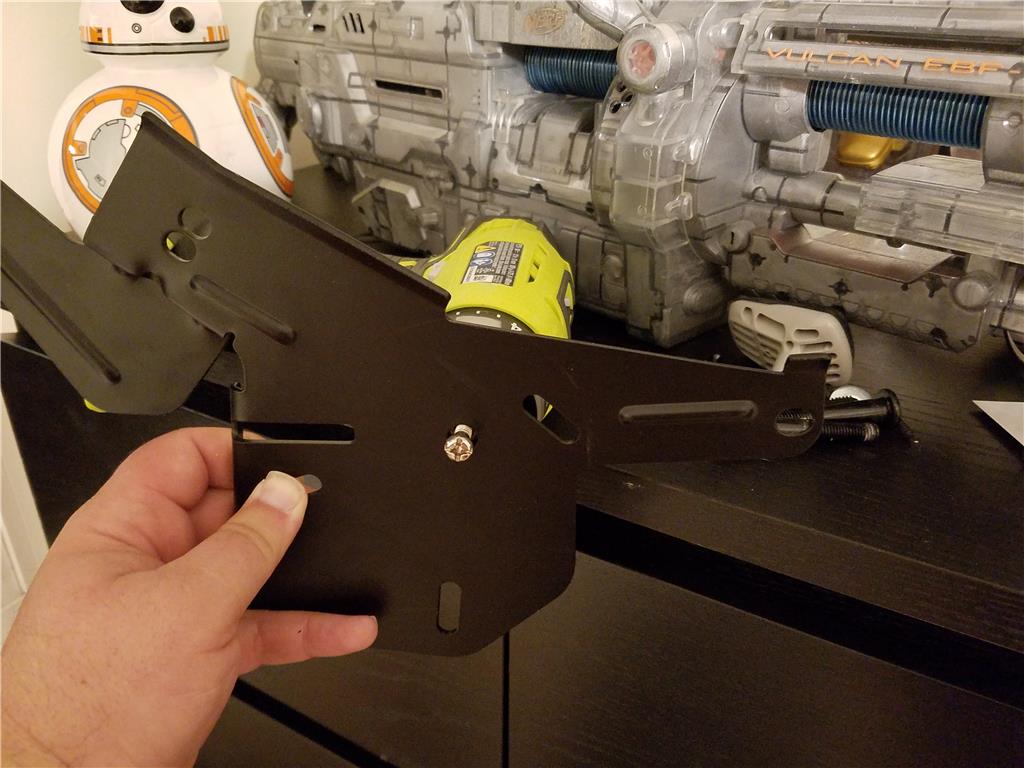
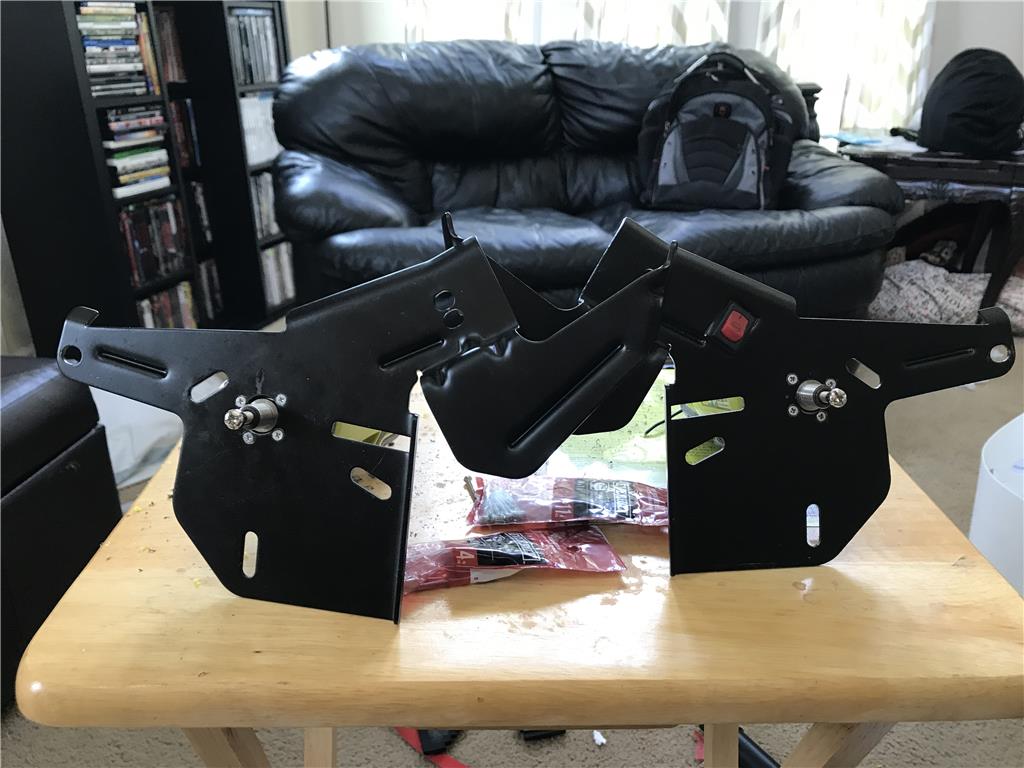
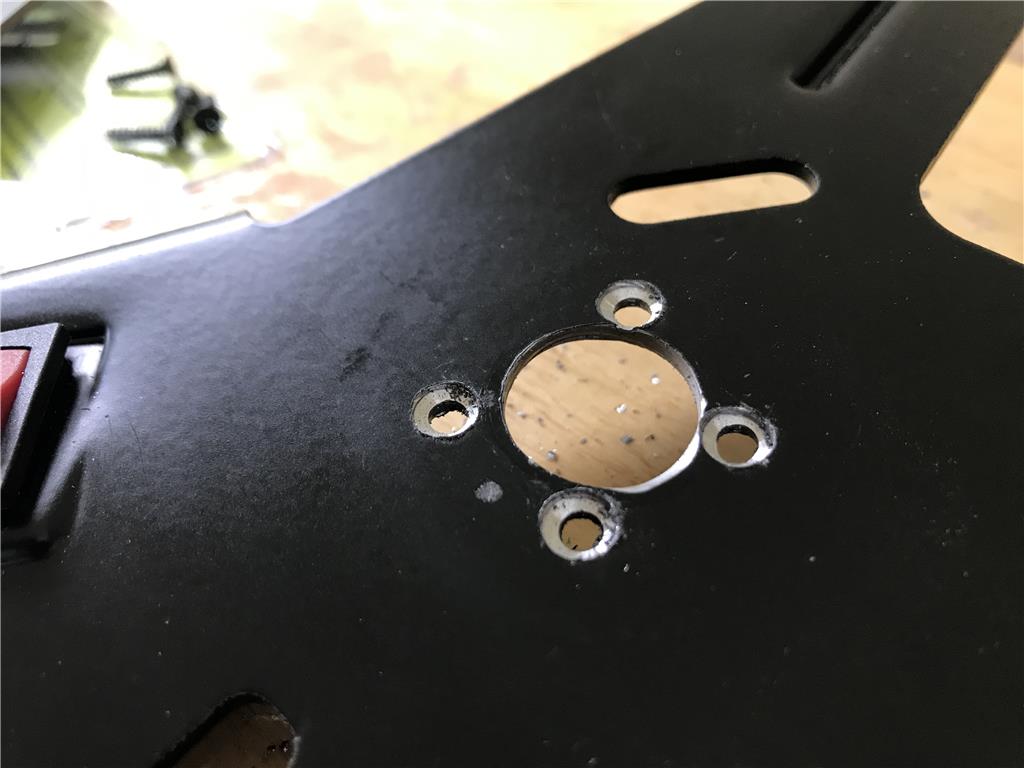
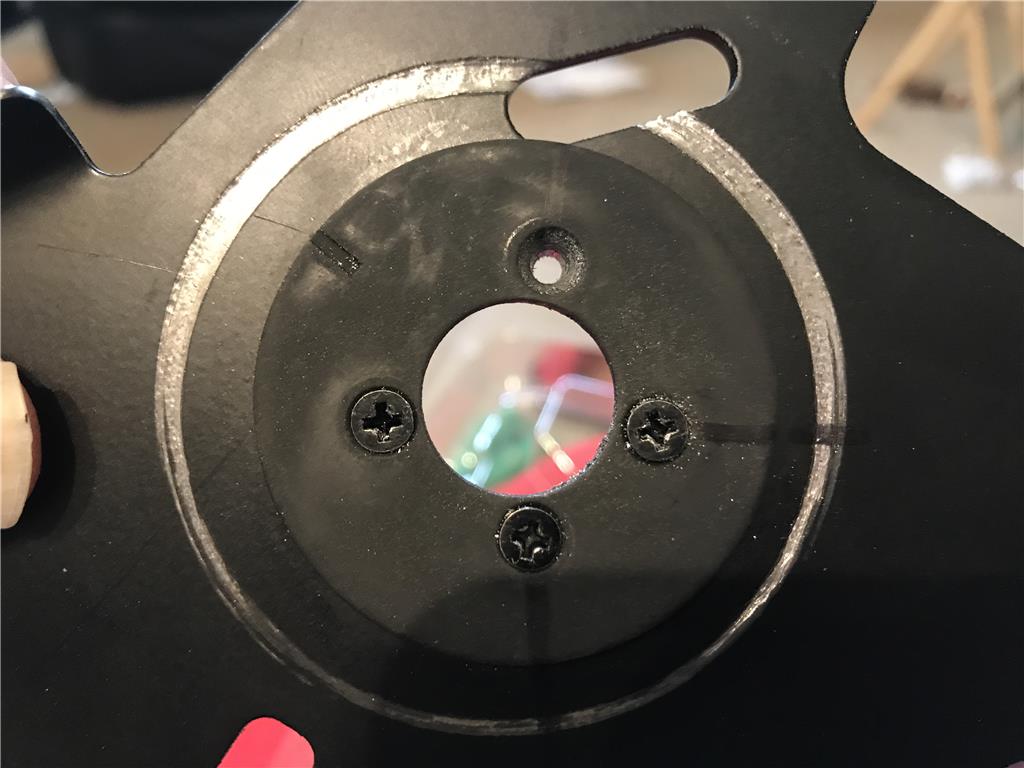
Ok so you are going to laugh but I drilled the pattern from the WRONG side on the left bracet. At first I thought it would be ok till I found the holes are not symmetrical. So I had to make some adjustments. Ugh
You can see they are a couple mm off, it is fixable but I am still grumpy