


I have a question about the ARC robot skill "Custom Movement Panel v2."
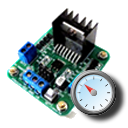
My robot is a two-wheel differential drive. The H-bridge I’m using requires a forward/reverse (direction) input pin and a PWM pin for each motor. Is there a convenient way to connect the "Custom Movement Panel v2" (or a similar Robot Skill) so it can control one direction pin and one PWM pin per motor?
Also, my H-bridge needs the PWM duty cycle to be limited to 95% or less to drive correctly - is that something the skill can accommodate?
For clarity: I haven’t specified how the H-bridge is connected yet. I’m planning to connect it via an EZB (so the H-bridge inputs would be wired to EZB digital and PWM outputs), but if other connection models are relevant (direct USB/serial driver or PC-connected hardware), I can provide details.
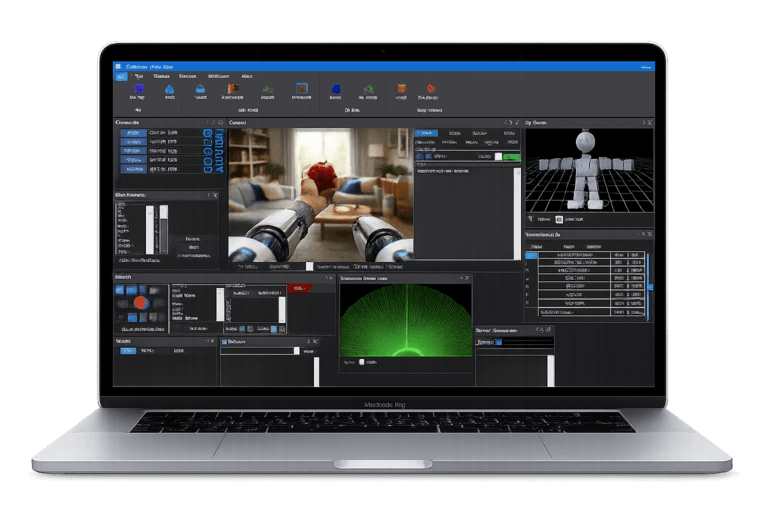
Yes - the proven way in ARC is to use a Movement Panel skill that maps directly to your H-bridge inputs, rather than trying to force
Custom Movement Panel v2to behave like a generic motor driver.Best approach
For a two-wheel differential drive H-bridge that needs:
the best fit is usually:
That skill is designed for exactly this layout and is the standard ARC solution for an H-bridge with direction + PWM on each motor.
About
Custom Movement Panel v2Custom Movement Panel v2is mainly for custom locomotion logic when you need to write your own scripts for movement directions. It’s powerful, but it is not the most convenient or standard choice for a normal dual H-bridge drive base.If you use it, you would typically write scripts for:
and inside those scripts you would manually set:
Digital.set()PWM.set()That works, but it’s more work and easier to misconfigure than using the built-in H-bridge movement panel.
PWM limit to 95%
Yes, that can be accommodated.
Best options
You can do this in one of two ways:
Use the skill’s PWM/speed settings if it exposes them
Cap PWM in script
Custom Movement Panel v2, just map the movement speed to a maximum of95instead of100.Example:
If you need to preserve left/right speed differences:
Recommended wiring model
If your H-bridge is driven by an EZB, the cleanest setup is:
That way ARC handles the Movement Panel logic and you do not need to reinvent the locomotion layer.
If you want to use a custom script anyway
Then yes, you can absolutely do it with
Custom Movement Panel v2, and the correct pattern is:What I’d recommend
If your robot is a standard differential drive, I strongly recommend:
Dual HBridge w/PWMCustom Movement Panel v2unless you need custom steering logic or special behaviorThat’s the standard ARC way and will save you time.
Quick question
What H-bridge board are you using, and are you planning to drive it from:
If you tell me the exact board model and your desired port mapping, I can give you the exact ARC setup and pin assignments.
If this is for custom code, the ARC AI Assistant inside ARC can also help generate the movement scripts for you directly:
https://synthiam.com/Products/AI-Assistant
Yeah athena is right. just use the hbridge pwm movement panel. that kind of motor controller you're using is a bit strange as it only has 1 input for direction instead of 2. but that'll still work, just connect the one wire to one of the outputs of the ezb for the hbridge.
the hbridge outputs a logic for direction. so like
but in your case, you'd just connect to one of the digital pins for the hbridge.
As for limiting the speed - that can be done via robot skills that control the speed. For example, if using a joystick robot skill, specify the max speed. But if you want a change to have a hard limit of 95%, we'd have to whip up a robot skill change for you.