
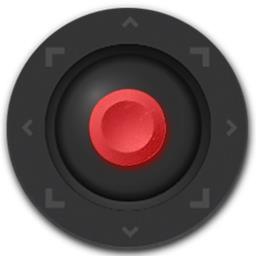
On-screen joystick for driving any ARC movement panel with mouse or touch; speed scales with drag distance and can stop on release.
 Windows
 ARM
 Linux
 MacOS
How to add the Movement Joystick robot skill
- Load the most recent release of ARCx on a compatible operating system (Get ARCx).
- Press the + Skills menu from the top menu bar in ARCx.
- Choose the Remote Control category tab.
- Press the Movement Joystick icon to add the robot skill to your project.
Don't have a robot yet?
Follow the Getting Started Guide to build a robot and use the Movement Joystick robot skill.
How to use the Movement Joystick robot skill
An on-screen joystick that drives the robot. Drag the thumb pad with a mouse or a finger and the robot moves in that direction, at a speed set by how far from the centre you drag.
It does not talk to hardware itself. It sends movement commands to whichever movement panel is in the project - Continuous Rotation Movement Panel, Auto Position, a custom one, anything. Without a Movement Panel in the project, dragging the pad does nothing.
Requirements
- One movement panel robot skill in the project, configured and connected.
- Nothing else. Multiple joysticks are allowed in one project.
Adding it to a project
- Add a Movement Panel skill and set it up so the robot drives.
- Add Movement Joystick (Remote Control category).
- Drag the pad. Up is forward, down is reverse, left and right turn.
- Optionally resize the skill window - the pad fills whatever space it is given.
Using it
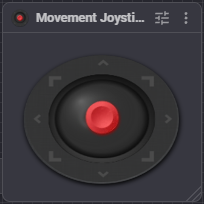
- Drag the thumb pad in the direction you want to go.
- Distance from centre sets the speed, up to the configured maximum.
- Release - with Stop when released on, the pad snaps back to the centre and the robot stops. With it off, the pad stays where you left it and the robot keeps going.
- The pad works with touch, so it is usable on a tablet or phone browser connected to ARCx.
Configuration
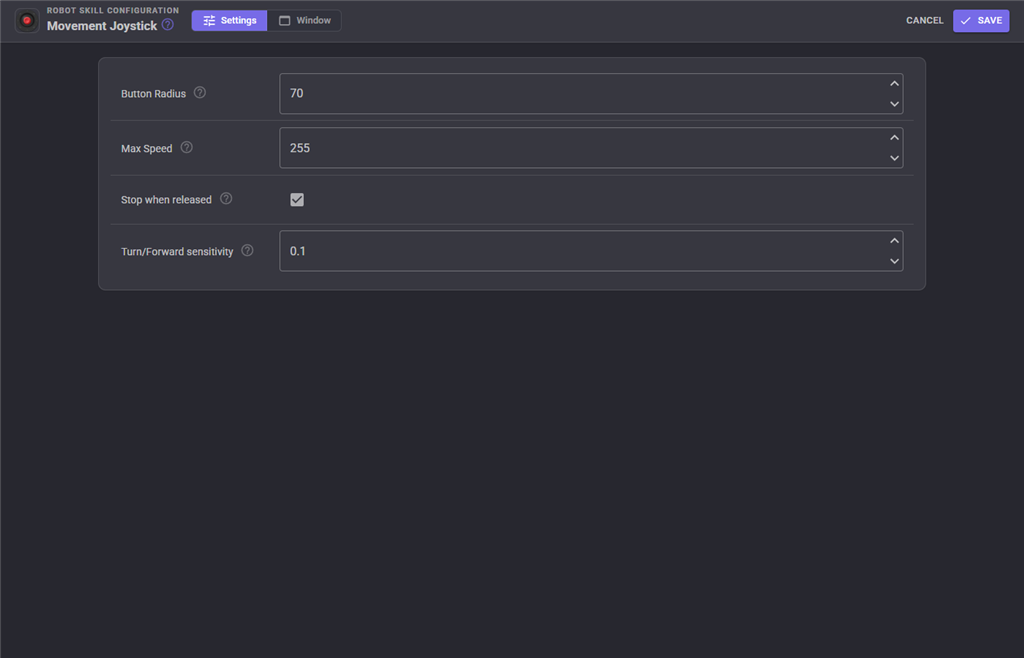
| Setting | Meaning | Default |
|---|---|---|
| Button Radius | Size in pixels of the thumb button in the middle of the pad. Bigger is easier to hit on a touch screen. Range 10-9999. | 70 |
| Max Speed | The highest speed this pad will ask for, 0-255. Lower it to make a fast robot controllable. | 255 |
| Stop when released | When on, letting go centres the pad and stops the robot - the safe choice. When off, the robot keeps the last commanded movement after you let go. | on |
| Turn/Forward sensitivity | The dead zone around the centre, 0 to 0.8. Nothing is sent until the thumb is moved past it. Raise it if the robot creeps when you are trying to hold still; lower it for finer control. | 0.1 |
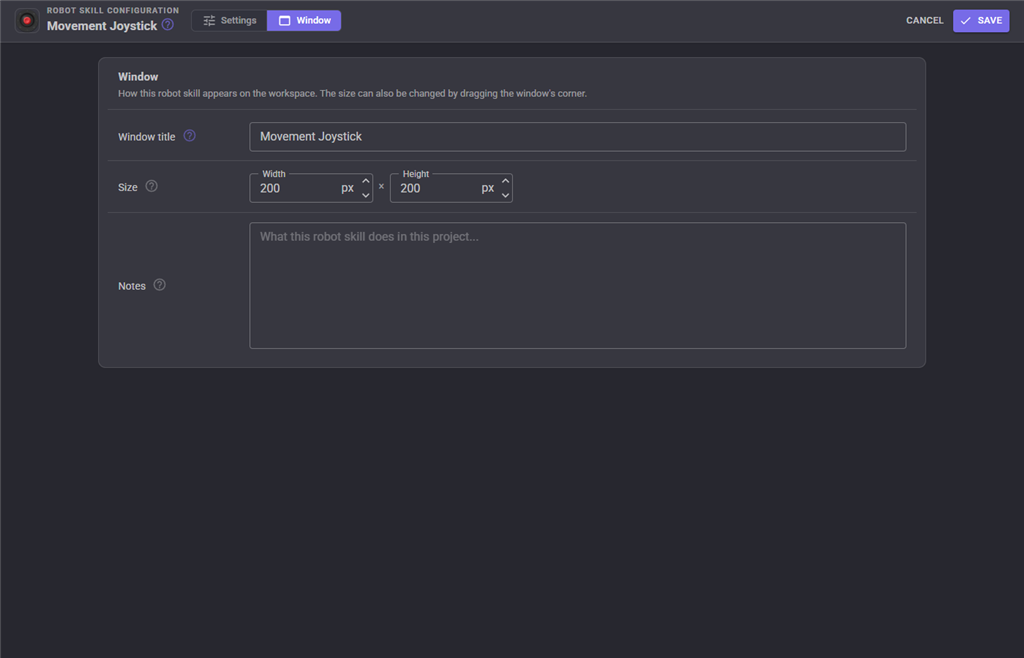
The Window tab sets the robot skill's window title, its size on the workspace and notes about what it does in this project.
Safety
With Stop when released turned off, the robot will continue driving after you let go of the pad, and will continue if the browser tab loses focus or the page is closed. Leave it on unless you have another way to stop the robot.
Troubleshooting
| Symptom | Cause |
|---|---|
| Dragging does nothing | No Movement Panel in the project, or the movement panel's hardware is not connected. |
| Robot drives too fast to control | Lower Max Speed. |
| Robot creeps when the pad looks centred | Raise Turn/Forward sensitivity. |
| Robot will not stop when you let go | Stop when released is off. |
| Hard to grab on a touch screen | Raise Button Radius, or make the skill window bigger. |
See also
- Continuous Rotation Movement Panel - drive two or more continuous rotation servos
- Auto Position (movement panel) - walking gaits for legged robots
- Wiimote - drive the same Movement Panel from a Wii Remote
Control Commands for the Movement Joystick robot skill
There are Control Commands available for this robot skill which allows the skill to be controlled programmatically from scripts or other robot skills. These commands enable you to automate actions, respond to sensor inputs, and integrate the robot skill with other systems or custom interfaces. If you're new to the concept of Control Commands, we have a comprehensive manual available here that explains how to use them, provides examples to get you started and make the most of this powerful feature.
Control Command ManualThis skill has no control commands.
It is an input device: it sends movement to the project's movement panel, and nothing sends commands to it.
Moving the robot from a script
To do from a script what the joystick does with the mouse, use the Movement object.
It reaches the same Movement Panel the joystick does.
| Script command | What it does |
|---|---|
Movement.Forward() |
Drive forward at the current speed. |
Movement.Forward(speed) |
Drive forward at the given speed, 0-255. |
Movement.Forward(speed, timeOutMs) |
Drive forward for that many milliseconds, then stop. |
Movement.Reverse() / Movement.Reverse(speed) / Movement.Reverse(speed, timeOutMs) |
The same, in reverse. |
Movement.Left() / Movement.Left(speed) / Movement.Left(speed, timeOutMs) |
Turn left. |
Movement.Right() / Movement.Right(speed) / Movement.Right(speed, timeOutMs) |
Turn right. |
Movement.Stop() |
Stop. |
Movement.SetSpeed(speed) |
Set both sides' speed, 0-255. |
Movement.SetSpeed(left, right) |
Set each side separately. |
Movement.SetSpeedLeft(speed) / Movement.SetSpeedRight(speed) |
Set one side. |
Movement.GetSpeed() / GetSpeedLeft() / GetSpeedRight() |
Read the current speed back. |
Movement.FromString("forward") |
Move by name - useful when the direction is in a variable. Also accepts a speed, or a left and right speed. |
Movement.WaitForForward(), WaitForStop(), WaitForLeft(), WaitForRight(), WaitForUp(), WaitForDown() |
Block until the robot is moving that way. Handy for reacting to the joystick from a script. |
Example - react to someone driving with the joystick:
while (true) {

  Movement.WaitForForward();

  print("Someone is driving me forward");

  Movement.WaitForStop();
}
Changing the joystick's settings from a script
The button radius, maximum speed, dead zone and release behaviour are configuration settings. They are not settable with a control command; change them in the configuration dialog.



This robot skill has been updated to v1.
This robot skill has been updated to v2.
This robot skill has been updated to v3.
This robot skill has been updated to v4.
What has changed
compatible with the latest ARCx v2026.09.27.01