
Publishes a camera feed as a named ARCx video source for face tracking, object tracking, recording, and autonomous AI.
 Windows
 ARM
 Linux
 MacOS
How to add the Camera Source (Usb) robot skill
- Load the most recent release of ARCx on a compatible operating system (Get ARCx).
- Press the + Skills menu from the top menu bar in ARCx.
- Choose the Camera category tab.
- Press the Camera Source (Usb) icon to add the robot skill to your project.
Don't have a robot yet?
Follow the Getting Started Guide to build a robot and use the Camera Source (Usb) robot skill.
How to use the Camera Source (Usb) robot skill
Makes a USB camera (or any camera the operating system exposes - a webcam, a capture card, a built-in laptop camera) a video source in ARCx.
Every camera skill in ARCx works the same way: it publishes a named video source that other skills subscribe to. Face Tracking, Object Training And Tracking, Video Recorder and Autonomous AI all look for a video source by name - the name is this skill's window title.
Requirements
- A camera the operating system already recognises. ARCx uses DirectShow on Windows, V4L2 on Linux and AVFoundation on macOS, and writes the driver it picked to the log.
- Several instances are allowed, one per camera. Give each a distinct window title, because that title is how other skills refer to it.
Adding it to a project
- Add the skill (Camera category).
- Open its configuration - the camera must be stopped for the dialog to open.
- Pick the Video Device and then a Resolution.
- Save and press Start.
- Rename the skill's window title to something meaningful ("Head Camera"), then point your tracking and recording skills at that name.
The window
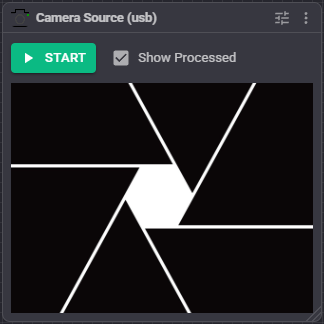
- Start / Stop button. While running it shows the live frame rate, for example Stop (28 FPS). Intermediate states say Starting and Stopping.
- Show Processed checkbox - switches the picture between the raw camera image and the processed image, which carries the markup drawn by detection skills (face boxes, tracked object outlines, text).
- The video fills the rest of the window.
Configuration
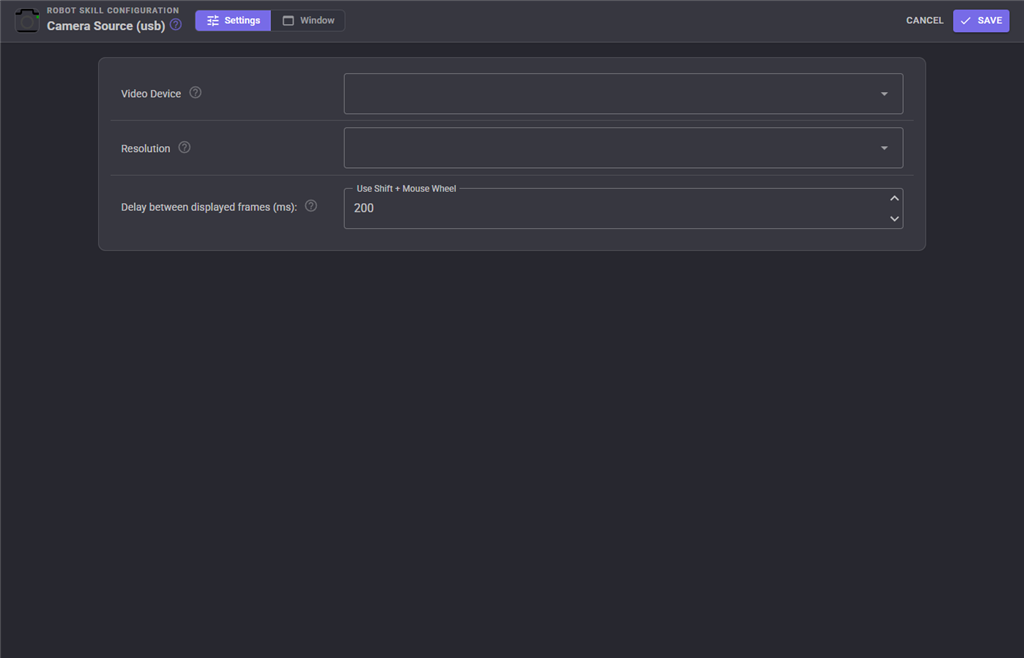
| Setting | Meaning | Default |
|---|---|---|
| Video Device | Which camera to open. The list is the devices the operating system reports right now. | none |
| Resolution | One of the resolutions and frame rates that device supports. Higher costs more CPU - pick the lowest that does the job; 320x240 is plenty for tracking. | first |
| Delay between displayed frames (ms) | Throttles how often a frame is pushed to the browser, to save bandwidth and CPU in the UI. It does not slow the camera down or affect detection - those still run at full rate. 0 disables the throttle. |
100 |
The skill also remembers Show Processed between sessions.
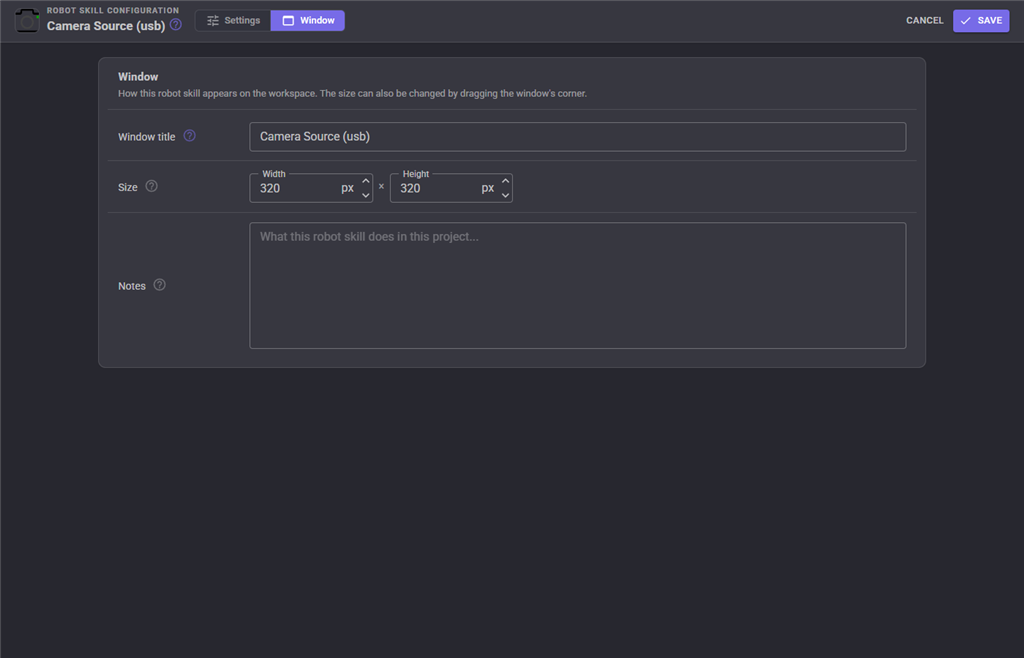
The Window tab sets the robot skill's window title, its size on the workspace and notes about what it does in this project.
Processed versus original
Two images exist for every frame:
- the original, straight from the camera;
- the processed image, which each detection skill draws on as the frame passes through.
The checkbox only changes what you see. Other skills choose for themselves which they want - Video Recorder, for instance, has its own Record processed frames setting.
Performance
- Resolution is the main cost. Detection runs on a downscaled copy whose width is set in Options Preferences Video, so a huge camera resolution buys accuracy in the recorded picture, not in tracking.
- If the browser is sluggish but detection is fine, raise Delay between displayed frames.
- Stopping the camera when it is not needed frees the whole cost.
Troubleshooting
| Symptom | Cause |
|---|---|
| "No video device selected" | Nothing chosen in the configuration. |
| "Could not find video device: ..." | The camera was unplugged or its identity changed. Re-pick it. |
| "Could not find resolution ID: ..." | The saved resolution is not offered by this camera. Re-pick it. |
| "Unable to read image from device" | The camera was disconnected, or another application has it open. |
| Configuration will not open | The camera is running. Press Stop. |
| Another skill cannot find the source | Skills look the source up by window title; if you renamed this skill, update them. |
| Video is choppy in the browser only | Lower Delay between displayed frames, or lower the resolution. |
See also
- Camera Source (ezb) - video from an EZB instead of a USB camera
- Face Tracking, Object Training And Tracking - consumers of this video source
- Video Recorder - record this video source to a file
Control Commands for the Camera Source (Usb) robot skill
There are Control Commands available for this robot skill which allows the skill to be controlled programmatically from scripts or other robot skills. These commands enable you to automate actions, respond to sensor inputs, and integrate the robot skill with other systems or custom interfaces. If you're new to the concept of Control Commands, we have a comprehensive manual available here that explains how to use them, provides examples to get you started and make the most of this powerful feature.
Control Command ManualThis robot skill has 7 control commands, listed below. Send them from a JavaScript or Python script, from Blockly, or from another robot skill.
The first value is always the window title, which is the name in the title bar of the robot skill on your workspace. It starts out as Camera Source (usb), which is what every example below uses. If you rename the robot skill, or add a second copy of it to the project, use the title as it appears on that window instead.
ControlCommand() can be shortened to CC(), and both spellings work in JavaScript and in Python. The examples are JavaScript; Python is the same call, except that true and false are written True and False.
GetFPS
The current frames per second of the video feed
Syntax
ControlCommand("Camera Source (usb)", "GetFPS")
Returns: Integer [-2,147,483,648 to 2,147,483,647]
Example
var result = ControlCommand("Camera Source (usb)", "GetFPS");
IsActive
Is the video feed started? Stays true while a lost camera is being reopened
Syntax
ControlCommand("Camera Source (usb)", "IsActive")
Returns: Boolean [true or false]
Example
var result = ControlCommand("Camera Source (usb)", "IsActive");
IsProcessShown
Is the processed video feed the one being displayed?
Syntax
ControlCommand("Camera Source (usb)", "IsProcessShown")
Returns: Boolean [true or false]
Example
var result = ControlCommand("Camera Source (usb)", "IsProcessShown");
ShowOriginal
Show the original, unprocessed video feed
Syntax
ControlCommand("Camera Source (usb)", "ShowOriginal")
Returns: Boolean [true or false]
Example
var result = ControlCommand("Camera Source (usb)", "ShowOriginal");
ShowProcessed
Show the processed video feed
Syntax
ControlCommand("Camera Source (usb)", "ShowProcessed")
Returns: Boolean [true or false]
Example
var result = ControlCommand("Camera Source (usb)", "ShowProcessed");
Start
Start the video feed
Syntax
ControlCommand("Camera Source (usb)", "Start")
Returns: Boolean [true or false]
Example
var result = ControlCommand("Camera Source (usb)", "Start");
Stop
Stop the video feed
Syntax
ControlCommand("Camera Source (usb)", "Stop")
Returns: Boolean [true or false]
Example
var result = ControlCommand("Camera Source (usb)", "Stop");
This list is read out of the robot skill itself each time its package is uploaded, so it matches the published version (v10).


This robot skill has been updated to v1.
This robot skill has been updated to v2.
This robot skill has been updated to v3.
This robot skill has been updated to v4.
This robot skill has been updated to v5.
This robot skill has been updated to v6.
What has changed
compatible with the latest ARCx v2026.09.27.01
This robot skill has been updated to v7.
What has changed
spelling fix correction
This robot skill has been updated to v8.
What has changed
fix to use the latest arcx video framework